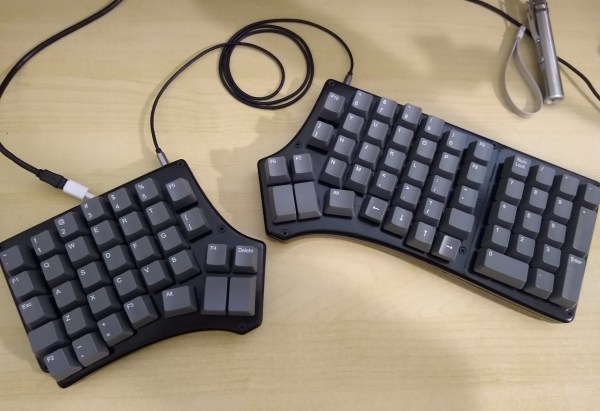
Stream decks are cool and all, but they are essentially expensive, albeit sorta cool-looking macro pads. So why not try to make your own? You don’t necessarily have to start from scratch.
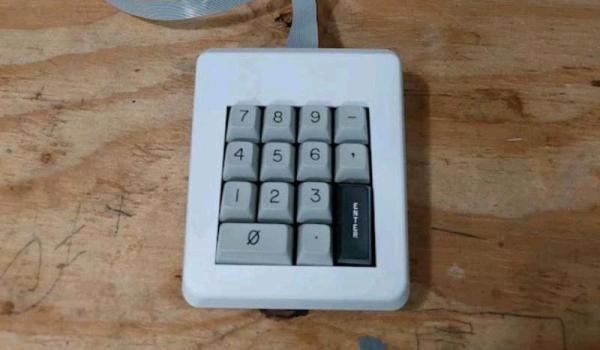
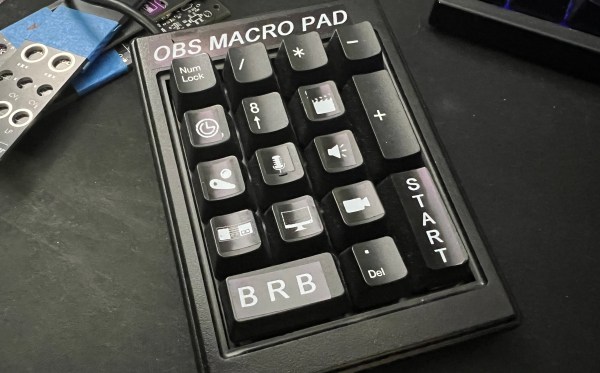
 It all started when [dj_doughy] found an extremely clicky num pad in a recycle pile. It was so clicky, in fact, that even though [dj_doughy] didn’t need an external num pad, they wanted to keep it around as a fidget toy. From the video after the break, they look to be white ALPS switches. The only problem? It had a PS/2 connector.
Well, okay, there was another problem. The chip inside seemingly has no datasheet available. [dj_doughy] took to Discord for help, and was advised to just have the thing use extended keys, like F13-F24, and assign those as hotkeys in OBS.
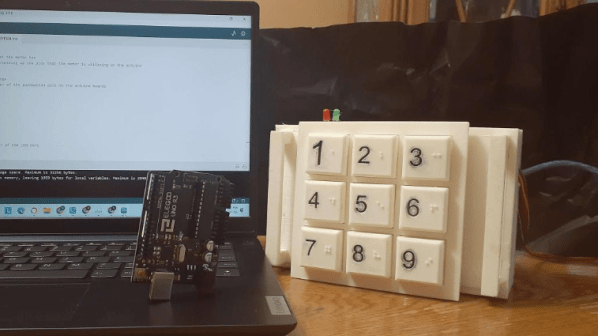
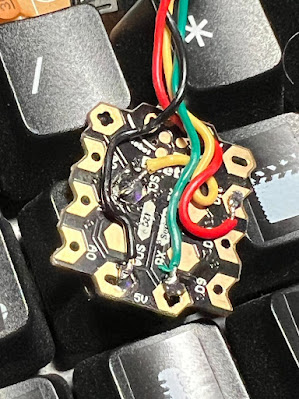
In order to make it USB, [dj_doughy] need a microcontroller capable of acting as a Human Interface Device (HID). While [dj_doughy] tested using an Arduino Leonardo, they ended up using an Arduino Beetle due to its diminutive size. [dj_doughy] had a bit of trouble with the code sending two key presses, but found out they were just missing some variables. Now it works like a charm.
Would you like a macro pad that lets you physically reassign macros? Then check out this tile-based macro pad.