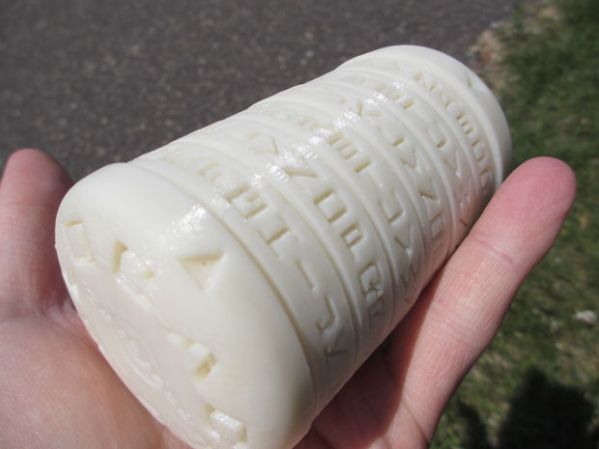
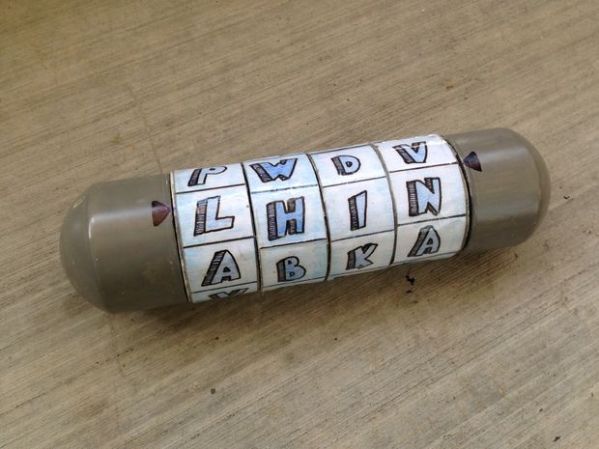
Once you’ve dialed in your 3D printer calibration settings, you enter the phase of printer ownership where you’re eager to show off what you can make, and you’re sure to impress with [pjensen’s] 3d printed cryptex spinning around in your hands.
If you’re a regular reader of our 3D Printering column, then the behind-the-scenes screengrabs should look familiar: [pjensen] used Autodesk Inventor to sculpt the shapes, staring with the cryptex’s individual rings. After embossing the alphabet across each ring, [pjensen] adds slots into the inner loops for pins to slide through. An outer chamber holds the rings in place and prohibits access to the interior chamber, which is held in place on both sides by an end cap.
Lining up the rings to spell the correct word allows the inner chamber to slide free of the whole assembly, revealing whatever goodies may lie inside. You can follow [pjensen’s] step-by-step guide to build your own cryptex, or just download his model and start printing.


