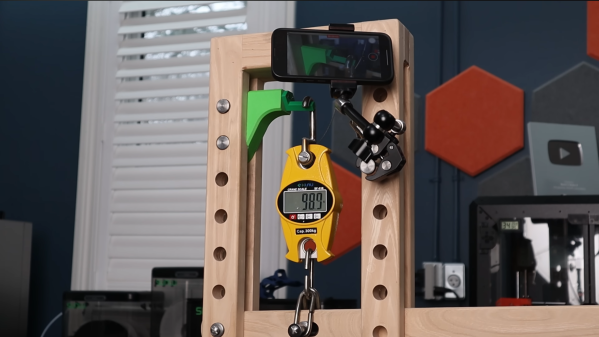
Optical media is great — it’s pretty high density, relatively durable, and decently long-lasting if
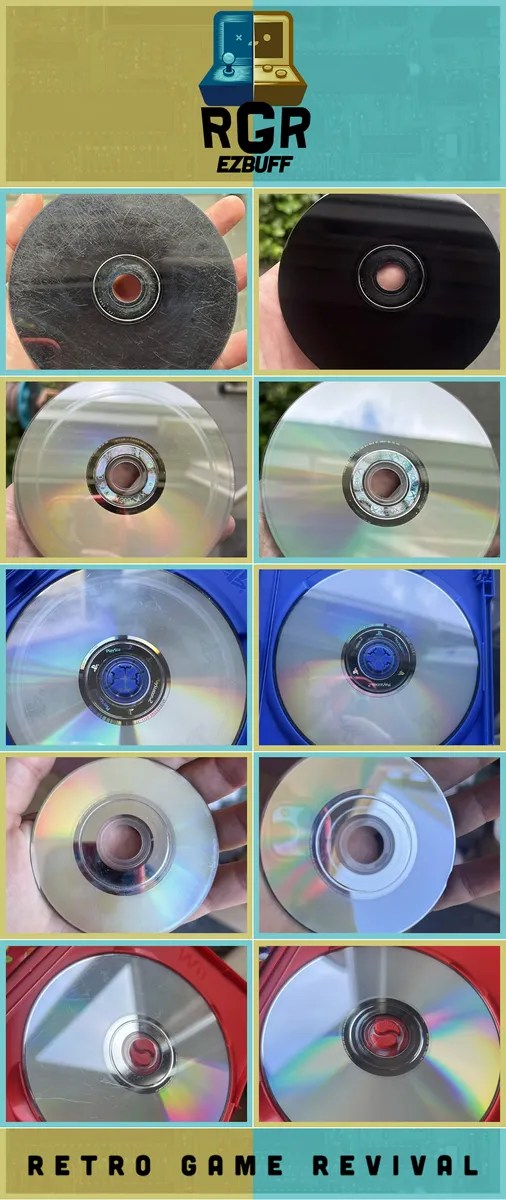
well cared for. If not well cared for, well, it’s only relatively durable, and we’ve probably all picked up a second-hand disk that’s too scratched to use. The X-Box 360 is notorious for causing circular damage, and while decent disk cleaners were easy to get in the 90s, we’re not sure how far we trust what’s on offer at retailers today. Hence [Dennis], aka [RetroGameRevival]’s RGR ezBuff polishing machine, which does exactly what it says on the tin: buffs disks to a polish, easily.
We’d say the whole thing is 3D printed, but of course you still need a motor and controller — if you had to turn a crank, that would just be a Buff polishing machine, no ez — and we’ve yet to see a printer poop out polishing compound. If you build it, keep in mind that you’re taking the top layer of material off the disk to polish scratches away, so don’t overdo it. It’s entirely possible to ruin a disk beyond repair with too-aggressive buffing; it’s also possible for disks to be scratched too deeply to save. Polishing can’t save genuine disk rot, though in our experience you’re more likely to find scratched disks than rotten ones. Still, [Dennis]’s birthday gift to the community — it was apparently released on his birthday — should keep more than a few disks out of the trash.
With Sony getting out of the disk game, physical media is becoming more precious than ever, so it’s good to see what looks like a quality polishing option for those of us who either never had a polisher or didn’t save theirs. If you really want your disks to last, maybe we should bring back CD caddies.
Thanks to [Dean] for the tip, via timeExtension.com.