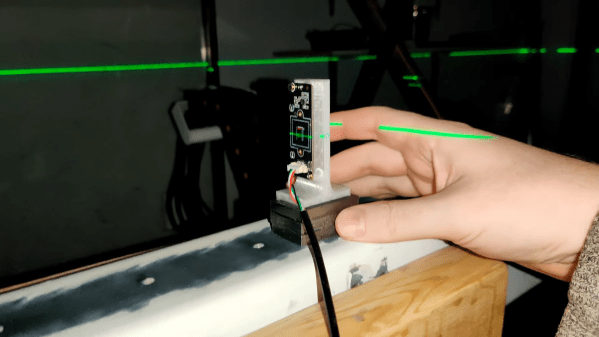
Making a truly flat surface is a modern engineering feat, and not a small one. Even making something straight without reference tools that are already straight is a challenge. However, the ancient Egyptians apparently made very straight, very flat stone work. How did they do it? Probably not alien-supplied CNC machines. [IntoTheMap] explains why it is important and how they may have done it in a recent video you can see below.
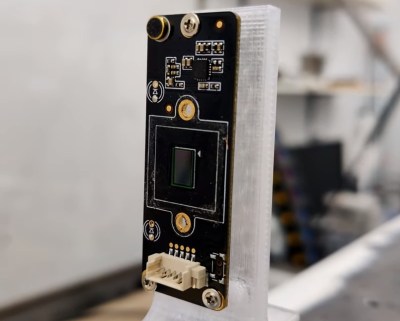
The first step is to define flatness, and modern mechanical engineers have taken care of that. If you use 3D printers, you know how hard it is to even get your bed and nozzle “flat” with respect to each other. You’ll almost always have at least a 100 micron variation in the bed distances. The video shows how different levels of flatness require different measurement techniques.
The Great Pyramid’s casing stones have joints measuring 0.5 mm, which is incredible to achieve on such large stones with no modern tools. A stone box in the Pyramid of Seostris II is especially well done and extremely flat, although we can make things flatter today.
The main problem with creating a flat surface is that to do a good job, you need some flat things to start with. However, there is a method from the 19th century that uses three plates and multiple lapping steps to create three very flat plates. In modern times, we use a blue material to indicate raised areas, much as a dentist makes you chomp on a piece of paper to place a crown. There are traces of red ochre on Egyptian stonework that probably served the same purpose.
Lapping large pieces is still a challenge, but moving giant stones at scale appears to have been a solved problem for the Egyptians. Was this the method they used? We don’t know, of course. But it certainly makes sense.
It would be a long time before modern people could make things as flat. While we can do even better now, we also have better measuring tools.


