Despite the availability of ready-made displays never being better, there are still some hardy experimenters who take on the challenge of making their own. In [Ben Holmen]’s case the display he built is somewhat unusual and not the most practical, but for us a giant-sized wooden kilopixel display is exactly what the world needs.
It’s a kilopixel display because it has a resolution of 40 by 25 pixels, and it takes the form of a rack of wooden cubes, each of which can be turned by a tool on a gantry to expose either a black or a white side. It’s very slow indeed — he has an over nine hour long video of it in operation — but it is an effective device.
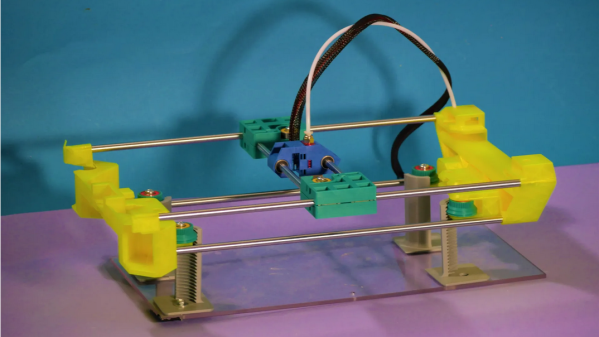
His write-up goes into great detail about the steps taken in its design, starting with spherical pixels rotated by a LEGO wheel and progressing to cubes poked at their corner to rotate. The pusher in this case is a hot glue stick, for the required flexibility. For practicality we’re reminded of this serial oil-and-water display.
The whole thing is online, and if you want you can submit your own images for it to draw. Whether a Wrencher in 25 pixel resolution has enough detail, we’ll leave to you.