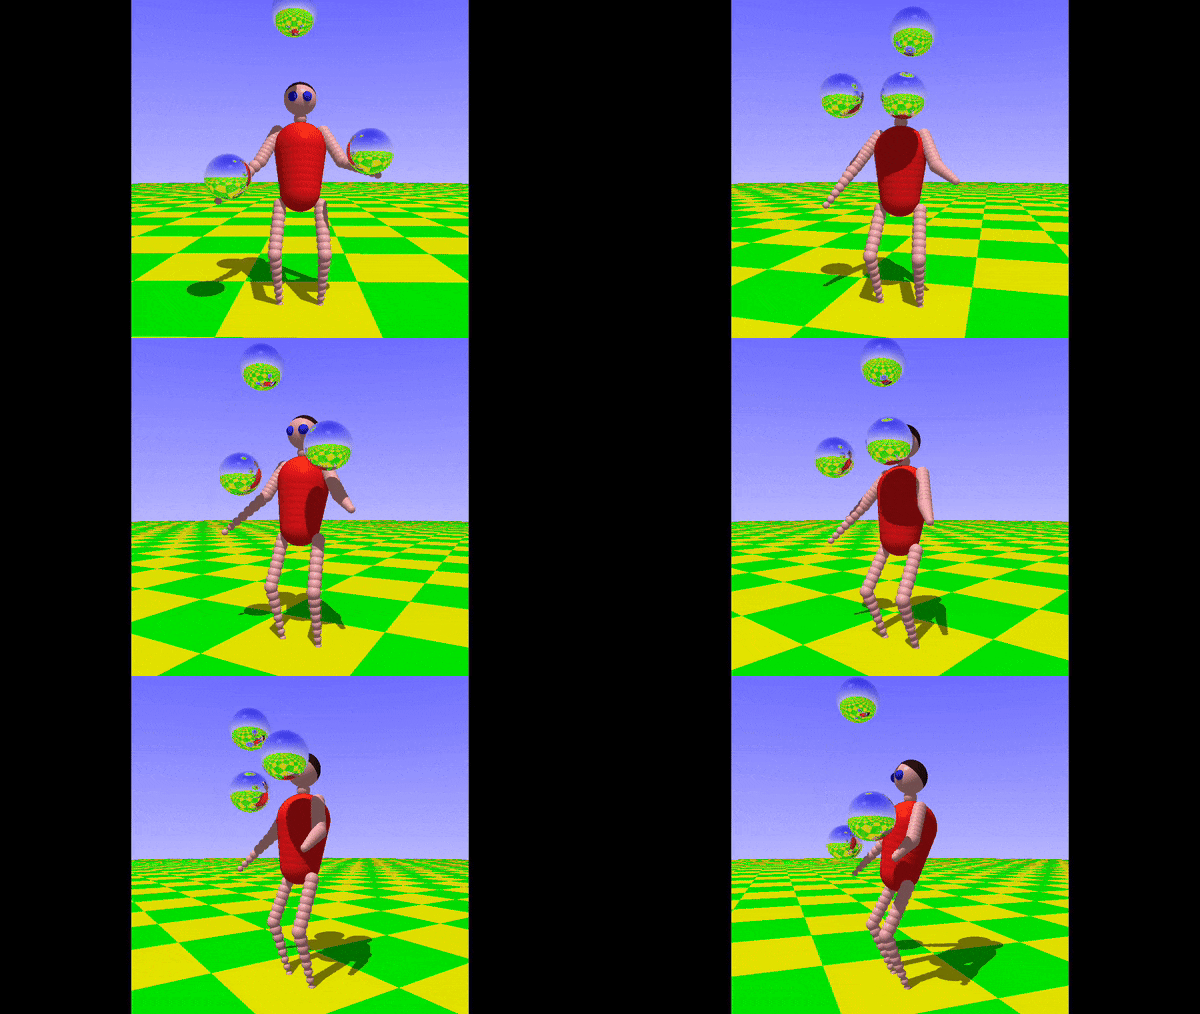
Back on the theme of learning to program by taking on a meaningful project — we have another raytracing demo — this time using Rust on the Raspberry Pi. [Unfastener] saw our previous article about writing a simple raytracer in spectrum BASIC and got inspired to try something similar. The plan was to recreate the famous juggler 3D demo, from the early days of 3D rendering on the Amiga.
The juggler story starts with an Amiga programmer called [Eric Graham] who created ssg, the first ray tracer application on a personal computer. A demo was shown to Commodore, who didn’t believe it was done on their platform, but a quick follow-up with the actual software used soon quelled their doubts. Once convinced, they purchased the rights to the demo for a couple of thousand dollars (in 1986 money, mind you) to use in promotional materials. [Eric] developed ssg into the popular Sculpt 3D, which became available also on Mac and Windows platforms, and kick-started a whole industry of personal 3D modelling and ray tracing.
Anyway, back to the point. [Unfastener] needed to get up the considerable Rust learning curve, and the best way to do that is to let someone else take care of some of the awkward details of dealing with GUI, and just concentrate on the application. To that end, they use the softbuffer and winit Rust crates that deal with the (important, yet frankly uninteresting) details of building frame buffers and pushing the pixels out to the window manager in a cross-platform way. Vecmath takes care of — you guessed it — the vector math. There’s no point reinventing that wheel either. Whilst [Unfastener] mentions the original Amiga demo took about an hour per frame to render, this implementation runs in real-time. To that end, the code performs a timed pre-render to determine the most acceptable resolution to get an acceptable frame rate, achieving a respectable 30 or so frames per second on a Pi 5, with the older Pis needing to drop the resolution a little. This goes to show how efficient Rust code can be and, how capable the new Pi is. How far we have come.
We saw another interesting rust-based raytracer a while back, which is kinda fun. We’ve also covered rust in other applications a few times, like inside the Linux kernel. Finally here’s our guide to getting started with rust, in case you need any more motivation to have a crack at this upcoming language.


