Mastering Memory For Microcontrollers: Elecia White To Deliver Remoticon Keynote

I’m excited to share the news that Elecia White will deliver a keynote talk at the Hackaday Remoticon in just a few short weeks. Get your free ticket now!

Elecia is well-known throughout the embedded engineering world. She literally wrote the book on it — or at least a book on it, one I have had in my bedside table for reference for years: O’Reilly’s Making Embedded Systems: Design Patterns for Great Software. She hosts the weekly Embedded podcast which has published 390 episodes thus far. And of course Elecia is a principal embedded software engineer at Logical Elegance, Inc working on large autonomous off-road vehicles and deep sea science platforms.

Map of a mythical land used as a metaphor for microcontroller memory
Map metaphor used to help visualize microcontroller memory. [Source: embedded.fm]
For her keynote, Elecia plans to unwrap the secrets often overlooked in the memory map file generated when compiling a program for a microcontroller. Anyone who has written code for these mighty little chips has seen the .map files, but how many of us have dared to really dive in?

Elecia will use a nifty metaphor for turning the wall of text and numbers into a true map of the code. That metaphor makes the topic approachable for everyone with at least a rudimentary knowledge of how embedded systems work, and even the grizzliest veteran will walk away with tips that help when optimizing for RAM usage and/or code space, updating firmware (with or without a bootloader), and debugging difficult crash bugs.

This autumn is a busy time for Elecia. She’s been hard at work turning her book into a ten-part massive open online course (MOOC). Over the years she’s been a strong supporter of Hackaday, more than once as a judge for the Hackaday prize (here’s her tell-all following the final round judging of the 2014 Prize). She even took Hackaday on a tour of Xerox Parc.

Final Talk Announcements This Week and Next!

The Call for Proposals closed a few days ago. So far we’ve made two announcements about the accepted talks and we’ll make two more, this Thursday and next. But there’s no reason to wait. With Elecia White, Jeremy Fielding, and Keith Thorne presenting keynotes, and some superb social activities soon to be unveiled, this is an event not to be missed!

Remoticon is free to all, just head over and grab a ticket! If you want something tangible to remember the weekend by you can grab one of the $25 tickets that scores you a shirt, but either option gets you all the info you need to be at every virtual minute of the conference.

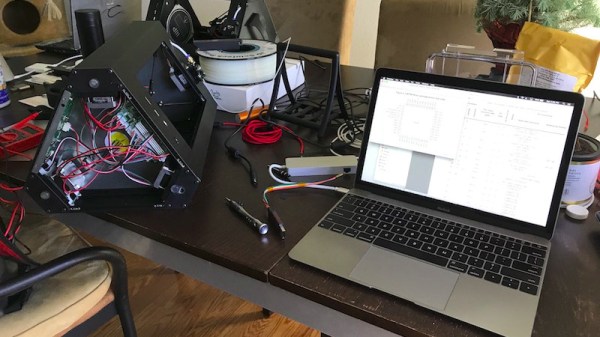
Unbricking A 3D Printer The Hard Way: By Writing A Bootloader

There’s a sinking feeling when a firmware upgrade to a piece of equipment goes wrong. We’ve all likely had this happen and  bricked a device or two. If we are lucky we can simply reapply the upgrade or revert to a previous version, and if we’re unlucky we have to dive into a serial debug port to save the device from the junk pile. But what happens when both those routes fail? If you are [Arko], you reverse-engineer the device and write your own bootloader for it.

The offending bricked object was a Monoprice MP Mini Delta 3D printer to which he was foolhardy enough to apply new firmware after seeing a friend’s machine taking it without issue. Finding the relevant debug interface on its main PCB he applied the firmware upgrade again, only to realise that in doing so he had overwritten its bootloader. The machine seemed doomed, but he wasn’t ready to give up.

What follows in his write-up is a detailed examination of the boot mechanism and memory map of an ARM Cortex M0 processor as found in the Monoprice’s STM32F070CB. We learn about vector tables for mapping important addresses of interrupts and execution points, and the mechanics of a bootloader in setting up the application it launches. This section is well worth a read on its own, even for those with no interest in bricked 3D printers.

In the end he had a working bootloader to which he appended the application firmware, but sadly when he powered up the printer there was still no joy. The problem was traced to the serial connection between the ARM doing the printer’s business and the ESP8266 running its display. After a brainstorm suggestion with a friend, a piece of code was found which would set the relevant registers to allow it to run at the correct speed.

So after a lot of work that resulted in this fascinating write-up, there was a working 3D printer. He suggests that mere mortals try asking Monoprice for a replacement model if it happens to their printers, but we’re extremely glad he persevered. Without it we would never have had this fascinating write-up, and would be the poorer without the learning experience.

This isn’t the first time we’ve brought you 3D printer bootloader trickery.