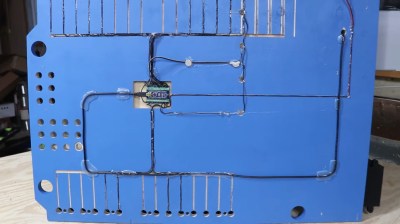
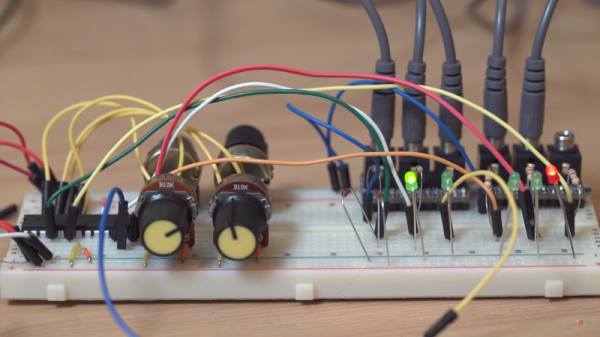
What is it about larger-than-life versions of things that makes them so awesome? We’re not sure exactly, but this giant working Arduino definitely has the ‘it’ factor, whatever that may be. It’s twelve times the size of a regular Uno and has a Nano embedded in the back of it. To give you an idea of the scale, the reset button is an arcade button.
 The Arduino Giga’s PCB is made of 3/4″ plywood, and the giant components represent a week and a half of 3D printing. The lettering and pin numbers are all carved on a CNC and filled in with what appears to be caulk. They didn’t get carved out deeply enough the first time around, but [byte sized] came up with a clever way to perfectly re-register the plywood so it carved in exactly the same places.
Although we love everything about this build, our favorite part has to be the way that [byte sized] made the female headers work. Each one has a 1/4″ audio jack embedded inside of it (a task which required a special 3D printed tool), so patch cables are the new jumper cables. [byte sized] put it to the test with some addressable RGB LEDs on his Christmas tree, which you can see in the build video after the break.
You can buy one of those giant working 555 timer kits, but why not just make one yourself?
Continue reading “Gigantic Working Arduino Uses 1/4″ Cables”


