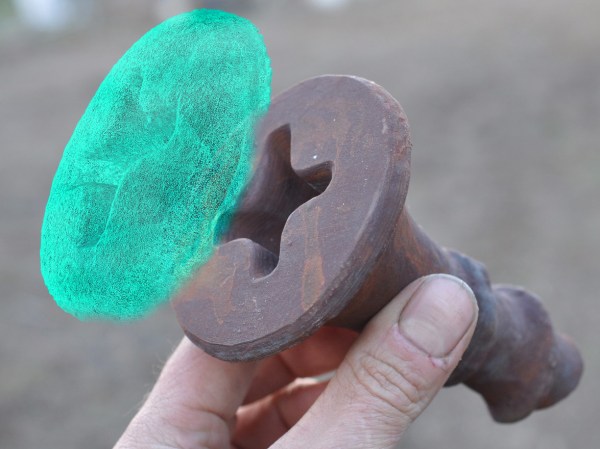
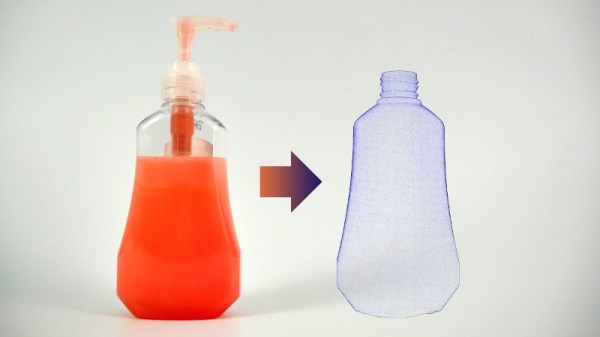
For those with 3D printers, taking a 3D model and spitting out a physical object is so routine as to be blasé. The reverse is something a little different. There are many ways to create a digital 3D model of a physical object, of varying complexity. [Eric Strebel] favors photogrammetry, and has shared a useful guide for those interested in using this technique.
In its most basic sense, photogrammetry refers to taking measurements from photographs. In the sense being discussed here, it more precisely refers to the method of creating a 3D model from a series of photographs of a physical object. By taking appropriate images of an object, and feeding them through the right software, it’s possible to create a digital representation of the object without requiring any special hardware other than a camera.
[Eric] shares several tips and tricks for getting good results. Surface preparation is key, with the aim being to create a flat finish to avoid reflections causing problems. A grey primer is first sprayed on the object, followed by a dusting of black spots, which helps the software identify the object’s contours. Camera settings are also important, with wide apertures used to create a shallow depth-of-field that helps the object stand out from the background.
With the proper object preparation and camera technique taken care of, the hard work is done. All that’s then required is to feed the photos through the relevant software. [Eric] favors Agisoft Metashape, though there are a variety of packages that offer this functionality.
We first reported on photogrammetry back in 2016. If cameras aren’t your thing, you can always give lasers a try. Video after the break.

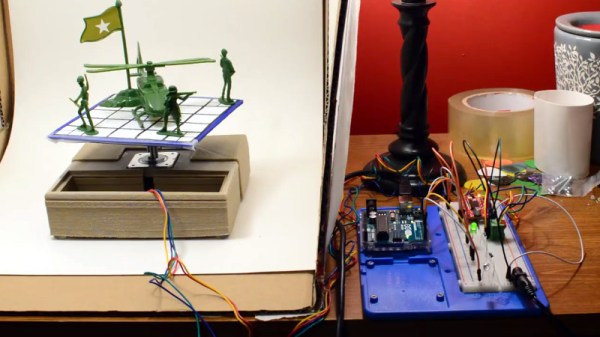
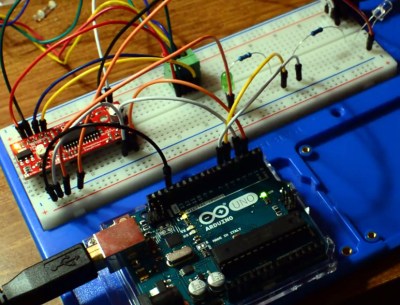
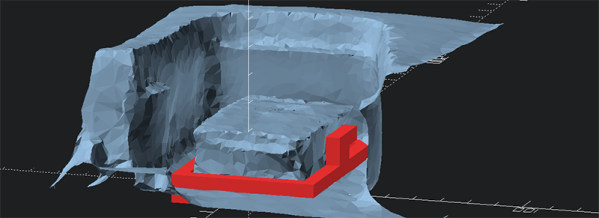
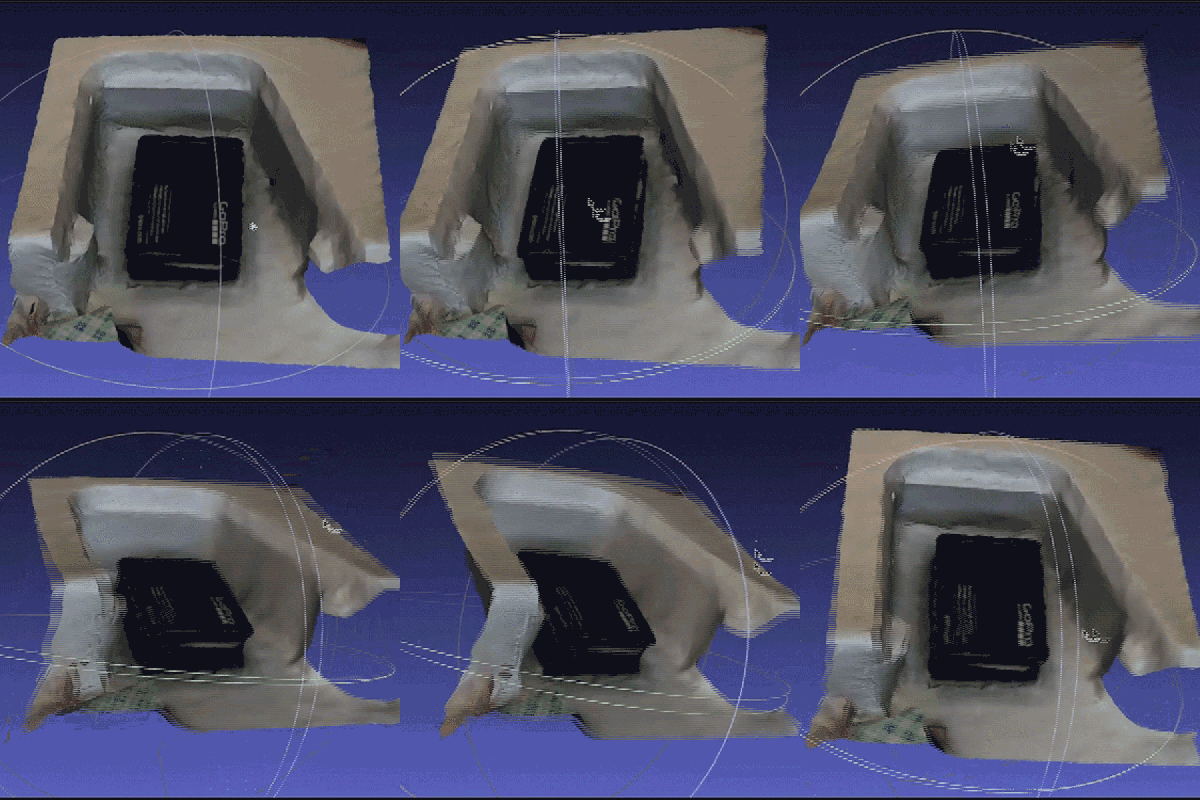 Photogrammetry requires taking a few dozen pictures with a camera, using software to turn these 2D images into a 3D model, and building the new part from that model. The software [Stefan] is using is