Photogrammetry is a real word, and [shapespeare] built himself a nice setup to take high-res 3d scans using it. A good set of images for photogrammetry are: in sharp focus, well lit, precisely indexed, and have a uniform background. The background was handled by a 3d printed stand and some copier paper. To get even lighting he used four adjustable LED lamps from Ikea.
In order to precisely index the object, he built an indexing set-up with an Arduino and a stepper motor (housed in the, self proclaimed, most elegant of 3d printed enclosures). The Arduino rotates the platform a measured increment, and then using [Sebastian Setz]’s very neat IR camera control library, snaps a photo. This process repeats until multiple photos of the object have been taken.
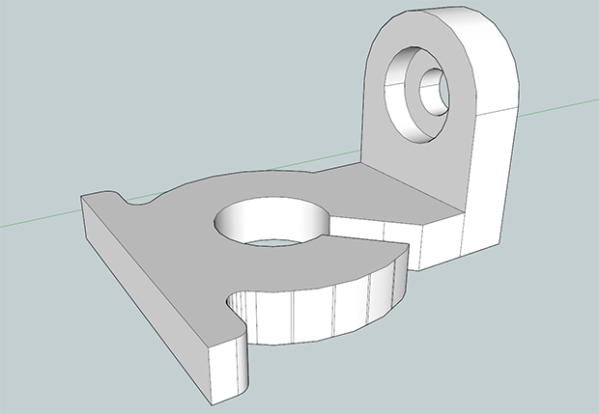
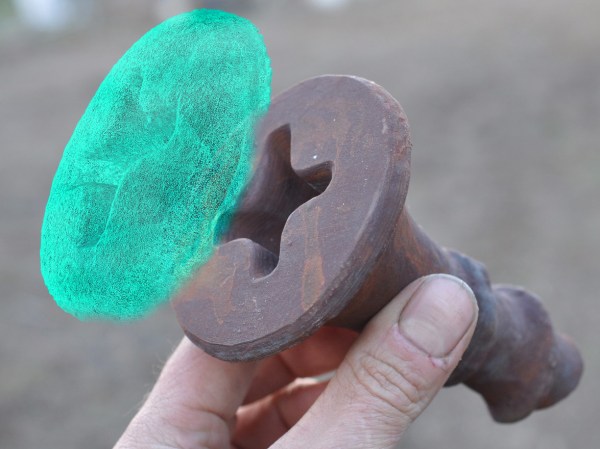
Once the photos have been taken, they need to be run through a photogrammetry processor. [shapespeare] uses Agisoft Photoscan, but says Autodesk Memento and 123d Catch do pretty well too. After all this work it appears that [shapespeare] used his new powers to 3d print a giant decking screw. Cool.