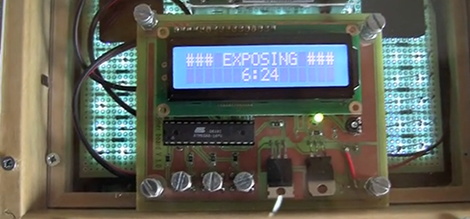
There are only a few more days until The Hackaday Prize semifinalists need to get everything ready for the great culling of really awesome projects by our fabulous team of judges. Here are a few projects that were updated recently, but for all the updates you can check out all the entries hustling to get everything done in time.
Replacing really, really small parts
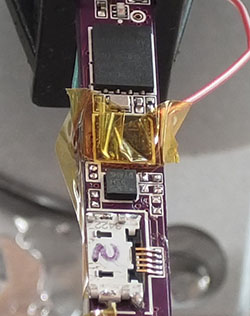 The NoteOn smartpen is a computer that fits inside a pen. Obviously, there are size limitations [Nick Ames] is dealing with, and when a component goes bad, that means board rework in some very cramped spaces. The latest problem was a defective accelerometer.
In a normal project, a little hot air and a pair of tweezers would be enough to remove the defective part and replace it. This is not the case with this smart pen. It’s a crowded layout, and 0402 resistors can easily disappear in a large solder glob.
[Nick] wrapped the closest parts to the defective accelerometer in Kapton tape. That seemed to be enough to shield it from his Aoyue 850 hot air gun. The new part was pre-tinned and placed back on the board with low air flow.
How to build a spectrometer
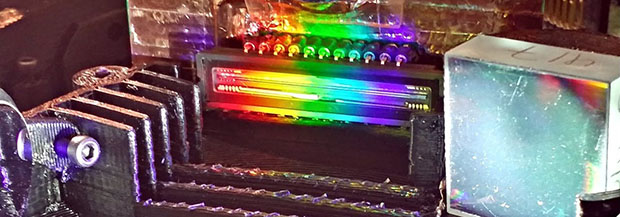
The RamanPi Spectrometer is seeing a lot of development. The 3D printed optics mount (think about that for a second) took somewhere between 12 and 18 hours to print. Once that was done and the parts were cleaned up, the mirrors, diffraction grating, and linear CCD were mounted in the enclosure. Judging from the output of the linear CCD, [fl@C@] is getting some good data with just this simple setup.
Curing resin and building PCBs
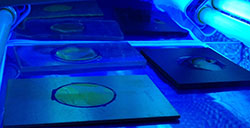 [Mario], the guy behind OpenExposer, the combination SLA printer, PCB exposer, and laser harp is chugging right along. He finished his first test print with a tilted bed and he has a few ideas on how to expose PCBs on his machine.
You don’t need props to test a quadcopter
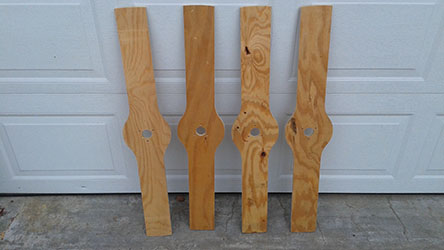 Goliath, the gas-powered quadcopter, had a few problems earlier this month. During its first hover test a blade caught a belt and bad things happened. [Peter] is testing out a belt guard and tensioner only this time he’s using plywood cutouts instead of custom fiberglass blades. Those blades are a work of art all by themselves and take a long time to make; far too much effort went into them to break in a simple motor test.

