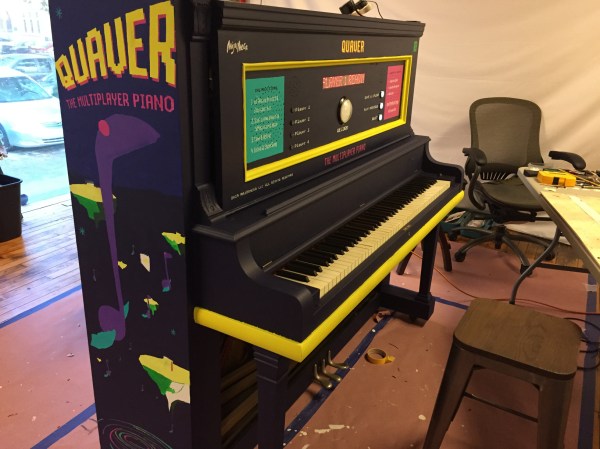
One of the biggest trends in DIY electronics, both now and fifty years ago, is creating at home what is usually made in a factory. Fifty years ago, this meant radios and amplifiers. Today, this means smartphones. It used to be the case that you could pull out a Heathkit catalog and find kits for every electronic gadget imaginable. There are no kits for DIY smartphones.
For [Gerard]’s entry for The Hackaday Prize, he’s tapping into the spirit of the decades-old DIY movement and building his own cell phone. He’s calling it the libresmartphone, and it’s able to make calls and send emails, just like any other portable, pocketable computer.
The libresmartphone is built around a Raspberry Pi, with a large battery, HDMI display with touchscreen, and a GSM and GPS module rounding out the build. He’s also rolling his own software to make calls, read SMS, and take a peek into some of the phone’s hardware, like the charge state of the battery.
[Gerard]’s libresmartphone is one of the purest examples of modern DIY electronics you’ll find; it’s not about building something from a kit, but instead building something that’s needed out of the parts he has on hand. That’s the purest example of the DIY movement, and a great entry to this year’s Hackaday Prize.


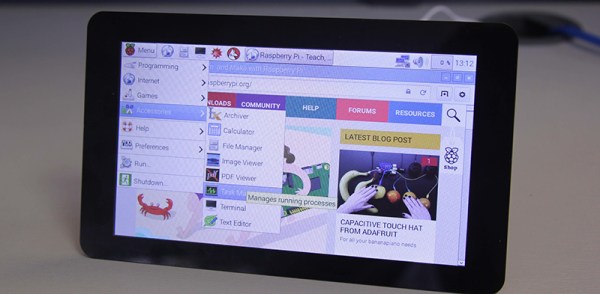
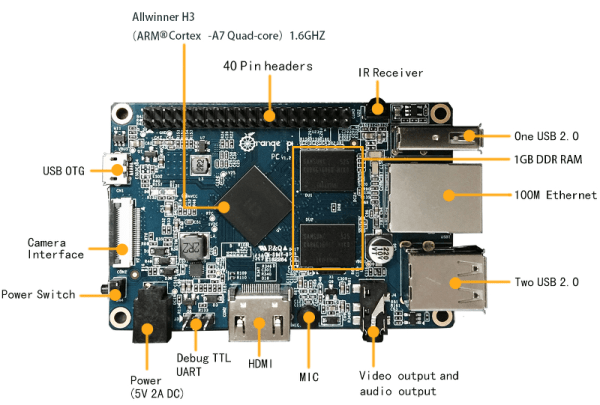
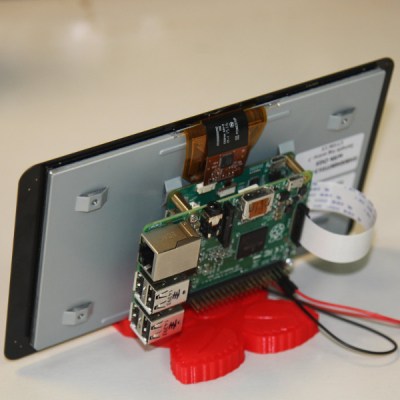 The new display could have used the DSI (Display Serial Interface) adapter, or the small connector on the Pi that is not the camera connector. DSI displays are purpose-built for specific devices, though, and aren’t something that would or should be used in a device that will be manufactured for years to come. The best solution, and the design the Raspberry Pi foundation chose to go with, is a DPI display and an adapter that converts the Pi’s DSI output to something the display can understand.