Gas-Tight FDM 3D Printing Is Within Your Grasp

The widespread availability of inexpensive 3D printers has brought about a revolution in what can be easily made at home. However these creations aren’t perfect, particularly when it comes to the adhesion between their layers. Aside from structural failures along the layer lines there is also the question of those joins being permeable, limiting the possibility for waterproof or gas proof prints. It’s something [German Engineer] has tackled in a new video, in which he’s looking at the design and preparation of small propane tanks.
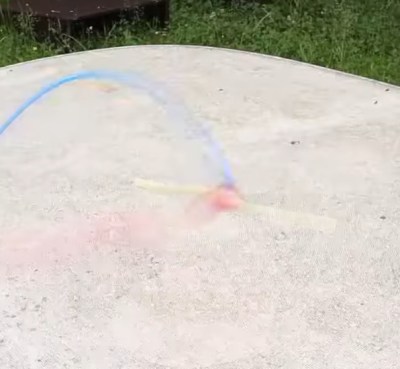
A blurry image of a red 3d-printed part exploding
This is the frame at which the 3D printed tank explodes

The attraction of propane as a fuel is that it liquefies easily on compression, so a propane cylinder or tank will be an equilibrium of liquid propane with pressurized gas above it, whose pressure depends on the ambient temperature. This means that any tank must be expected to have a working pressure somewhere between 150 and 200 PSI, with of course a design pressure far exceeding that for safety reasons.

Filling a 3D printed tank immediately results in the propane escaping, as he demonstrates by putting one of his prints under water. He solves this with a sealant, Diamant Dichtol, which is intended to polymerize in the gaps between layers and create a gas-tight tank. A range of three tanks of different thicknesses are treated this way, and while the 1 mm thick variety bursts, the thicker ones survive.

It’s clear that this technique successfully creates gas-tight prints, and we can see the attraction of a small and lightweight fuel tank. But we can’t help worrying slightly about the safety, for even when the material is a lightweight 3D print, high pressure equipment is not to be trifled with. Tanks do burst, and when that happens anyone unfortunate enough to be close by sustains nasty, even life-threatening injuries. Use the technique, but maybe don’t hit it with high pressures.

Continue reading “Gas-Tight FDM 3D Printing Is Within Your Grasp”

Reviving Old Recipe For Faraday Wax Keeps Vacuum Experiments Going

Science today seems to be dominated by big budgets and exotics supplies and materials, the likes of which the home gamer has trouble procuring. But back in the day, science was once done very much by the seats of the pants, using whatever was available for the job. And as it turns out, some of the materials the old-timers used are actually still pretty useful.

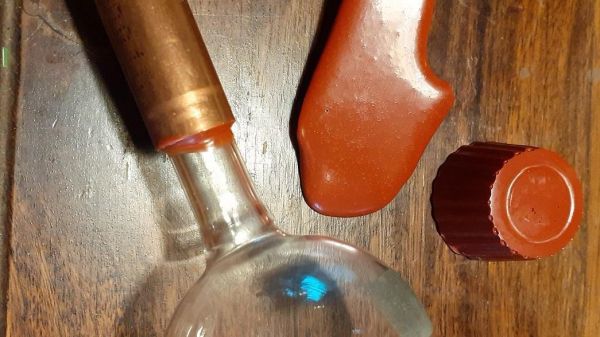
An example of this is a homemade version of “Faraday Wax”, which [ChristofferB] is using for his high vacuum experiments. As you can imagine, getting a tight seal on fittings is critical to maintaining a vacuum, a job that’s usually left to expensive synthetic epoxy compounds. Realizing that a lot of scientific progress was made well before these compounds were commercially available, [ChristofferB] trolled through old scientific literature to find out how it used to be done.

This led to a recipe for “Faraday Wax”, first described by the great scientist himself in 1827. The ingredients seem a little archaic, but are actually pretty easy to source. Beeswax is easy to come by; the primary ingredient, “colophony”, is really just rosin, pretty much the same kind used as solder flux; and “Venetian red” is a natural pigment made from clay and iron oxide that can be had from art suppliers. Melted and blended together, [ChristofferB] poured it out onto wax paper to make thin strips that are easily melted onto joints in vacuum systems, and reports are that the stuff works well, even down to 10-7 mbar.

We love this one — it’s the perfect example of the hacker credo, which has been driving progress for centuries. It also reminds us of some of the work by [Simplifier], who looks for similar old-time recipes to push his work in DIY semiconductors and backyard inductors forward.

[David Gustafik] dropped us the tip on this one. Thanks!