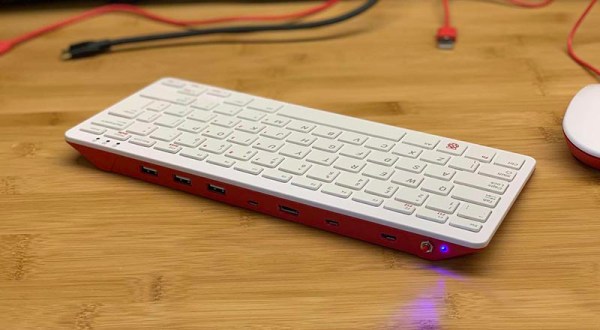
Last week, the Raspberry Pi foundation released the first official Raspberry Pi-branded keyboard and mouse. As a keyboard, it’s probably pretty great; it’s clad in a raspberry and white color scheme, the meta key is the Pi logo, there are function keys. Sure, the Ctrl and Caps Lock keys are in their usual, modern, incorrect positions (each day we stray further from God’s light) but there’s also a built-in USB hub. Everything balances out, I guess.
The Pi keyboard started shipping this week, and it took two days for someone to put a Pi zero inside. Here’s how you do it, and here’s how you turn a Pi keyboard into a home computer, like a speccy or C64.
The parts required for this build include the official Pi keyboard, a Pi Zero W, an Adafruit Powerboost, which is basically the circuitry inside a USB power bank, and a LiPo battery. The project starts by disassembling the keyboard with a spudger, screwdriver, or other small wedge-type tool, disconnecting the keyboard’s ribbon cables, and carefully shaving down the injection molded webbing that adds strength to the keyboard’s enclosure. The project is wrapped up by drilling holes for a power LED, a button to turn the Pi on and off, and the holes for the USB and HDMI ports.
One shortcoming of this build is the use of a male-to-male USB cable to connect the keyboard half of the circuitry to the Pi. This can be worked around by simply soldering a few pieces of magnet wire from the USB port on the Pi to the USB input on the USB hub. But hey, doing it this way gives the Official Pi keyboard a convenient carrying handle, and when one of the ports breaks you’ll be able to do it the right way the second time. Great work.


