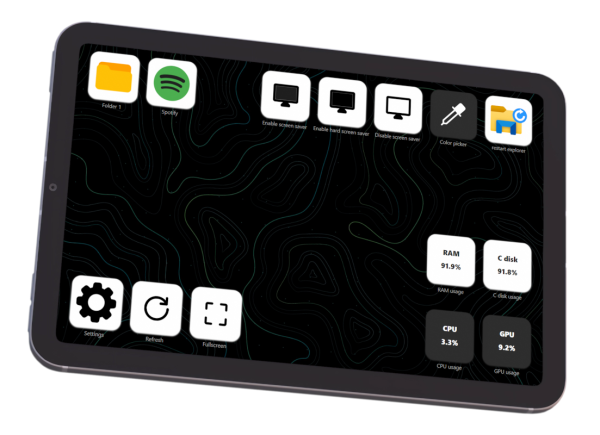
Although generally iPads tend to keep their resale value, there are a few exceptions, such as when you find yourself burdened with iCloud-locked devices. Instead of tossing these out as e-waste, you can still give them a new, arguably better purpose in life: an external display, with touchscreen functionality if you’re persistent enough. Basically someone like [Tucker Osman], who spent the past months on making the touchscreen functionality play nice in Windows and Linux.
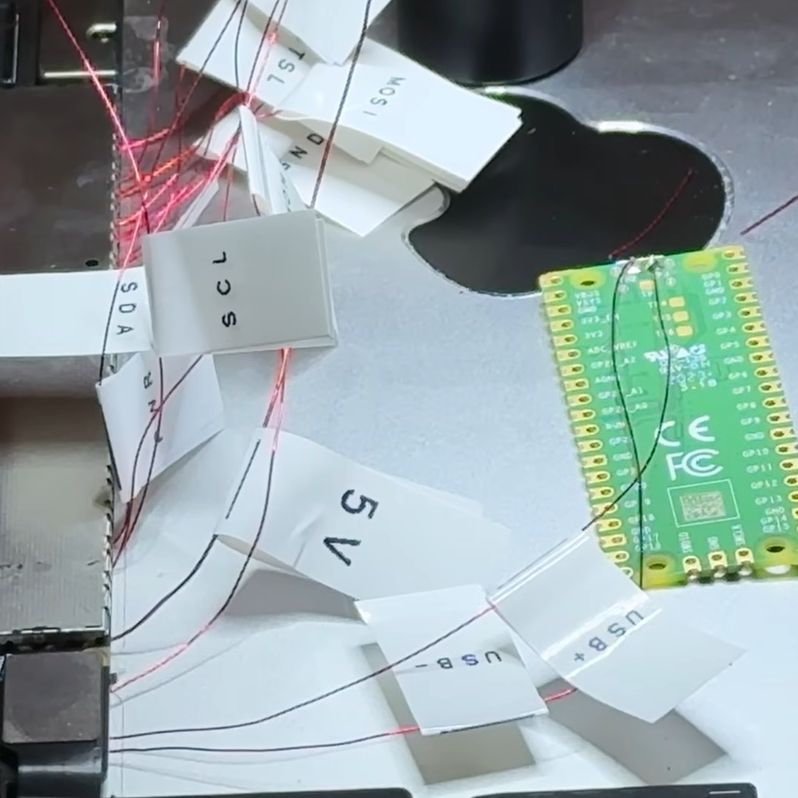
While newer iPads are easy enough to upcycle as an external display as they use eDP (embedded Display Port), the touch controller relies on a number of chips that normally are initialized and controlled by the CPU. Most of the time was thus spent on reverse-engineering this whole process, though rather than a full-depth reverse-engineering, instead the initialization data stream was recorded and played back.
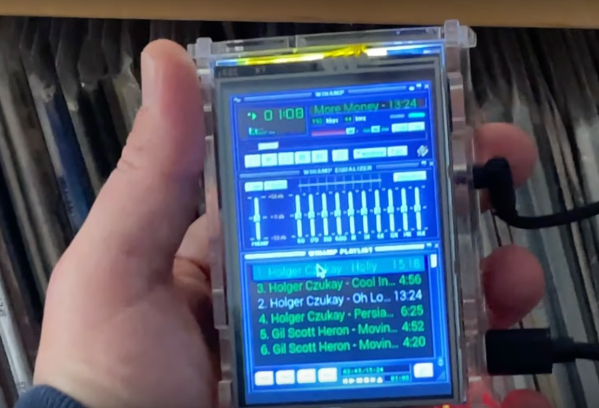
This thus requires that the iPad can still boot into iOS, but as demonstrated in the video it’s good enough to turn iCloud-locked e-waste into a multi-touch display. The SPI data stream that would normally go to the iPad’s SoC is instead intercepted by a Raspberry Pi Pico board which pretends to be a USB HID peripheral to the PC.
If you feel like giving it a short yourself, there’s the GitHub repository with details.
Thanks to [come2] for the tip.
Continue reading “Upcycling An IPad Into A Touchscreen Display For Your PC”