The Subaru BRZ (also produced for Toyota as the GT86) is a snappy sportster but [megahercas6]’s old US version had many navigation and entertainment system features which weren’t useful or wouldn’t work in his native Lithuania. He could have swapped out the built in screen for a large 4G Android tablet/phone, but there’s limited adventure in that. Instead, he went ahead and built his own homemade Navigation system by designing and integrating a whole bunch of hardware modules resulting in one “hack” of an upgrade.
The system is built around a Lenovo 4G phone-tablet running android and supporting GPS, GLONASS as well as the Chinese BeiDou satellite navigation systems. He removed the original daughter board handling the USB OTG connection on the tablet, and replaced it with his version so he could connect it to his external USB board via a flat ribbon cable. The USB board contains a Cypress 4-port USB hub. One port is used as the USB HID device to allow external buttons for system control — Power, Volume Up/Down, Fwd/Rev, Play/Pause, and Phone Answer/Hangup. The second port is used as a regular USB input to allow connecting external devices such as flash drives. The third one goes to a reversing camera while the fourth port goes to a USB DAC.


The USB DAC is another hardware board by itself and also includes a Bluetooth module which integrates his phone’s audio and control functions with the on-board system. There’s also an audio mixer which allows him to use the phone audio without having to miss out on the navigation prompts from the tablet. Both boards also contain several peripheral circuits such as amplifiers and DC power supplies. Audio to the speakers is routed through six LM3886 based power amplifier boards. And the GPS module receives its own special low-noise amplifier board to ensure extremely strong reception at all times. That’s a total of ten boards custom built for this project. He’s also managed to source all the original harness connectors so his system is literally a snap in replacement. The final assembly looks pretty dashing.
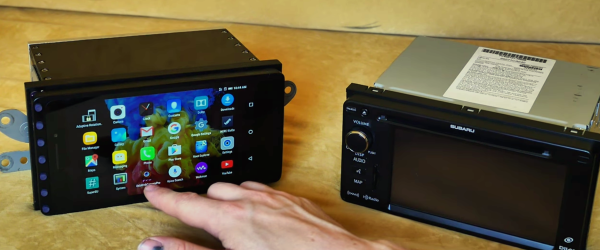
For some strange reason, the Lenovo tablet uses 4.35V as the ‘fully charged” value for its LiPo instead of the more common 4.20V, so even with the whole system connected to a hefty 12V lead acid battery from which he’s deriving the 4.20V charging voltage for the tablet, it still complains about “low battery” — and he’s looking for advice on how he can resolve that issue short of blowing up the LiPo by using the higher charge voltage. Besides that, he’s (obviously a kickass) hardware designer and a little bit rusty on the software and programming side of things, for which he’s looking for inputs from the community. His introductory video is almost 30 minutes long, but the shorter demo video after the break shows the system after installation in his car. He’s posted all of his Altium hardware source files on the project page, but until he shares PDF versions, it would be difficult for most of us to look at his work.
Continue reading “Homemade Subaru Head Unit Is Hidden Masterpiece”


