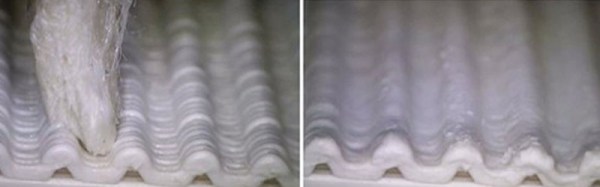
Whether you’re building a product mock-up or a lightweight enclosure, carving your parts out of hard foam is a fast way to get the job done. Unfortunately, the end result can have a bit of a rough finish; a problem if you’re looking to attract investors or get some nice shots so you can send your handiwork into Hackaday.
If you ever find yourself in a situation where you need to make a carved piece of foam look like it isn’t a carved piece of foam, this tip from prolific maker [Eric Strebel] could really come in handy. Rather than using some spray-on primer or epoxy coating, things that can be difficult to work with when you’re confined to a small home workspace, he recommends sealing it up with several coats of gesso.
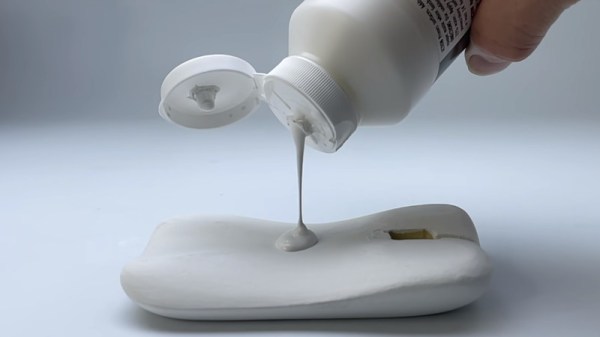
For the less artistically inclined in the audience, gesso is essentially a paint that’s been combined with chalk or gypsum to make it thicker. Gesso is generally used to prepare an absorbent surface (such as wood or canvas) before applying paint. In this case, [Eric] is using it to build up the surface of the foam and seal up all the open pores.
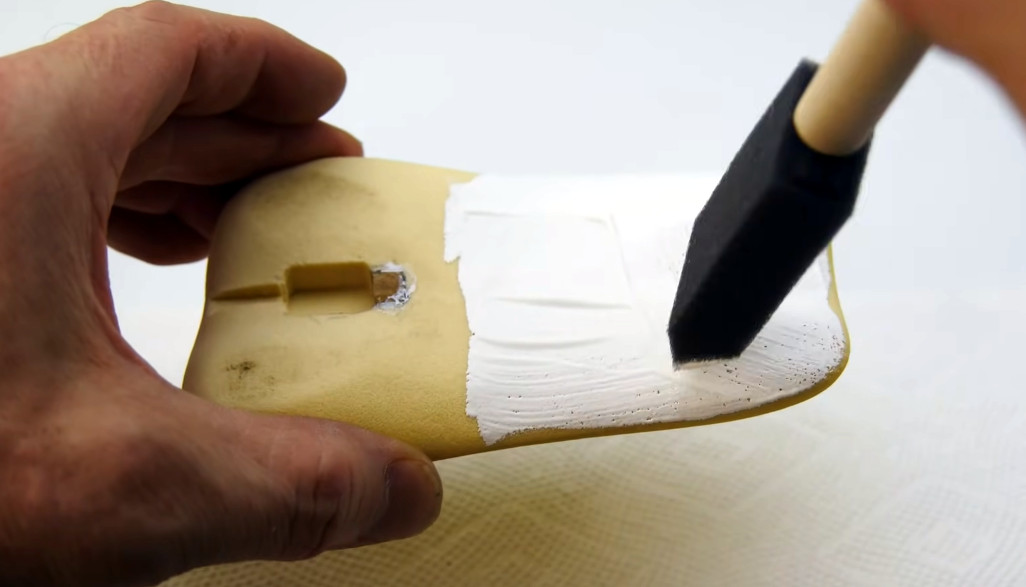
The downside is that the gesso requires several coats to really build up. [Eric] puts six coats on in this demonstration before he starts to thin it out a bit with water. At that point, each successive coat is sanded with increasingly higher grits. After nine coats, he does his finish sanding with 600 grit paper, and the results look fantastic.
To add some color [Eric] dyed the piece and then used a toothbrush to flick on some black and white paint, creating a very convincing granite-like finish. Unfortunately, his attempt to brush on a water-based sealer caused this finish to run, and he had to take it all off. In the end, he had to resort to using spray paint to finish the piece, but at least it was a simple rattle can.
This isn’t the first time [Eric] has experimented with alternative priming techniques. He’s a big fan of two-component primer in a can, which lets you lay down a professional finish without the expense and complication of using a spray gun.
Continue reading “Smoothing Out Foam Parts With Lots Of Gesso”