Stop Silicone Cure Inhibition, No Fancy Or Expensive Products Required

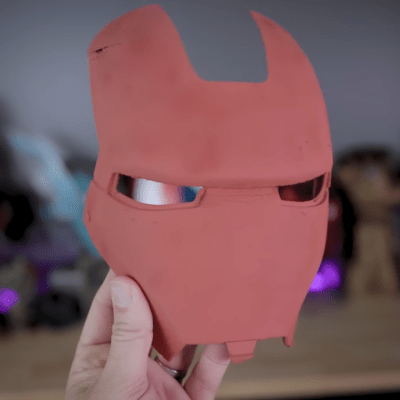
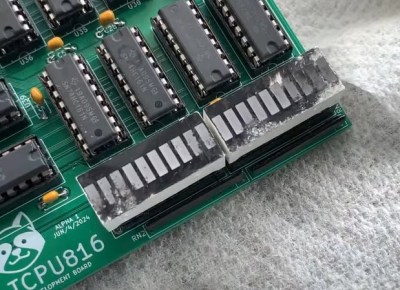
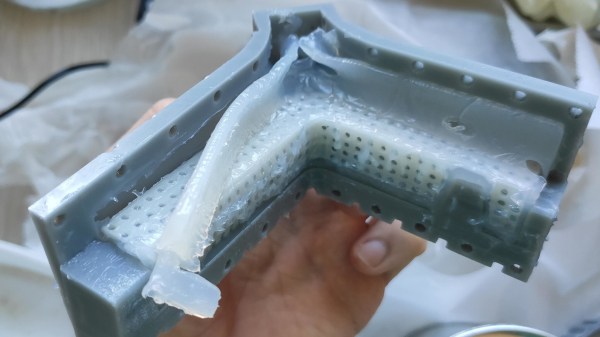
Casting parts in silicone is great, and 3D printing in resin is fantastic for making clean shapes, so it’s natural for an enterprising hacker to want to put the two together: 3D print the mold, pour in the silicone, receive parts! But silicone’s curing process can be inhibited by impurities. What’s cure inhibition? It’s a gross mess as shown in the image above, that’s what it is. Sadly, SLA-printed resin molds are notorious for causing exactly that. What’s a hacker to do?

Firstly: there are tin-cure and platinum-cure silicones, and for the most part tin-cure silicone works just fine in resin-printed molds. Platinum-cure silicones have better properties, but are much more susceptible to cure inhibition. Most workarounds rely on adding some kind of barrier coating to molds, but [Jan Mrázek] has a cheap and scalable method of avoiding this issue that we haven’t seen before. Continue reading “Stop Silicone Cure Inhibition, No Fancy Or Expensive Products Required”

Better 3D Printing Via Chemistry?

If you have problems getting a 3D print to stick to the bed, you might consider using glue to — hopefully temporarily — attach the print to the bed. In addition, some plastics glue together well if you use a solvent. [Stefan] asks the question: What if you use solvent to glue each layer of a 3D print to the previous layer? The answer is in the video below.

If you know [Stefan], he is always meticulous, so the first test was with normal ABS parts. Then he used a solvent to glue two broken parts together to show how a single layer does with bonding.  Then he moved toward trying the solvent for each layer.

Continue reading “Better 3D Printing Via Chemistry?”

Keycap Shine? No, Shiny Keycaps

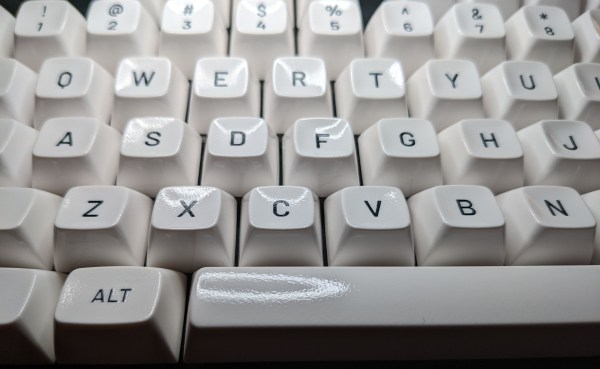
No matter how often you wash your hands, ABS keycaps will eventually exhibit shine wherever you strike them the most. And that’s the problem right there: the shine might be okay if it were somehow uniform across the surface of the keycaps, but instead it just tends to make one feel seen. And since there’s really nothing you can do except to replace your keycaps (or start with PBT), you might as well embrace the shine, right?

Well, that’s how [mmalluck] feels, anyway. He recently experimented with using acetone vapors to refinish a set of keycaps from Drop, making them super-duper shiny in the process. Now, the operative word here is vapors, because straight acetone would acid-wash those ‘caps faster than you can say ‘bad idea jeans’.

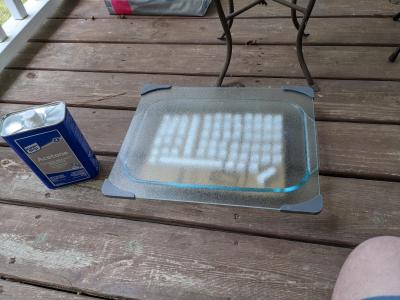
So to that end, [mmalluck] poured acetone in a glass cake pan, used a piece of cardboard to separate the keycaps from the acetone, and covered it all with a glass cutting board. It doesn’t take very long to achieve a good result, and [mmalluck] says it’s better to err on the side of too-short instead of risking reaching the point of too-melted.

We wouldn’t have thought we’d react this way, but we think they’re pretty cool looking. That particular set seems just right for this process, which makes them look like new old-stock typewriter keys or something. Looks way better than the ultra-personalized shine of usage. What do you think? Let us know in the comments.

Via KBD #90

Scavenging CDs For Flexible Parts

CDs are becoming largely obsolete now, thanks to the speed of the internet and the reliability and low costs of other storage media. To help keep all of this plastic out of the landfills, many have been attempting to find uses for these old discs. One of the more intriguing methods of reprurposing CDs was recently published in Nature, which details a process to harvest and produce flexible biosensors from them.

The process involves exposing the CD to acetone for 90 seconds to loosen the material, then transferring the reflective layer to a plastic tape. From there, various cutting tools can be used to create the correct pattern for the substrate of the biosensor. This has been shown to be a much more cost-effective method to produce this type of material when compared to modern production methods, and can also be performed with readily available parts and supplies as well.

The only downside to this method is that it was only tested out on CDs which used gold as the conducting layer. The much more common aluminum discs were not tested, but it could be possible with some additional research. So, if you have a bunch of CD-Rs laying around, you’re going to need to find something else to do with those instead.

Thanks to [shinwachi] for the tip!

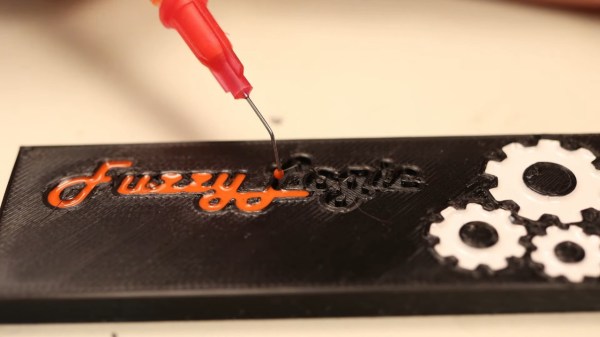
Syringe with diluted nail polish used to fill into cursive "FuzzyLogic" letters extruded into a surface of a 3D-printed block of plastic, as a demonstration.

Brighten Up Your Prints With This Nail Polish Approach

It’s not enough to 3D-print a part – there’s a myriad of things you can do from there! [FuzzyLogic] shows us his approach of adding inlay labels, icons and text to a 3D print, by extruding them into the print and filling the resulting cavity with nail polish! This makes for colorful and useful prints, as opposed to dull single-color parts we typically end up with.

The devil’s in the details, and [FuzzyLogic] has got the details down to a technique. Nail polish has to be diluted with acetone so that it flows well, and a particular combination of syringe and needle will be your friend here. Of course, don’t forget to factor surface tension in – even with well-diluted nail polish, you cannot make the grooves too thin. A bit more acetone on a q-tip helps in case of any happy little accidents, and a coat of clear acrylic spray paint seals the lettering firmly in place. The five-minute video tells you all about these things and a quite few more, like the basics of extruding text and icons in a typical CAD package, and has a bit of bonus footage to those watching until the end.

Adding markings to our prints is a lovely finishing touch! If you’re looking for more of that, here’s a custom tool-changing printer with a pen attachment making beautiful custom enclosures for the Pocket Operator.

Continue reading “Brighten Up Your Prints With This Nail Polish Approach”

Cheap Alternative Solvents For PCB Cleaning

If you’re in the habit of using isopropyl alcohol to clean your PCBs after soldering, you probably have a nice big jug of the stuff stashed away. If you don’t, you’re probably out of luck, since the COVID-19 pandemic has pretty much cleared IPA out of the retail market. But don’t fret: depending on where you live, alternative PCB cleaning solutions may be as close as your nearest auto parts store.

[Steven]’s search for a cheaper and perhaps more readily available substitute for his usual dedicated flux cleaner lead him to try automotive brake cleaner on a few test boards. He suspected that they might contain acetone, which is prone to yield unfortunate results with solder resist and silkscreen on PCBs, so some tests were in order. The brand he tried was Normfest Bremsenreiniger MC-1, a German brand that according to its Safety Data Sheet contains only hydrocarbons like alkanes, butane, and propane. It did a fine job cleaning all but the crustiest rosin flux without collateral damage.

In the video below, [Steven] goes through a few more brands with similar results, and we were encouraged enough by his results to check brake cleaners made for the US market. Alas, almost all of the cheap and readily available aerosols have acetone as the principle ingredient, mixed in with methanol, ethanol, and assorted ingredients that together will probably make for a bad day. About the only US-sold brand without acetone that we could find was Keller-Heartt, which lists only naptha and ethanol on its SDS. There may be others, but make sure you test whatever you find.

Aerosol solvents aren’t the only way to clean a PCB, of course. Ultrasonic cleaners do a great job, and as [Steven] discovered, they’re generally safe for most components.

Continue reading “Cheap Alternative Solvents For PCB Cleaning”

The Latest In 3D Printed Part Smoothing: Use A Brush

Part smoothing for 3D printed parts, especially parts printed in ABS, has been around for a while. The process of exposing an ABS part to acetone vapor turns even low-resolution prints into smooth, glossy 3D renderings that are stronger than ever. The latest improvement in part smoothing for 3D printed parts is now here: use a brush. Published in Nature‘s Scientific Reports, researchers at Waseda University have improved the ABS + acetone part smoothing process with a brush.

According to the authors of the paper, traditional filament-based printing with ABS has its drawbacks. The grooves formed by each layer forms a porous surface with a poor appearance and low rigidity. This can be fixed by exposing an ABS part to acetone vapor, a process we’ve seen about a million times before. The acetone vapor smoothing process is indiscriminate, though; it smooths and over-smooths everything, and the process involves possible explosions.

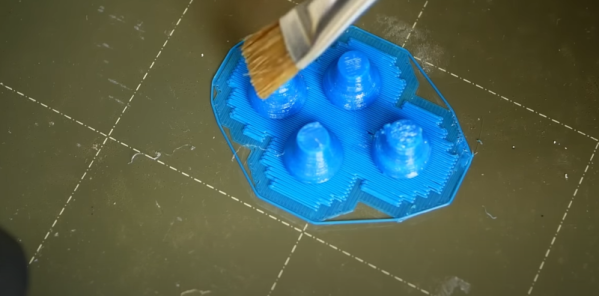
The researcher’s solution is a felt tip pen-like device that selectively applies acetone to a 3D printed part. Compared to the print over-smoothed in a vat of acetone vapor, more detail is retained. Also, there’s a ready market for felt tip pens and there isn’t one for crock pots able to contain explosive vapor. This is, therefore, research that can be easily commercialized.