Smoothing Out Foam Parts With Lots Of Gesso

Whether you’re building a product mock-up or a lightweight enclosure, carving your parts out of hard foam is a fast way to get the job done. Unfortunately, the end result can have a bit of a rough finish; a problem if you’re looking to attract investors or get some nice shots so you can send your handiwork into Hackaday.

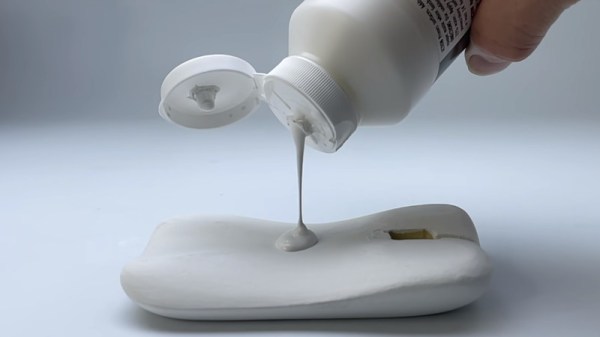
If you ever find yourself in a situation where you need to make a carved piece of foam look like it isn’t a carved piece of foam, this tip from prolific maker [Eric Strebel] could really come in handy. Rather than using some spray-on primer or epoxy coating, things that can be difficult to work with when you’re confined to a small home workspace, he recommends sealing it up with several coats of gesso.
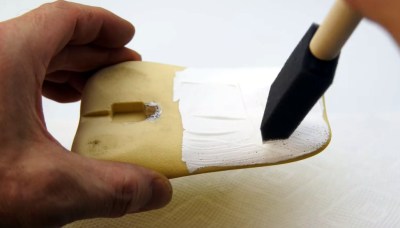
The gesso fills in the tiny voids in the foam’s surface.

For the less artistically inclined in the audience, gesso is essentially a paint that’s been combined with chalk or gypsum to make it thicker. Gesso is generally used to prepare an absorbent surface (such as wood or canvas) before applying paint. In this case, [Eric] is using it to build up the surface of the foam and seal up all the open pores.

The downside is that the gesso requires several coats to really build up. [Eric] puts six coats on in this demonstration before he starts to thin it out a bit with water. At that point, each successive coat is sanded with increasingly higher grits. After nine coats, he does his finish sanding with 600 grit paper, and the results look fantastic.

To add some color [Eric] dyed the piece and then used a toothbrush to flick on some black and white paint, creating a very convincing granite-like finish. Unfortunately, his attempt to brush on a water-based sealer caused this finish to run, and he had to take it all off. In the end, he had to resort to using spray paint to finish the piece, but at least it was a simple rattle can.

This isn’t the first time [Eric] has experimented with alternative priming techniques. He’s a big fan of two-component primer in a can, which lets you lay down a professional finish without the expense and complication of using a spray gun.

Continue reading “Smoothing Out Foam Parts With Lots Of Gesso”

Two-Part Primer In A Can Is A DIY Dream Come True

When putting together a home workshop, available floor space is often the deciding factor when it comes time to pick tools and equipment. This ultimately leads to some very difficult decisions, and we’d wager there isn’t a hacker or maker reading this that hasn’t had to pass on a new piece of gear because they didn’t have anywhere to put it.

For example, the average home gamer isn’t going to have a paint booth and spraying equipment, so they have to settle for a rattle can in the backyard. Traditionally this has limited the kinds of products you can realistically apply, but as [Eric Strebel] shows off in his latest video, it seems like spray can technology is starting to catch up.

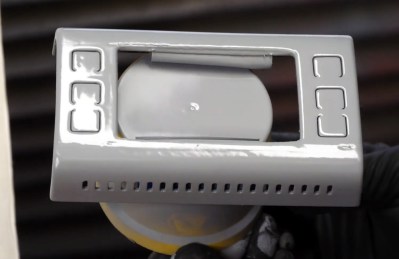
3D printed part with two coats of spray primer applied
The finish after two coats of primer.

Specifically, he’s been working with a canned two-part primer that doesn’t require any complicated mixing or special equipment to apply. After hitting a plunger on the bottom, a small compartment containing the activator is ruptured and the reaction begins. From that point, you’ve only got 24 hours to use the contents of the can before it cures. But since you only need to wait about 10 minutes between coats, that should give you plenty of time to complete the project.

In the video, [Eric] demonstrates how quickly this high-build primer can smooth out the layer lines on a 3D print. While you’ll still need to sand and potentially break out the spot filler to achieve that perfect finish, it’s clear that the primer works much better than anything we’re used to seeing come out of a can. Even after just two coats, the results are truly remarkable.

If there’s a downside, it’s that a can of this primer will run you about $25 USD. That’s about five times the cost of the Rust-Oleum Filler Primer that usually gets recommended in DIY circles, but the results really do seem to speak for themselves. We wouldn’t necessarily use this on every project, but if you’ve got something that needs an especially fine finish, you’ve at least got an option that doesn’t involve borrowing somebody’s compressor and spray gun.

If you need help shaking your paint before spraying – definitely give this 3D printed paint shaker a look!

Continue reading “Two-Part Primer In A Can Is A DIY Dream Come True”

Remoticon Video: The Mechanics Of Finite Element Analysis

Hardware hacking can be extremely multidisciplinary. If you only know bits and bytes, but not solder and electrons, you’re limited in what you can build. The same is true for mechanical design, where the forces of stress and strain suddenly apply to your project and the pile of code and PCBs comes crashing to the ground.

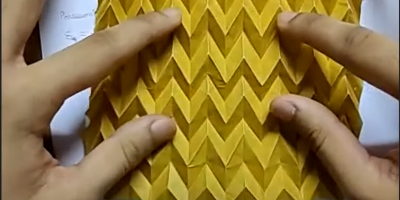
In the first half of his workshop, Naman Pushp walks you through some of the important first concepts in mechanical engineering — how to think about the forces in the world that act on physical objects. And he brings along a great range of home-built Jugaad props that include a gravity-defying tensegrity string sculpture and some fancy origami that help hammer the topics home.

In the second half of the workshop, Naman takes these concepts into computer simulation, and gives us good insight into the way that finite-element analysis simulation packages model these same forces on tiny chunks of your project’s geometry to see if it’ll hold up under real world load. The software he uses isn’t free by any definition — it’s not even cheap unless you have a student license — but it’s nonetheless illuminating to watch him work through the flow of roughly designing an object, putting simulated stresses and strains on it, and interpreting the results. If you’ve never used FEA tools before, or are looking for a compressed introduction to first-semester mechanical engineering, this talk might be right up your alley. Continue reading “Remoticon Video: The Mechanics Of Finite Element Analysis”

Art of 3D printer in the middle of printing a Hackaday Jolly Wrencher logo

3D Printering: Getting Started Is (Still) Harder Than It Needs To Be

Stop me if this sounds familiar. You are interested in 3D printing but lacked a clear idea of what was involved. Every time you looked into it, it returned to the back burner because after spending your limited free time researching, it still looked like a part time job just to get up to speed on the basics. If this is you, then you’re exactly the reason I say the following: despite 3D printing being more accessible than ever, getting started remains harder than it needs to be. It’s a shame, because there are smart, but busy, people just waiting for that to change.

A highly technical friend and colleague of mine had, off and on, been interested in 3D printing for some time. He had questions, but also didn’t have a very good understanding of the basics because it’s clumsy and time-consuming to research something when one doesn’t even know the right terms.

I told him to video call me. Using my phone I showed him the everyday process, from downloading a model to watching the first layer get put down by the printer. He had researched getting started before, but our call was honestly the first time he had ever seen a 3D printer’s actual workflow, showing hands-on what was involved from beginning to end. It took less than twenty minutes to give him a context into which he could fit everything else, and from where he felt comfortable seeking more information. I found out later, when I politely inquired whether he had found our talk useful, that he had ordered a Prusa MK3S printer later that same day.

It got me thinking. What from our call was important and useful, but not available elsewhere? And why not?

Continue reading “3D Printering: Getting Started Is (Still) Harder Than It Needs To Be”