Day: June 3, 2010
Nixie-display Brings More Wiring Madness

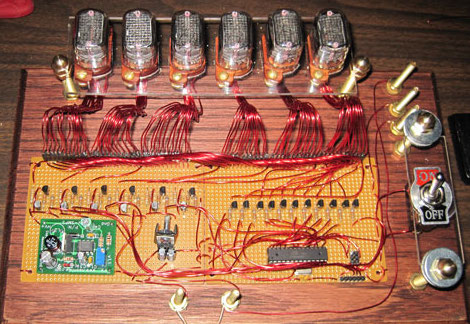
[Tim Anderson] whipped up this nixie tube display using epoxy-coated wires. He’s certainly giving the wire-wrapped LED display a run for its money. He ground the epoxy off the end of each wire using a Dremel before soldering them. We thought you could solder right through the epoxy but maybe not. Was this easier than wire wrapping would have been? We’d bet that because of the voltages wire wrapping wasn’t an option here. That board on the left is the 180V power supply for the tubes with an AVR chip running the Arduino bootloader to the right. After the break there’s a brief demo of data being pulled down over a serial connection. [Tim] also has some plans to add an atomic clock module to this setup sometime down the road.
Wire-wrapping An LED Matrix

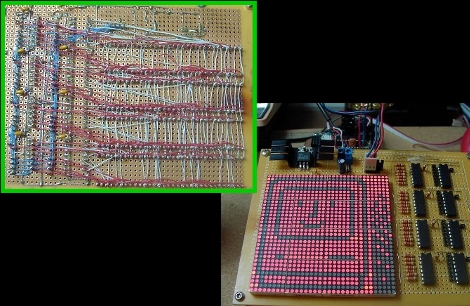
Regular reader [Osgeld] built a 1024 LED display matrix. This is a proof-of-concept design and he admittedly has overloaded the components. Most notably, the 595 shift registers (featured over the weekend) are sourcing too much current if all eight pins are active. That’s easy enough to fix in the next design by moving up to cascading LED drivers. Instead of soldering every connection in the display, [Osgeld] soldered the components in place and then used wire wrapping to make the point-to-point connections. This must have saved him a ton of time and frustration. We can’t wait to see what comes out of this first prototype.


