Scratch-built Bottle Cap Coffee Table Pulses To The Music

scratch-build-bottlecap-coffe-table

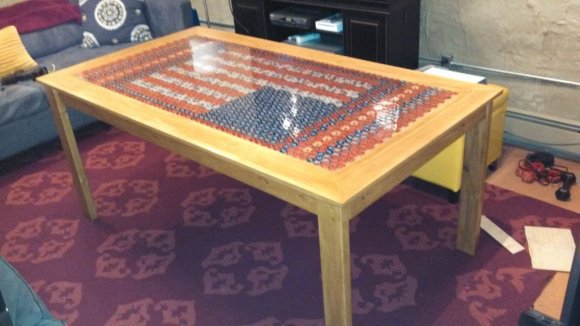
This isn’t a thrift-store coffee table modified as a craft project. [Dandujmich] built it from the ground-up using framing lumber, bottle caps, plastic resin, and some electronics for bling.

The first step was to see if he had enough caps on hand for the project. It’s hard to grasp how many were used just by looking at it, but the gallery description tells us there’s about 1700 which went into the design! From there he grabbed some 2x4s and began construction. The table legs started with two end assemblies built by doweling the legs to the end cross pieces. From there he cut a rabbit on the side rails and screwed them to the leg assemblies from the inside.

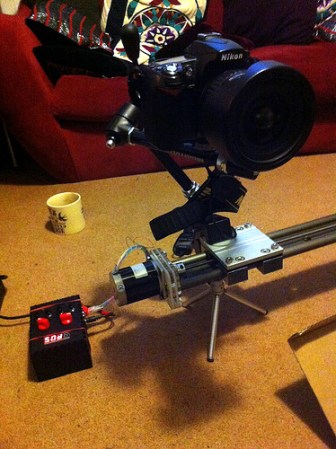
The tabletop includes a frame with a recessed area deep enough to keep the caps below the surface. After spending about ten hours super gluing all of the caps in place he mixed and poured two gallons of the resin to arrive at a glass-like finish. The final touch is some custom hardware which pulses two rows of embedded LEDs to music being played in the room. The video after the break isn’t fantastic, but it gives you some idea of how that light rig works.

Continue reading “Scratch-built Bottle Cap Coffee Table Pulses To The Music”

Time-lapse Dolly Uses Some Stock Parts And A Bit Of Machining Work

linear-carriage-for-time-lapse-photography

[Ben] just finished building this time-lapse dolly and decided to share his experience. We think he struck just the right balance of diy and commercially available materials to create a rig that is stable yet relatively inexpensive.

The project was inspired by Project Chronos. It gives a lot of details about the drive electronics and code used, but there are some gaps in the instructions for building the track itself. [Ben] forged ahead, purchasing linear bearings and a double-guide rail from IGUS. He didn’t mention the price on that item but we found 1000mm of the stuff (about 40 inches) for under $75 so it’s not outrageous. The part he couldn’t get for a reasonable price was precision thread bar. He ended going with regular threaded rod and a couple of nuts combined with a spring mechanism to keep the sled steady. That seems to work just fine. You can see the rod bouncing a bit in the clip after the break but it doesn’t harm the stability of the captured images.

The end stops including the one to which the stepper motor is mounted are his own work. It sounds like they required a bit more fabrication work than he was planning on but we figure if you don’t challenge your skill set you never get any better.

Continue reading “Time-lapse Dolly Uses Some Stock Parts And A Bit Of Machining Work”