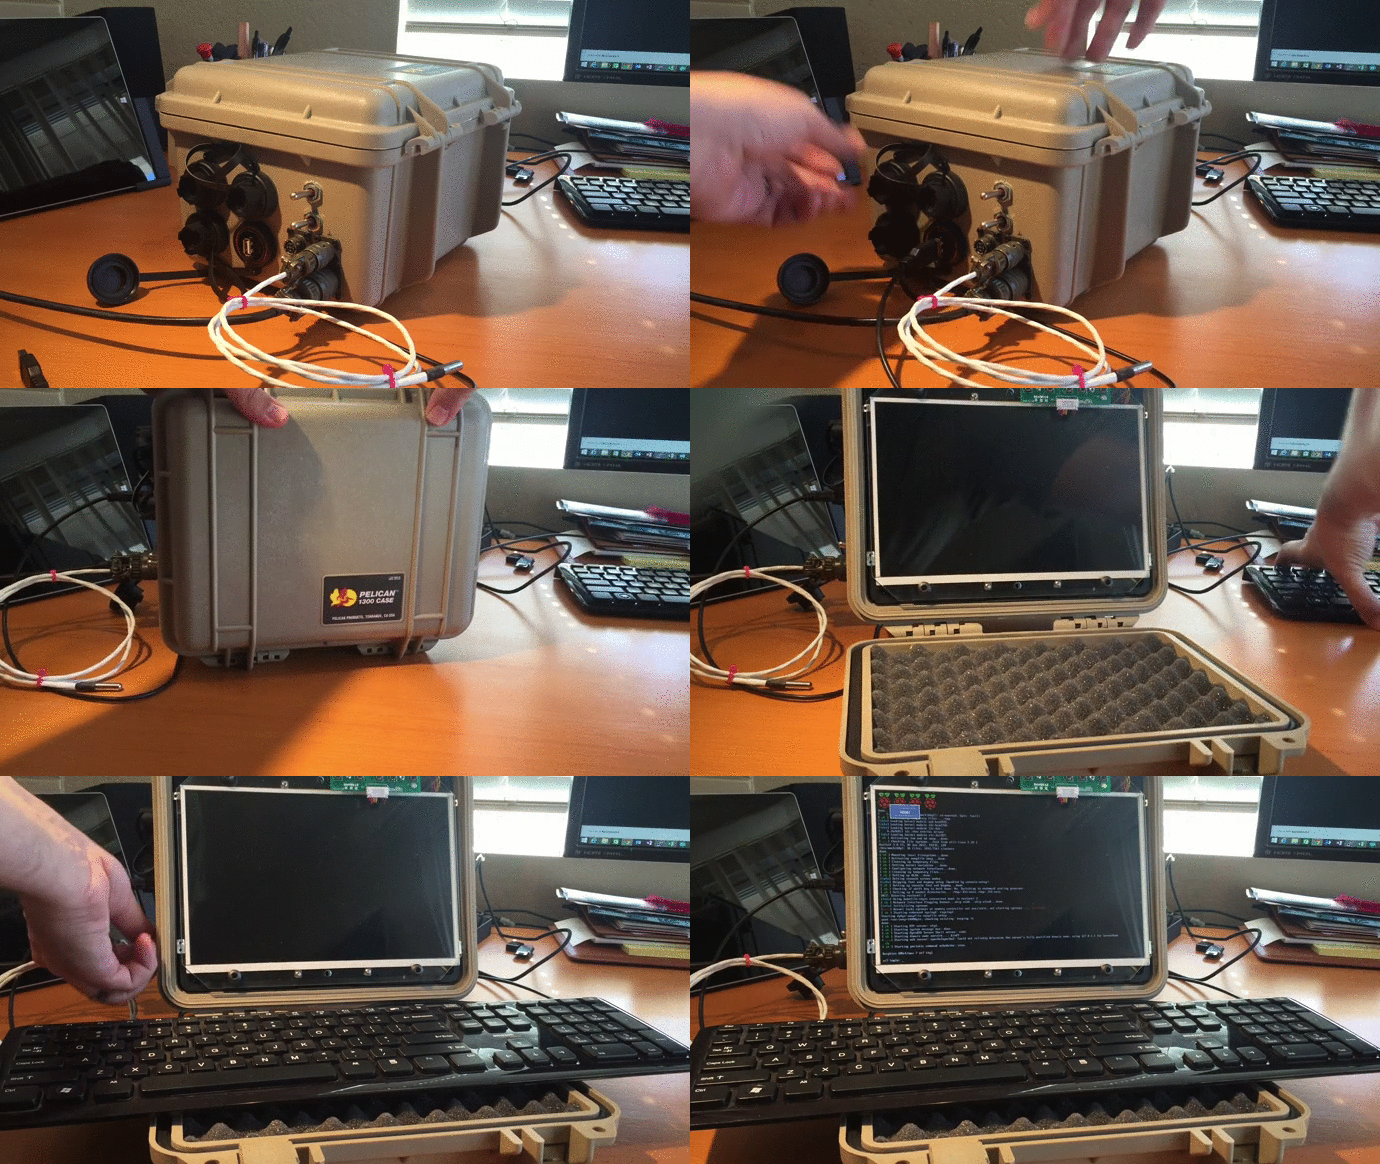
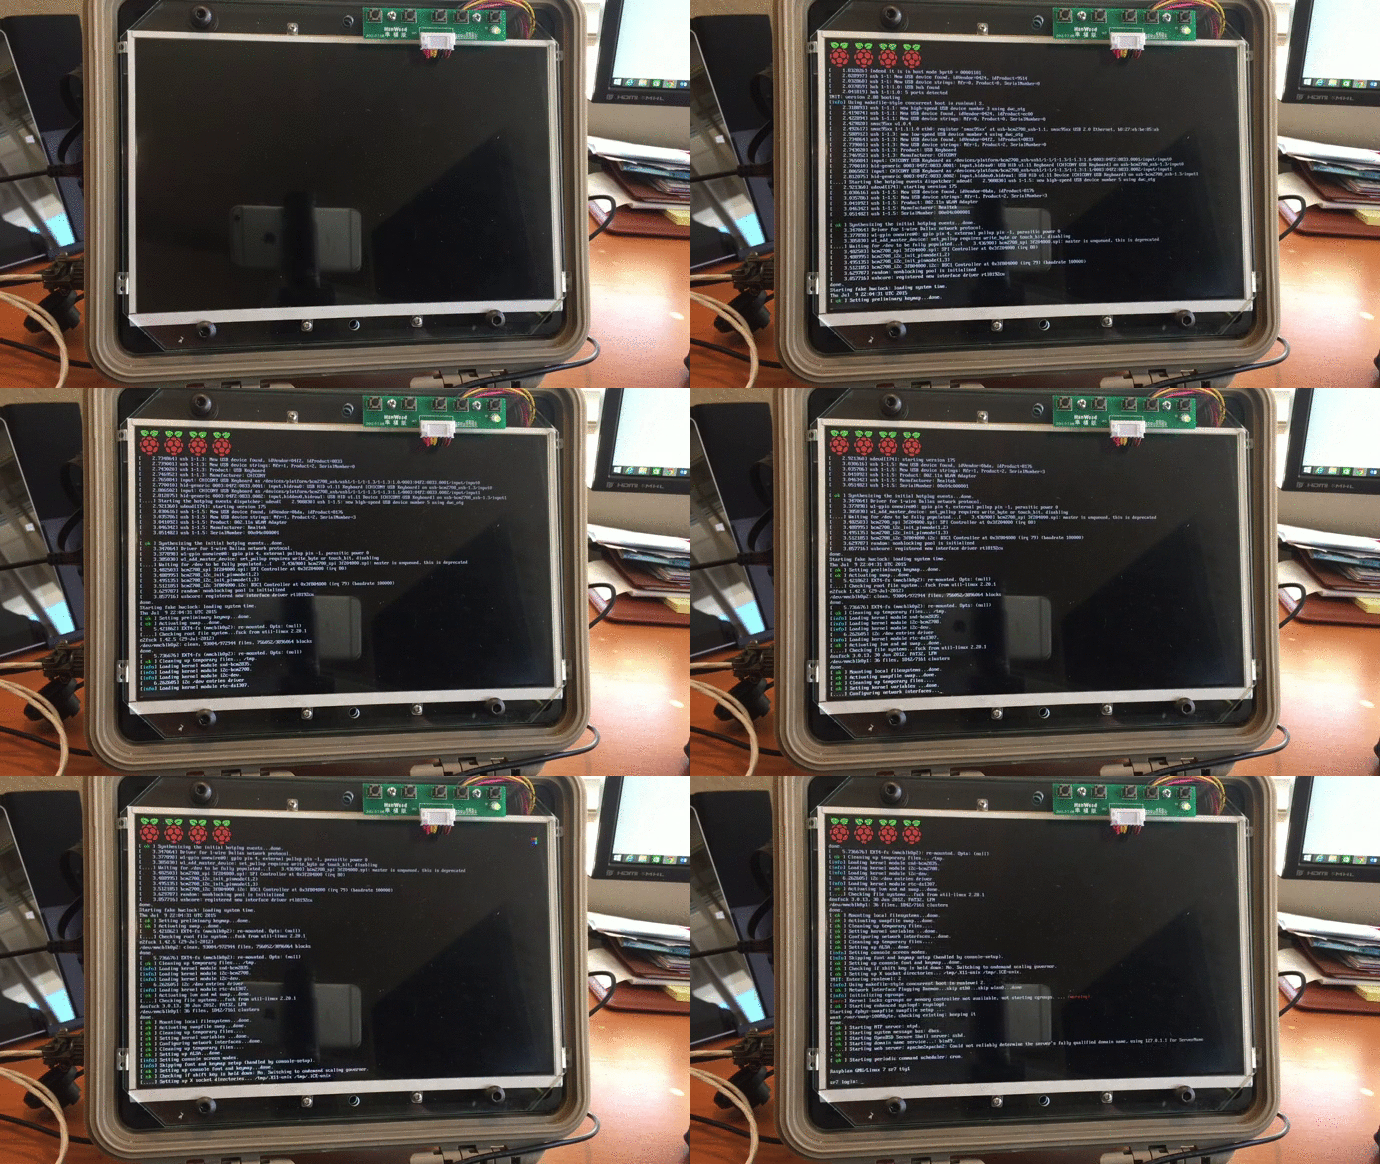
Raspberry Pis are great for tons of projects, but if you want to use them outside, you’re going to need a waterproof enclosure. Not happy with what was available, [Jay Doscher] went all out and created the Raspberry Pi Field Unit — a piece of tech that looks straight out of the Call of Duty franchise.
Wanting it to be extra durable, [Jay] started with a Pelican Case 1300 — the standard in electronics protection. These come with a Pelican panel mount, so he had some plastic laser cut specifically to fit the panel mount, and attach all of his components. Speaking of components, he got only the best — inside is:
- A Raspberry Pi 2 with a few PIHATs (permanent prototyping shield)
- A 10.1″ IPS display
- A high power wireless USB dongle
- Weather proof USB and LAN connectors
- An RTC for when it’s off the network
- A 12V power supply for running off solar panels
- DC-to-DC adapters to bring it down to 5V
- A whole bunch of hardware from McMaster-Carr
He has a great write-up over on his blog, and a fantastic section on lesson’s learned during the build. If you’re looking to do anything even remotely similar, it’s worth a read.

For a smaller outdoor case idea, SnoTunes is the perfect way to use a Raspberry Pi for an outdoor snowboarding music setup!


“waterproof enclosure”
Either he changed his blog or HaD got his intentions wrong. “weatherproof” is something else ;)
Yeah, Pelican cases aren’t waterproof, only water resistant. They’ve got a Gore-Tex pressure equalization valve that leaks when you get over about 1m. Hence the IP67 rating…
They used to have a physical schrader valve. I am still bummed that Pelican cases are now made cheap.
Come on, they didn’t “cheap out” by adding the pressure equalization valve, it certainly costs more than a simple plastic manual valve. What situation are you in that you’re submerging a case (that floats) several feet underwater? Besides, if you really want to make it waterproof you can replace the valve with a bolt and an o-ring.
In Pelican’s defense, they design the cases to float once filled. Why spend the extra buck on a valve good to 100m if that’s not your ‘threat model’ so to speak.
Good argument – although I’ll go out on a limb and bet they didn’t drop the price to reflect the cost savings.
When the price of a small case is +$50 ‘passing along’ the savings won’t influence most buyers. People are buying these cases because they need them $2-5 won’t sway many people.
They also have different production lines, there’s a consumer one, which is the least robust but still probably enough for the weekend warrior. IDK if the top-of-the-line model has a better valve, it would depend on what sort of ratings they are aiming for and people are shopping for.
Nothing is actually waterproof but I have pulled a pelican out of water that nearly covered it before and it was fine …. Not something I would leave outside but they are nice
Perhaps you could cover that goretex valve with an optional screw-on waterproof cap. For those moments that you are in a situation where you need more protection.
I’ve seem many a project where they took old ammo boxes or PVC tubing and managed to make it a quite waterproof electronics/camera underwater container, with nothing but the right glue and plastic add-ons.
It’s really meant to withstand outdoor environments, not submersion. I wanted it to be left outside without worries of critters or moisture making its way inside. I don’t want to be in the water when a nearby solar panel is pumping 14V at 7A into a submerged wire or electronics assembly.
I did something similar awhile ago with a bbb acting simply as a console terminal … Very useful!
Serial terminal* brain fart
I just took it as remote console. So close enough really.
I noticed the use of brackets to hold the LCD.
It’s obviously a salvaged screen using an LCD controller kit. I’m very interested whether Jay is going to do a bezel for the screen and how robust this proves to be.
I’m doing something similar and i’d like to give myself some assurance that the screen will last inside the flight case. The only thing I can think of is mounting it on a subframe and then using isolation mounts between the subframe and the case.
The screen is from Adafruit, and I use some laser-cut plastic in front to cover the whole screen and two parts in back to help hold it in place. The screen is attached to the plastic parts, which are attached to a black plastic subframe you can see in the photo- it’s around the outside edges. The rest of the plastic plates with electronics also mount to that frame. Check out the link to my site, it has a photo of the interior frame before I added all the eletronics. So far it’s held up fairly well.
Thanks for the reply @polyideasdotcom my mistake re screen source. Have you considered mounting the LCD plastic support frame to the subframe via some form of conformal mount? (https://www.polymax.co.uk/anti-vibration-rubber-mount/) I’m looking at that as a way of isolating the screen from any torsion or stress induced through the mounts in case the case were to flex when dropped. Looking at your solution you probably cover that angle through the seperate subframe in your case. My subframe is integral to my case hence my different approach.
The screen is a kit from Adafruit, which includes a LVDS LCD controller. Very expensive way to go about it; contollers like that are $25 and displays are free from old laptops. Better res too I would bet
@bootstrap the salvaged LCD way is what I’m doing for just that reason.
hey its like laptop, without the keyboard :)
A laptop with lots of hacker’s input and connectivity, and much smaller.
And more interesting looking too.
very true, about the laptop.
Why do you insist on calling it a shield? It is called a Raspberry Pi HAT (Hardware Attached on Top).
Because we’re sick of every Tom, Dick, and Harry that makes a new microcontroller board, also feels obligated to rename (and copyright) the pieces, e.g. hats, capes, shields, sketches, blah-blah-bla…
Why do you insist on calling it a shield? It is called a Raspberry Pi HAT (Hardware Attached on Top).
Funny thing is that what you have is a small battery operated computer that is far more powerful than a VAX. Not all that long ago it would have been a great prop for James Bond.
I think I would scrounge the interwebs and find a keyboard that fit inside the lid and make it (nearly) self contained. Until my wallet loves me more, I have no hope of trying to replicate this.
There are tons of them available. A nice wireless one will be perfect that has a trackpad on it.
Those folding keyboards that worked with Palm devices for instance…
Those are very strong cases. I have several for my pistols.
Why do you insist on calling it a Pi HAT? It is called a Raspberry Pi HAOT (Hardware Attached on Top).
Why do you insist on reminding that?
https://www.raspberrypi.org/blog/introducing-raspberry-pi-hats/
Why do you insist on calling it a shield? It is called a Raspberry Pi HAT (Hardware Attached on Top).
We’re doing many things that are not enabled by default- I will do my best to capture all of them here. Display The Raspberry Pi has some minor tweaks that we need to make in order to support the display getting powered on after the Raspberry Pi. These changes are specific to the Adafruit HDMI display we’re using, but if you change the resolution for your display it should work with anything over HDMI.