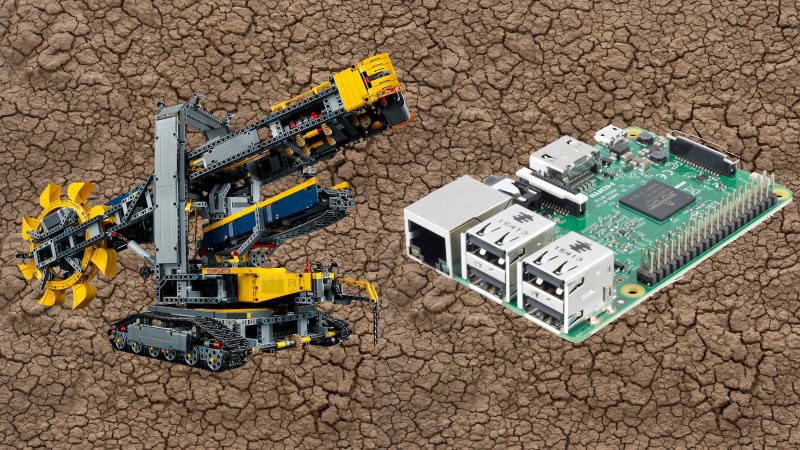
[Frank] was lucky enough to score a bucket wheel excavator LEGO set as a birthday present, and we won’t lie – we’re jealous. However, out of the box, the kit is somewhat limited; there is only one motor to animate the entire machine and it can’t be fully remote controlled. But don’t worry — [Frank] set out to change that (Google Translation).
The first part of the build was to add motors to control the different functions of the excavator. One motor was added for each of the two tracks to allow the machine to drive forwards, backwards, and turn. Two more motors were added to raise and lower the digging buckets, and spin the tower. Finally, the original motor was left in place to turn the conveyor.
With that done, [Frank] then used a Raspberry Pi 3 to control all the hardware, being sure to house the new electronics in LEGO for an original look. The Raspberry Pi might be a lot of muscle to simply control a few motors, but it made it quick and easy for [Frank] to implement a Wiimote as a controller over Bluetooth. You can check out a couple demo videos in his most recent update.
It’s a great project, and we’d love to see the Raspberry Pi put to good use by allowing control over the Internet so we can dig in the sand over lunch breaks. We’ve seen some great LEGO hacks before, like this method of modifying cheap gear motors to work with LEGO parts.


In english by the author: http://projekte.bummels-welt.de/en/category/bucketwheelexcavator-en
I have this set (42055), and built an MOC C Model of a 360 excavator, i had the exact same idea to give it a little more functionality, but using an Arduino Uno and motor shield, although been a noob in the world of electronics, im not sure how implementing wireless function would go. Time to learn me thinks.
Google translate doesn’t seems to show the page properly, however, it looks like the author translated most of the content by himself: http://projekte.bummels-welt.de/en/category/bucketwheelexcavator-en
necessary link: https://www.youtube.com/watch?v=azEvfD4C6ow
Ahh, yes :-) Nice.
Just a bit background: there is a nice, old, infunctionable bucket wheel excavator just near my home.
https://www.google.de/maps/place/51%C2%B032'07.1%22N+13%C2%B056'58.5%22E/@51.5317805,13.9412742,2292m/data=!3m1!1e3!4m5!3m4!1s0x0:0x0!8m2!3d51.535296!4d13.949595
This can be visited (unfortunatelly not climbed at) by everyone who is near there.
was it there to flatten the entire area for the massive solar panel installation?
This is one of remains of the extremely huge brown coal surface mining areas in eastern Germany (Lausitz). Thats why it is flat and has only small vegetation. It will not be suitable for any other usage for the next 15-20 years or so (as I have heard). And it may be dangerous to enter the area. So the solar panels are a good usage in the next years.
I think I just had my daily dose of WTF…
8\ wowers
“The Raspberry Pi might be a lot of muscle to …..” A lot of brain? I think….
The power concept with a USB power bank and a step up from 5V to 9V for the motors is not optimal. The power for the motors has to be converted two times. Either connect a suitable step up directly to the LiIon cell (after the protection circuit) or use two cells, drive the motors with unregulated 6V to 8,4V and use a step down for the 5V.
Thanks for your comment. I agree with you.
Voltage conversion in either way is part of my daily business.
But I like to keep it simple and fast. In this case I prefered the power bank, because it was easy to get, the housing was perfect to fit in the model and I didn’t have to mind about the charging.
But yes, I wouldn’t also have the issue with the current protection with the first power bank, when I would do it your proposed way.
At first I thought it was a custom build, then realized it was an actual set! Then realized it’s $280 -_-
Thats why it was a birthday present ;-)
Great post. Thanks for sharing this post .
That’s awesome, considered building your own using different parts on the end pick things up?