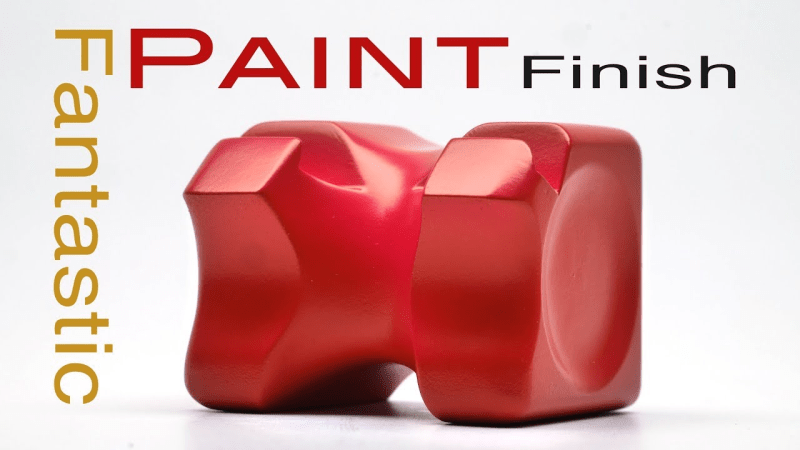
It’s easy to get professional-quality finishes on your prints and prototypes if you take the right steps. In the final installment of his series about building with Bondo, product designer [Eric Strebel] shows us how it’s done no matter what the substrate.
How does he get such a smooth surface? A few key steps make all the difference. First, he always uses a sanding block of some kind, even if he’s just wrapping sandpaper around a tongue depressor. For instance, his phone holder has a round indent on each side. We love that [Eric] made a custom sanding block by making a negative of the indent with—you guessed it—more Bondo and a piece of PVC. The other key is spraying light coats of both primer and paint in focused, sweeping motions to allow the layers to build up.
If you need to get the kind of surface that rivals a baby’s behind, don’t expect to prime once, paint once, and be done with it. You must seek and destroy all imperfections. [Eric] likes to smooth them over with spot putty and then wet sand the piece back to smooth before applying more primer. Then it’s just rinse and repeat with higher grits until satisfied.
There’s more than one way to smooth a print, of course. Just a few weeks ago, our own [Donald Papp] went in-depth on the use of UV resin.


So…. Sanding and painting. What’s the point of this article?
Just to showcase one guy’s procedure for getting a good paint job. I’m not sure why he bothers to paint in between coats of spot putty (aside from contrast) or why he hates rustoleum so much but whatever, he’s happy with the final product.
cause it takes about 1000 years to cure
its those extra steps that mean the difference between an awesome finish and mediocre one. says they guy that skimps on the sanding doesn’t prime, and only does 2 coats.
Eh, its not even a good finish…. mediocre at best