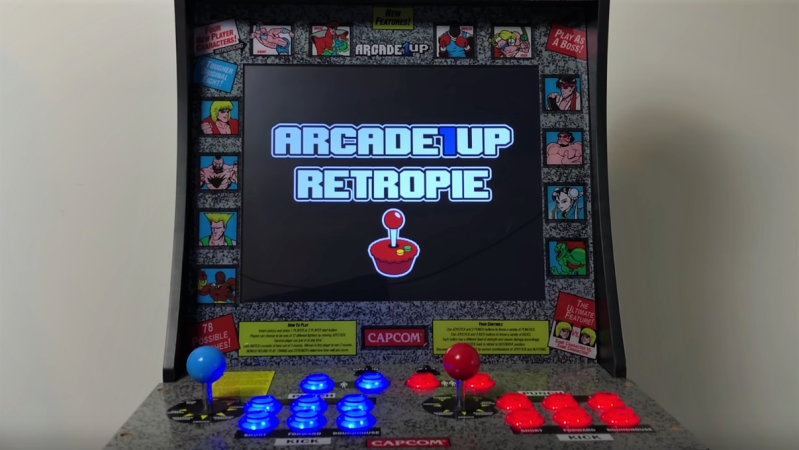
Upon announcement of the Arcade1up replica arcade cabinets earlier this year, many laid in waiting for the day they could see a teardown. A four foot tall cab with an LCD outputting the proper 4:3 aspect ratio and the simple construction of IKEA furniture certainly seemed appealing. In theory, it wouldn’t take long to customize such a piece of hardware provided the internals lent themselves to that sort of thing. Now that the cabinets are on store shelves, [ETA Prime] made a tutorial video on his method for upgrading the Arcade1up cabinet with a Raspberry Pi calling the shots.
The entirety of the mod is solder-free and uses plenty of readily available parts from your favorite online reseller. The brains of the operation is a Raspberry Pi 3 Model B+ running Emulation Station. The Arcade1up Street Fighter 2 cabinet’s less than stellar audio receives an upgrade in a 2x20W car audio amp, while the middling joysticks are swapped out for some more robust Sanwa-clone ball tops.
Since there is no “select/coin” button natively, [ETA Prime] added some and in the process replaced them all with beefier LED-lit 30mm buttons. The replacement joysticks and buttons were all part of a kit, so they plug-in conveniently to a plug and play USB encoder. To adapt the 17″ LCD’s output over LVDS, [ETA Prime] elected to go with an LCD controller board that outputs DVI, VGA, or HDMI. Luckily the Arcade1up cabinet’s 12V power supply could be reused to power the LCD controller board and in the process bring down the overall cost of the upgrade.
While this Arcade1up cabinet mod won’t solve the whole “bats versus ball tops” argument, it does provide a template to build on. The tutorial video is below and the list of parts used can be found in the YouTube description.


In describing the LCD setup, it seems like you’ve got input and output reversed.
I was more interested in the original board.
https://www.youtube.com/watch?v=dpHvtjndxzg
I love how he says he can’t see a UART header, when most of the times he says that, there’s a convenient 4-pad header right there next to the CPU on the edge of the board… Up and a bit to the right.
I don’t know what this is about
People using an underpowered platform to run a literally 16-years-old version of MAME that lacks all of the countless accuracy improvements that have gone in over that time, many of which affect the golden oldies, while reaping that sweet, sweet Internet publicity by ostensibly claiming to care about an “authentic” experience.
You’re talking computer to me again.
You do realize this is a site for people who have some level of knowledge about computers and IT right?
I am obviously using one or we wouldn’t be communicating. Do I like them? Not really. They’re forced on us. My comment to you was meant to be a joke. Apparently you didn’t take it that way. I suggest we don’t communicate at all to avoid another unpleasant exchange unless you have to power to throw me off this site. If you do, take your best shot.
So how long before someone has it dumped and you have the board in MAME just to mess with everyone? ;)
He also did a tutorial for installing a windows pc in the arcade1up SF2 cab but I guess you can’t whine about that.
If the entire guts are being replaced with different stuff then why not go all the way and just make the cabinet from scratch? it really isn’t that hard and shouldn’t take more than 3 sheets of plywood.
And put an old curved CRT in there while you’re at it. Retro gaming on an LCD? What you doin buddy
Can’t be the real experience without the eye damage caused by an electron beam hitting you square in the eyes at close range for hours on end ……
For untalented hacks like me that couldn’t make a wooden shelf, let alone a decent-looking cabinet.
I would love to just buy one of these and pop in a Raspberry Pi, I can work with software and do light soldering, etc, but woodworking and such are just way out of my league.
Not to mention I only have a 3 bedroom apartment, I don’t have room for a workshop, as much as I’d love to learn that stuff. Lack of free time is another consideration.
Why not just 3d print a cabinet?
Wouldn’t that be more costly than just buying the 1-up and the raspberry pi?
CAN YOU SEND THE PART LIST ?