Laser engraving and cutting has something in common with focusing the sun’s rays with a magnifying glass: good focus is critical to results. If materials of varying thicknesses are used, focus needs to be re-set every time the material changes, and manual focusing quickly becomes a chore. [Scorch Works] has a clever solution to avoid constant re-focusing that doesn’t involve sensors or motors of any sort. The result is a self-adjusting bed that compensates for material height changes, ensuring that the top surface of the material is always a fixed distance from the laser’s head.
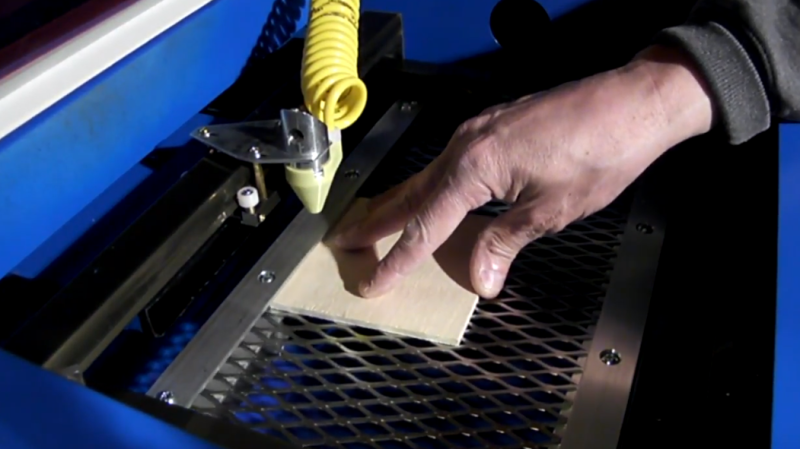
The way [Scorch Works] has done this is to make two spring-loaded clamps from angle aluminum and a few pieces of hardware. When a sheet of material is placed into the machine, the edges get tucked underneath the aluminum “lips” while being pushed upward from beneath. By fixing the height of the top layer of angle aluminum, any sheet stock always ends up the same distance from the laser head regardless of the material’s thickness.
[Scorch Works] shows the assembly in action in the video embedded below, along with a few different ways to accommodate different materials and special cases, so be sure to check it out.
This is a really clever mod for the K40 laser, and requires relatively little in the way of hardware. It might even be able to be done with leftovers from expanding a K40 out to a much bigger cutting area.
If you’re not familiar with the K40 laser, [Adam Fabio] has a comprehensive starting guide to these economical and hacker-approved machines.


That is a brilliant idea!
My apologies, I point realized the pun after I hit post.
Thought that laser looked familiar … Feb of ’17. Really should read that post before commenting.
Am I wrong, or the laser needs to be focused in the middle of the thickness of the material, not on its upper surface ?
For most “standard” K40 setups, 3mm is Max cutting thickness in one pass. Thicker can be done but without more passes and or different lenses. If you want to cut thicker products, best going with a higher wattage laser.
This works great for engraving; for cutting you’d usually want the focus to be in the middle of the thickness, not top.
I’ve often thought of building a better laser with my K40 as a donor. It’s been done a few time fairly well, including recently on here. Anyway, I’d plan to have the top half lift off with the focal point at the dividing line. The bottom part would be for material holding only. That way you could put the whole laser on top of something large that you wanted to engrave. Potentially dangerous of course, but name something fun that isn’t. Sort of similar to this idea.
The K40 has a laser. The beam is pretty collimated. I get a nice looking cut if I put in a piece of paper or if I put in a half inch piece of oak to engrave. The idea sounds neat, but I am not sure I could tell the difference.
Can anyone comment how long their k40 tube lasted?
This is really clever, but you don’t always want the surface in focus, sometimes you need the focal point below the surface (thicker materials). Especially when cutting foam.
I built this and it works really well. I modified it by only doing the corners so I can place bigger material from front to back.
I cut acrylic 3/16 , 1/4 and 1/8 and .030 I found I can reduce the power by adjusting the height so the focus is in the center of the thicker material.
Hello, how has it held up? I’m going to print one set for my omtech k40. I have a few questions.
1.Do you have a parts list and your STLs?
2.Did you need to make any further mods to it?
3.Is there a need for printed feet to attach to the bolts to allow them to reach the bottom of the case?
4.Do the brackets need to attach to the gantry frame at all or the aluminum spans just wedge in?
5.I’m guessing that the expanded aluminum at its top side is 2 inches from the laser and that’s accomplished with the bracket Sizing?
Thanks