Some people love fiddling with their 3D printers, others love printing. Some fiddle so they can spend more time printing, which is probably where this latest project comes in: an automated pressure advance calibration tool by [markniu].
Most of us don’t take enough care with pressure advance (PA). But if you want absolutely perfect prints, its something you should be calibrating for every type filament in your collection. Some would argue, ideally every individual spool. While that sort of dialing in can be fun, it takes away from actually running off prints. Bambu printers automate PA by scanning the usual sort of calibration print, but that’s still a very indirect measurement. Why not, just advance the filament, and measure the pressure at the nozzle directly? That is what PA is meant to account for, after all: the pressure of the plastic in the hotend causing oozing and blobbing at corners.
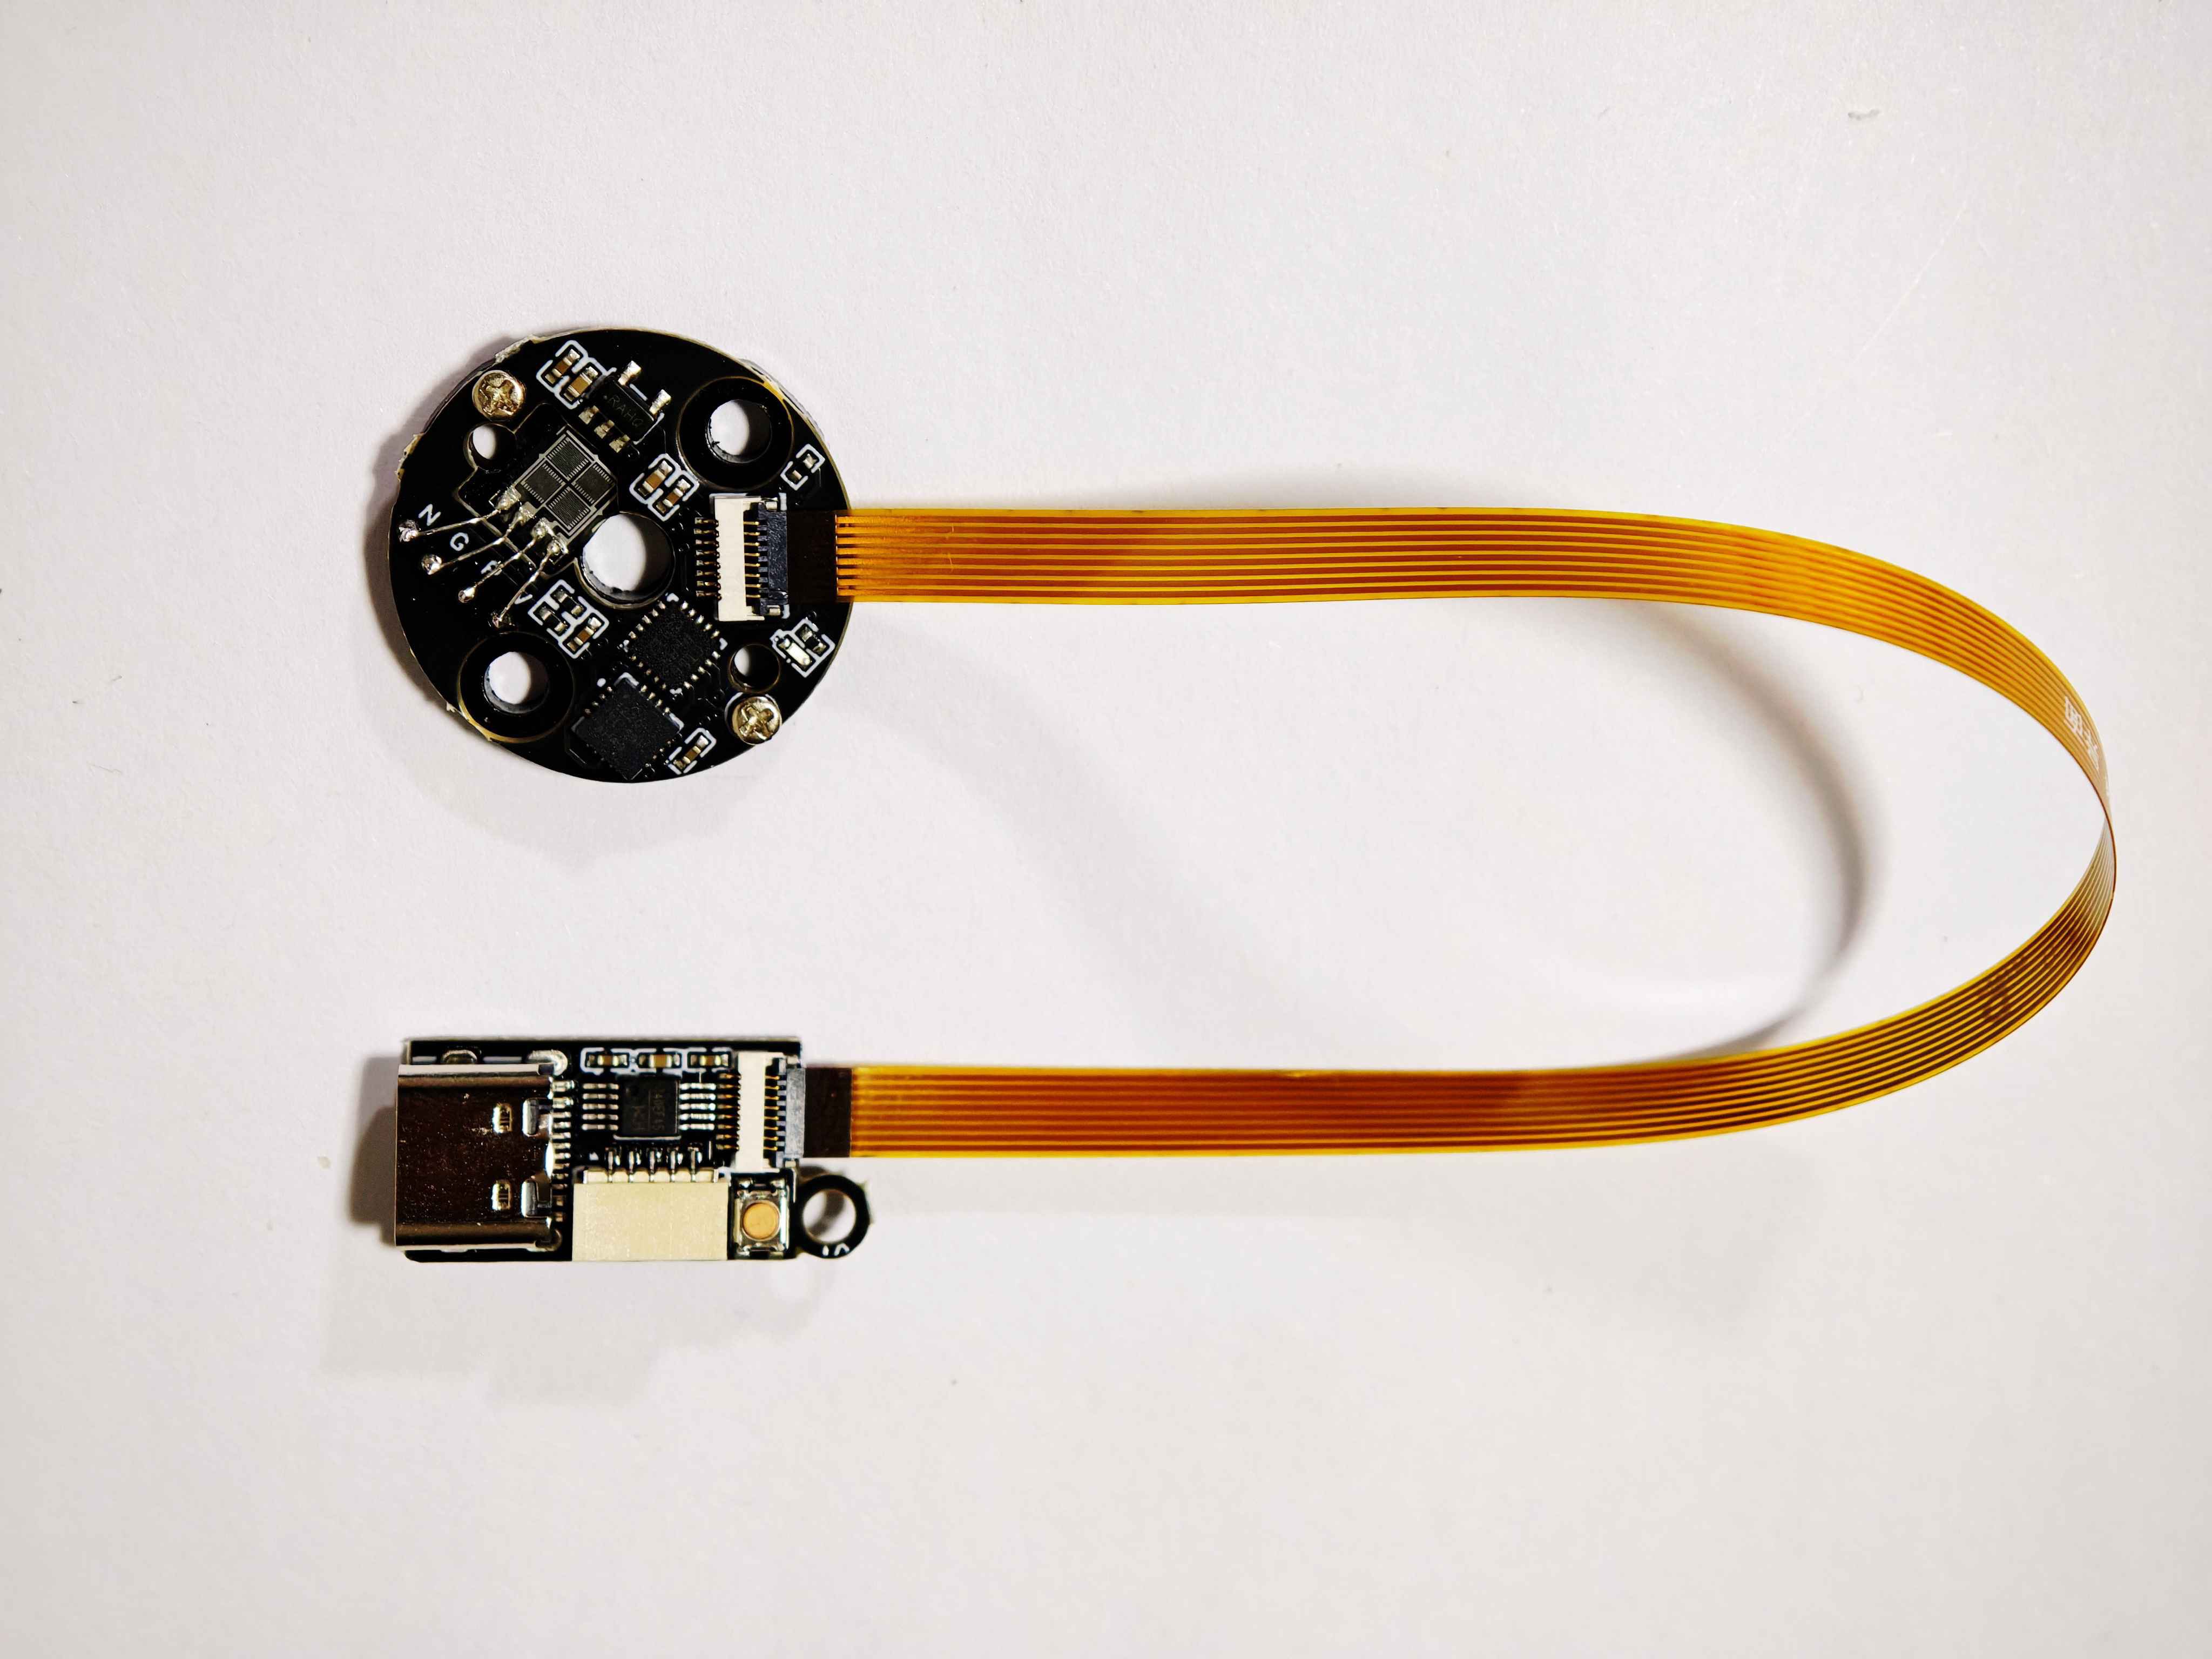
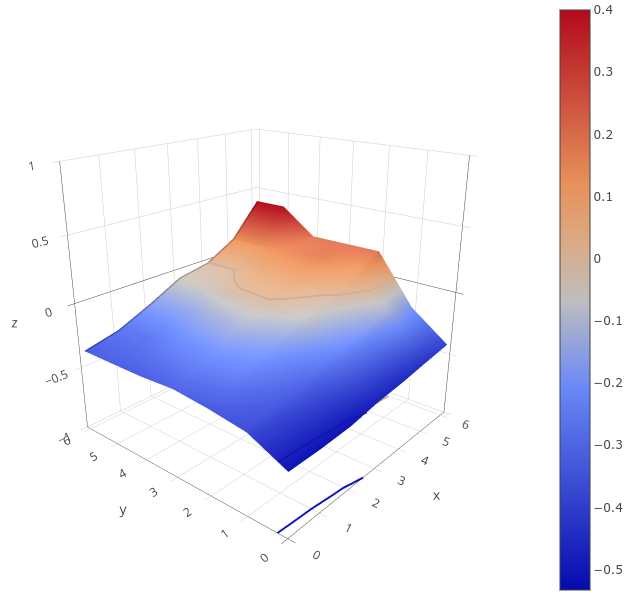
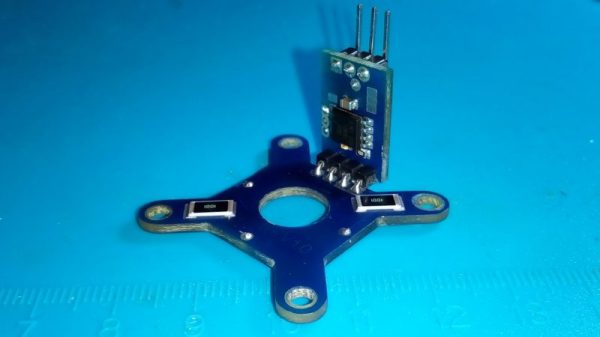
[mark]’s solution comes very close to a direct measurement. It uses a strain gauge that sits directly on top of the heatbreak, with the sound logic that the strain there experienced will be directly proportional to the pressure inside, at least along the axis of flow. Instead of filling half the bed with lines, the calibration process instead is a ‘printer poop’ style extrusion that doesn’t take nearly as long, and seems to save plastic, too. Since this puts a strain gauge in your hotend, you also get the bonus of being able to use it for bed leveling if you should so desire.
[mark] is claiming sub-90 second calibration — as you can see in the demo video embedded below — versus over seven minutes for the indirect calibration print. The value is plugged directly into Klipper, assuming you configured everything correctly, which should be easy enough looking at the instructions on the GitHub. Continue reading “Direct Pressure Advance Measurement For Fast Calibration”