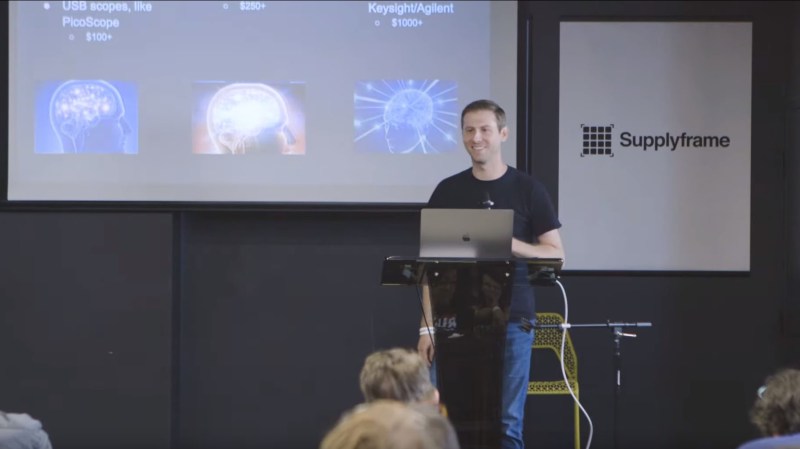
Congratulations, you have just finished assembling your electronics project. After checking for obvious problems you apply power and… it didn’t do what you wanted. They almost never work on the first try, and thus we step into the world of electronics debugging with Daniel Samarin as our guide at Hackaday Superconference 2019. The newly published talk video embedded below.
Beginners venturing just beyond blinking LEDs and premade kits would benefit the most from information here, but there are tidbits useful for more experienced veterans as well. The emphasis is on understanding what is actually happening inside the circuit, which explains the title of the talk: Debugging Electronics: You Can’t Handle the Ground Truth! So we can compare observed behavior against designed intent. Without an accurate understanding, any attempted fix is doomed to failure.
To be come really good at this, you need to embrace the tools that are often found on a well stocked electronics bench. Daniel dives into the tricks of the trade that transcend printf and blinking LED to form a plan to approach any debugging task.
Because the flow of electrons are invisible to the eye, understanding our circuit requires measurement tools of the electronics trade. Such equipment can get quite expensive, but Daniel points to several tools with good “bang for the buck” where a modest investment can give us substantial insight. We rarely need the top of the line specialized instruments. A humble multimeter can take us a long way! It’s less about the tools we use, and more about how we use them in a rigorous and disciplined manner. It doesn’t matter if it’s a basic meter or the latest augmented reality helper hotness, the foundations are the same.
It’s no surprise that DMM and oscilloscope are the first two recommended tools but he goes on to recommend having a thermal sensor — you can use your finger but infrared thermal guns and thermal cameras are going to be much more useful. Checking to see if anything’s getting too — or hotter than it should be — is on the front lines of troubleshooting when bringing up a new board design. Daniel’s list of must-have tools is rounded out with current sensors and logic analyzers.
Don’t forget to double-check your tools; is that bench supply full of noise? Is it actually putting out the right voltage? Are your Oscilloscope probes damaged? Debugging your own test bench is as important as debugging the board you’re working on.
Isolating the problem is key. If you cannot reproduce the issue, you can’t solve the problem. A big part of this is taking good notes along the way so that you don’t waste time going over and over the same portion of the design trying to figure out what you did that caused the failure. Notes make patterns appear that won’t if you’re doing everything from memory.
We can poke and prod at mechanical issues to understand problems, and software development offer debuggers for internal insight at our fingertips. The tools of electronics debugging may be different, the symptoms may be more opaque to discovery, but the fundamentals apply everywhere.


This is helpful! Thank you!
97% isopropal poured over the board is a quick way to look for high power dissipation. Look for the area that is boiling off quicker than the rest.
“…First Find What It Is Actually Doing”
Magic Smoke being released. Now what?
You’re going to need a large plastic bag, a small compressor and a schrader valve in 16 pin DIP….. don’t use the cheap 8 pin ones, they blow out at more than 10 PSI.
But what to do, when you already saw, that the magic smoke came out of that 516-BGA? Of course it’s of no use, if you try to compress it into that innocent 8 pin OpAmp :-)
http://www3.telus.net/bc_triumph_registry/smoke.htm
One trick for getting a circuit working that rarely gets mentioned:
Don’t goof it up in the first place. A few hours of reading the data sheets, running simulations, pencil and paper calculations, observing rules of thumb, and proof reading can save far more time on the back end.
The older I get, the more I believe this.
I agree with you, Carl S.
Also, test as you build, when you can. It’s a lot easier to confirm that a particular sub-section works, or debug it until it does, than it is to throw everything into a big pile and try to figure out which parts are broken.
Debugging didn’t enter my lexicon until I learned BASIC programing in a community college outreach class at the local High School. Prior to that trouble shooting was the terminology. I was learning to aplly that befor High School Auto shop. In tech school, where where expected to apply what we learned ined in the lab classroom to to circuits in the shop. Use a blacksmith’s trick when checking for heat; rather than using the tip of a finger, use the back of finger. While it still hurts like hell, a blister on the back of a finger, is less disruptive than a blister on the tip of a finger. In the event the spec,s of a meter doesn’t stat a 10 meg-ohm or more input impedance, keep shopping. This reminds me I sigh, whenever some state it’s possible to learn from failure. They learn unless they make the effort to trouble shoot why the failure occurred.