
A 3D printer is a wonderful invention, but it needs maintenance like every machine that runs for long hours. [Rob Ward] had a well-used Robox 3D printer that was in need of some repairs, but getting the necessary replacement parts shipped to Australia was cost-prohibitive. Rather than see a beloved printer be scrapped as e-waste, he decided to rebuild it using components that he could more easily source. Unfortunately the proprietary software and design of the Robox made this a bit difficult, so it was decided a brain transplant was the best path forward.
Step one was to deduce how the motors worked. A spare RAMPS 1.4 board and Arduino Mega2560 made short work of the limit switches and XYZ motors. This was largely accomplished by splicing into the PCBs themselves. The Bowden filament driver motor had a filament detector and an optical travel sensor that required a bit of extra tuning, but now the challenging task was next: extruding.
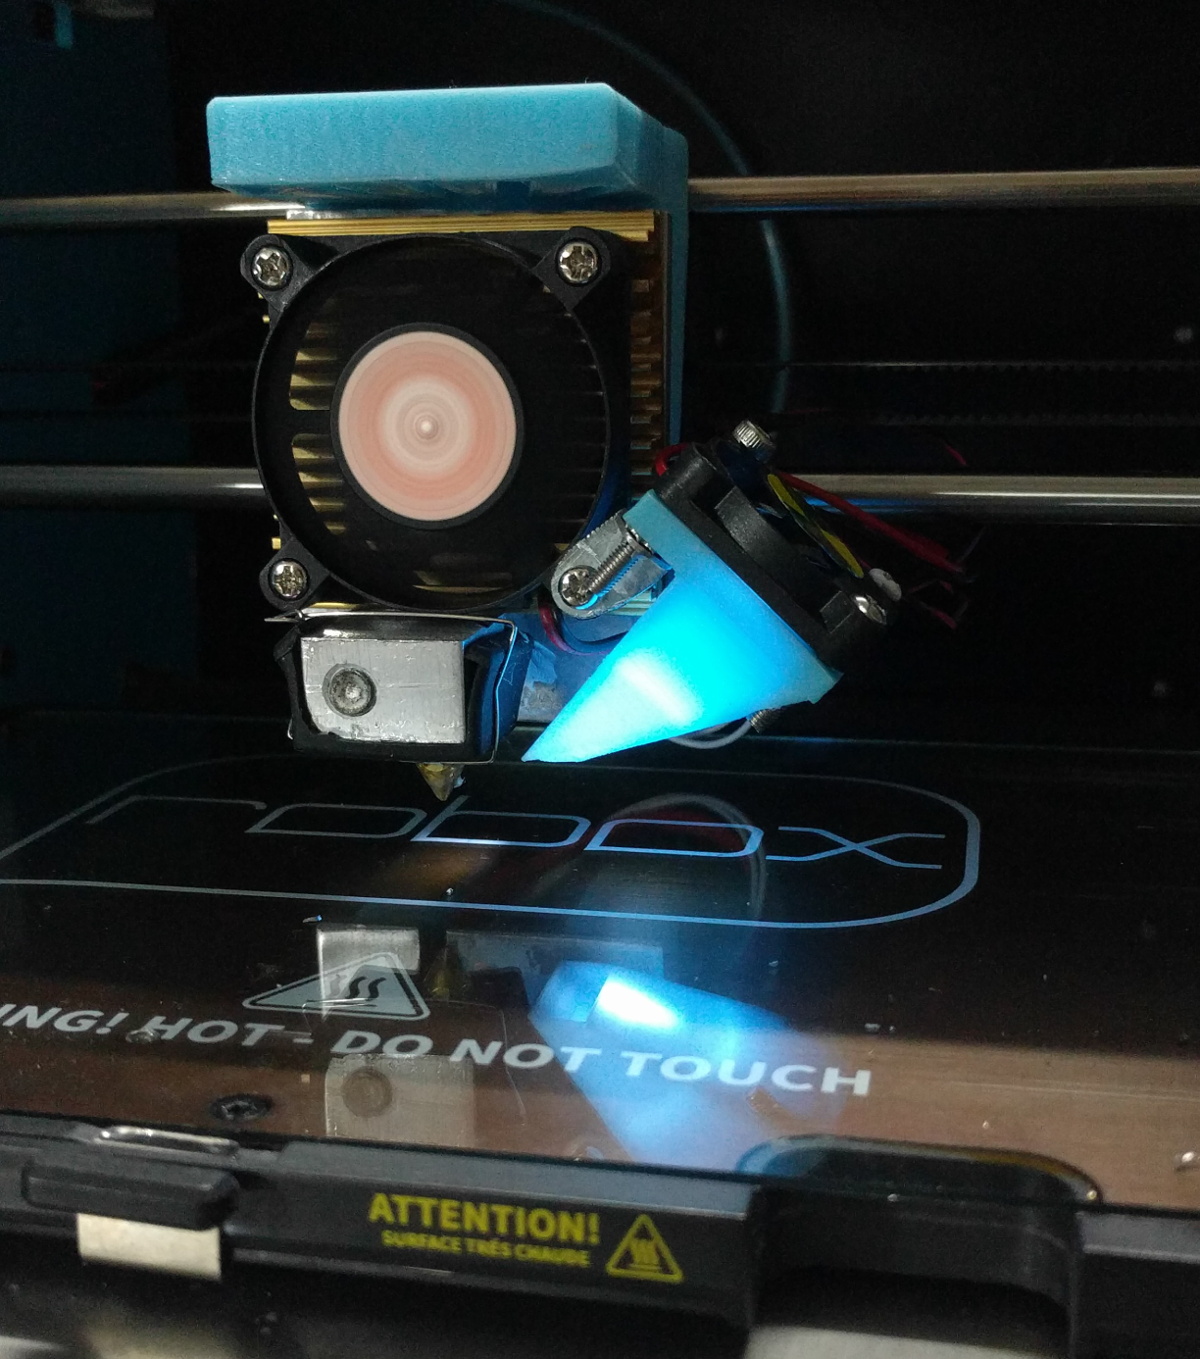
With a cheap CR10 hot end from an online auction house, [Rob] began modifying the filament feed to feed in a different direction than the Robox was designed for (the filament comes in at a 90-degree angle on the stock Robox). A fan was needed to cool the filament feed line. Initial results were mixed with lots of blockages and clogs in the filament. A better hot end and a machined aluminum bracket for a smoother path made more reliable prints.
The original bed heater was an excellent heater but it was a 240 VAC heater. Reluctant to having high voltages running through his hacked system, he switched them out for 12 VDC adhesive pads. A MOSFET and MOSFET buffer allowed the bed to reach a temperature workable for PLA. [Rob] upgraded to a GT2560 running Marlin 2.x.x.
With a reliable machine, [Rob] stepped back to admire his work. However, the conversion to the feed being perpendicular to the bed surface had reduced his overall build height. With some modeling in OpenSCAD and some clever use of a standard silicone sock, he had a solution that fed the wire into the back of the hot end, allowing to reclaim some of the build height.
It was a long twelves months of work but the write-up is a joy to read. He’s included STL and SCAD files for the replacement parts on the printer. If you’re interested in seeing more machines rebuilt, why not take a look at this knitting machine gifted with a new brain.


Nicely done.
Thanks, I appreciate your feedback.
Main picture shows a geeetech GT2560, not a RAMPS, so what did he end up using actually?
the GT2560 is actually a pretty nice Marlin compatible controller, much nicer than the RAMPS actually, he even includes an external heated bed mosfet because both it, and RAMPS have laughably underpowered FETs. Wonder why that’s never been fixed.
Yes, started off with with recycled zero-outlay RAMPS set up and added MOSFET buffer for safety. The GT2560 is a really convenient upgrade from the classic RAMPS, but I probably wish now I bit the bullet and bought a 32Bit board. The GT2650 has much better hotbed heater driver, but as I had the MOSFET for the RAMPS I used it anyway.
Having blown the heater FET on a GT2560, you needed that external MOSFET anyway.
I probably should upgrade to a 32-bit board for my DIY printer, but I put so much time getting Marlin tuned for the GT2560 and so on…
I’ve done similar to a couple of What Duplicator 4’s. In the end I had to swap out the thermocouple for a thermistor as I couldn’t get rid of the noise!
Did this to a cubify with my little bro. It has a super nice cast frame and high quality steppers under all that discussing McD’s toy quality plastic
Yeah, there will be a lot of good hardware that could benefit from improved CPU and interfaces on the 32Bit boards, I hope people do them up and maybe gift them on to a worthy cause. Do you have a link to the Cubify?
this looks amazing!
iste you planing on sharing a step by step or the firmware? i have 2 robox that are just some big paperweights due to lack or spare parts :( I would love to revive them, and I have plenty of cr hotends and some arsuinos laying around
I plan on a conversion of a CubePro Trio I recently was given. Bit of an overkill project for my first 3d printer, but it will be fun. My biggest challenge I think is going to retain the 3 material printing ability and to replace the existing bed (I want a heated one).
I’ve managed to get all 3 heads cleared and printing after 2 were blocked, next up is to see how I can re-con the print heads and level the bed.