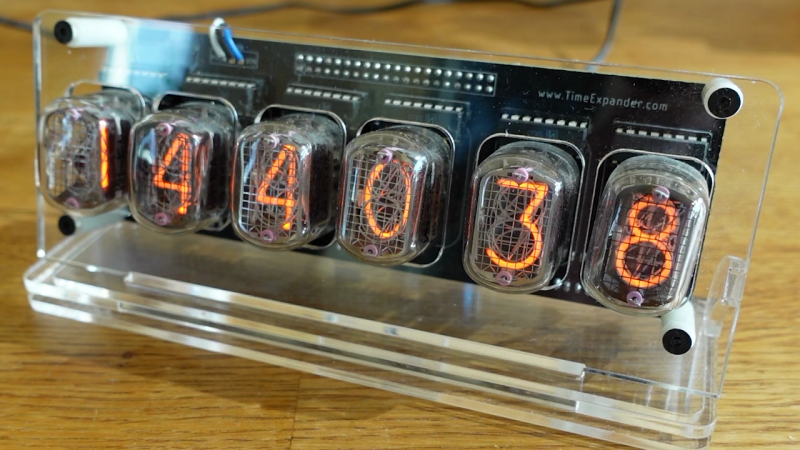
Proving that an old design cast in concrete can indeed be changed, [Hans Jørgen Grimstad] has revisited his Nixie clock from 2008, cleaned up the electronics and packaging, and turned it into a kit. Not that he has plans to enter the kit-making business, but he just thought it would be fun to learn how to make kits. In the video below the break, he’s a bit embarrassed to reveal the inside of his first Nixie clock design, housed in a cast-concrete electronics enclosure. Although it still works, the internal wiring is a flaky, untidy, and perhaps a bit dangerous.
But [Hans] has improved his game over the years, making a number of different clock designs. The latest incarnation is pleasant to look at, built on a PCB which is visible inside a custom acrylic case. Three versions are available to support different types of tubes. The documentation he prepared for the project and the kit is very thorough. He walks you through the unboxing and assembly process in the videos below. Firmware is in C, and runs on a Raspberry Pi Zero W. If you are interesting in making electronics kits, [Hans]’s project would be a good example to follow.
All the necessary information to build the clock is published on the project’s GitHub repository. If you’re looking for enclosure ideas other than concrete or acrylic sheet, check out this write-up on hand-forging artistic Nixie clock enclosures.


The concrte looking version was great !
It looks like Le Corbusier’s alarm clock!
Specially with the dekatron!
Likewise with the “I basically reinvented the Arduino with less features.” I think one of the things we often forget is that very few people start off with professionally designed products on our first go and a lot of the first builds are made from whatever materials we have lying around or with a few minutes drive. Here we get to see the journey from first learning to “here’s how I would fix this if I were to design this today now that I’m not ignorant.”
Looks like my comment was brushed under the wrong parent
“By the way, if you’re accustomed to more professional electronics I suggest you maybe look away!” before revealing The Beautiful Mess inside made me laugh.
Very nice, kinda has a good ol’ CCCP look to it!
Good rought look! I did something similar with fine concrete mixture. I have several colors, roughtness and material combinations.
Unfortunately at the moment I don’t have better picture than this https://nyx.cz/files/000/023/2363915_ddc0d8a2a546aff3991f/original.jpg?name=20210216205835_IMG_3384.JPG
For those diving into this project, there are couple challenges you’ll want to be aware of before you start:
1) The Lumos power supply mentioned in the instructions and BOM is no longer in production. If you use a different power supply, you may have to remix the acrylic case parts.
2) The instructions and BOM are based on revision 1.3 of the custom PCB, but the files currently on GitHub are for revision 1.2.
Update: Hans has updated GitHub with the Revision 1.3 files for the PCB.