Even if they don’t have one themselves, we’d wager the average Hackaday reader is at least vaguely aware of how a vacuum former works on a fundamental level. You heat up a plastic sheet until it’s soft, then use a vacuum pump to pull the ductile material down onto an object and hold it there while it cools off. It’s easy to build a vacuum forming rig yourself, but small commercial units are cheap enough that it might not be worth your time. If everything goes to plan, the technique is a quick and effective way of duplicating items around the home and shop.
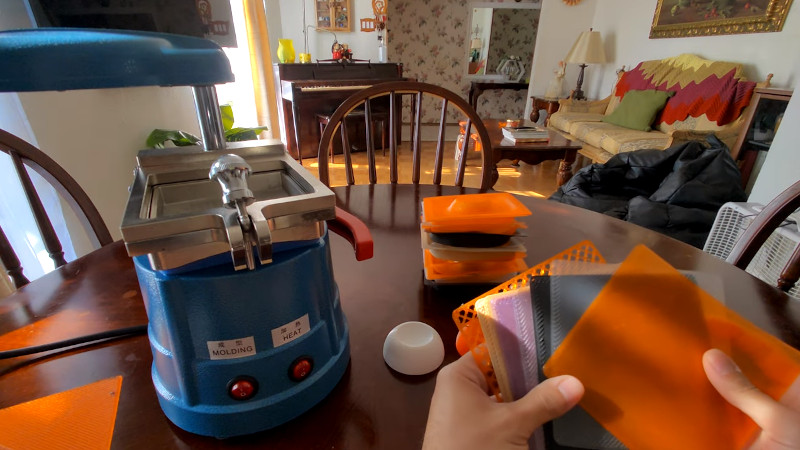
But we were recently tipped off to a variation of this classic technique that’s certainly worth further research. As demonstrated in a recent video, [Nathan Martinez] shows how 3D printed sheets can be used in place of the 5″ x 5″ squares of thermoplastic film that his imported vacuum former was designed to use. It’s easy enough to do: just model up a square with the appropriate 2D dimensions in your CAD package of choice, and extrude it to a height of about .5 mm.
So what’s the advantage? Well for one thing, it’s cheaper. Though admittedly, not by much. Going rate on Amazon seems to be about 90 cents per sheet for the real stuff, and some back of the envelope math shows the printed version coming in at around 30 cents given nominal filament costs. Whether or not those savings are worth the extra effort is certainly debatable.
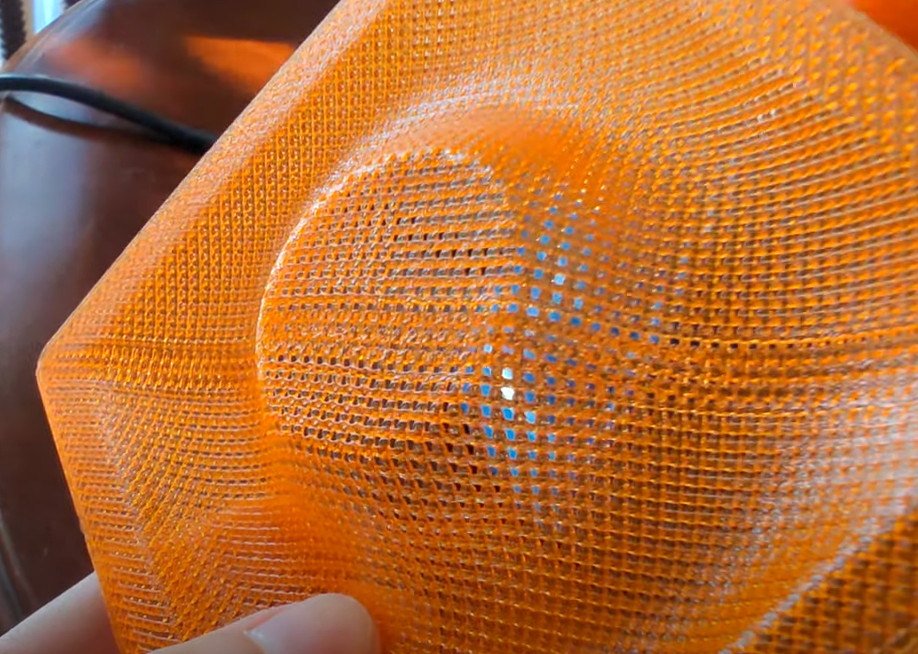
But that’s not really the most interesting part. With printed sheets loaded into the vacuum former, you’ve got access to a much wider array of materials to work with. For example, [Nathan] shows off some very interesting flexible pieces he was able to produce using sheets of TPU. You can also experiment with different surface textures. These can not only be used to give your vacuum formed pieces a bit of interesting visual flair, but could actually have some practical applications. In the video we see how a printed mesh could be formed over a piece to create a conformal air vent or filter.
To be sure, there’s some room for improvement here. Not all the pulls were successes, and [Nathan] says getting the printed sheets up to the proper temperature can be tricky. But when it works, it works quite well, and we think there could be some untapped potential in this unexpected melding of new and old methods of at-home plastic production.
[Thanks to Japanfan50 for the tip.]


vacuuming a sheet with large holes in it is probably not the best
Don’t surprisingly frequently in industry, just put a reusable film (e.g. silicone) on top and call it a day :)
I was wondering that myself but.. there are pictures. You don’t even have to click any farther to see them. Clearly it worked. Maybe the air resistance of that mesh is enough to still pull a good shape. Maybe he did the sheet thing I see other commenters mentioned. Maybe one can find out by watching the video. But come on, “that won’t work” comment right below the picture of the result. Unless you are accusing someone of faking it that’s just lazy!
I recall Adam Savage talking about vacuuforming laser cut acrylic sheets to make parts, possibly comm dishes?, at ILM.
I have a 3D printer that rarely prints well without a raft, so I have many scrap rafts lying around. This looks like a great use for them.
Lithopane might be good for a pull.
It seems like getting plastic pellets and pressing it into sheets would be the efficient solution.
A 24″x48″x 0.020″ (~0.5mm) sheet of petg runs 12.50 USD which works out to 1.06 cents / square inch vs the 1.2 cents / squar inch for printed petg. The price drops further (0.26 cents / square inch) if you buy a 96″x48″ roll.
I get the usefullness in a pinch but if you’re aiming to save money; just cut your own sheets. Raw materials are cheap and readily available online these days.
*48×96 -> 0.60 USD / square inch.
I’ve printed standoffs for PCBs when I didn’t have any proper nylon spacers on hand. Of course I’d chuck some in my next Digikey order since they’re cheaper than my time and more accurate. But even if I could wait for Digikey’s cheapest shipping, it would cost me about a quarter of the cost of a 1kg filament roll in postage alone.
Now in the vacuforming case, I’d expect that someone that’s invested in the vacuformer and a place to put it would have a regular supply of plastic for it, and the need to improvise with any material much less 3d printed sheets is extremely unlikely.
I’ve done this the other way around, and 3D printed a buck so that I could get exactly the shape I wanted from my PETG sheet.
I’m comparing a 3D printed buck to having one machined. Obviously a big price difference each.
Can I ask …
Does the buck hold up to repeat uses?
What material are you using for it?
Any issues?
Getting a good pull with a mesh might be as easy as putting a sheet of very stretchy silicone over it in the holder. That way it has a good seal when the vacuum is pulled. Most (or maybe all, I don’t know for sure) silicones can handle a lot of heat without any problem.
Ever think to simply flatten a mesh and use the wire lines to print the same object as mold but flat? I feel like there would be extra material where it needs to be.
I’m surprised there is no mention of the old melting scraps into a flat sheet using the oven and a cookie sheet trick. That seems like a situation where this would really shine. Re-use that scrap!
Would be a good way to press failed prints and supports into sheets in an old grill press and use them again…
I left comments on your Youtube post also, we’re trying to contact you. But I’m very interested in trying this with our metal composite filaments. It would be a novel method of metalworking.
Please make contact and we’ll set you up with some samples. (brad@thevirtualfoundry.com)