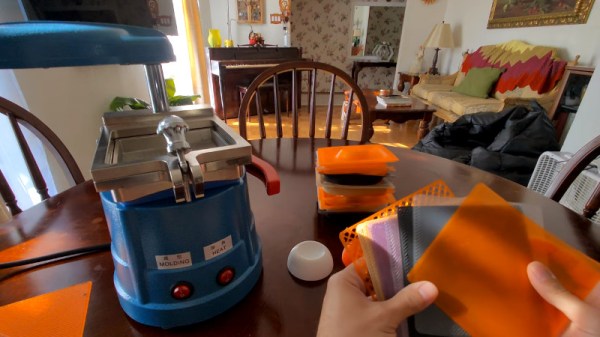
Vacuum forming is perhaps one of the less popular tools in the modern maker arsenal, something which surprises us a bit because it offers many possibilities. We’ve created our own vacuum forms on 3D printed moulds for ages, so it’s interesting to see [Pisces Printing] following the same path. But what you might not realize at first is that the vacuum forming sheets themselves are also 3D printed.
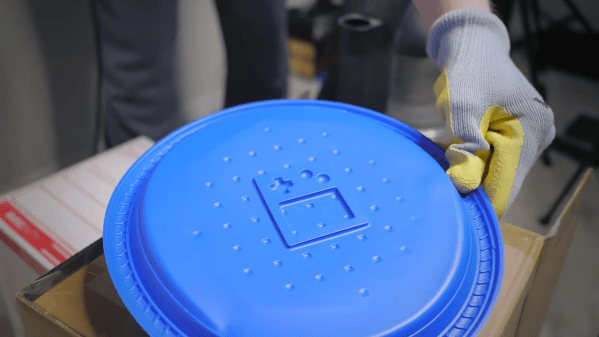
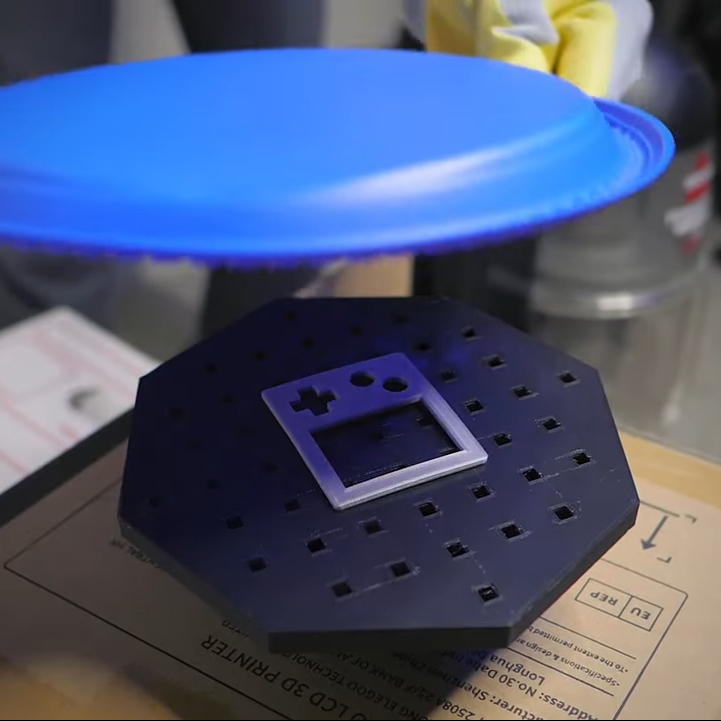
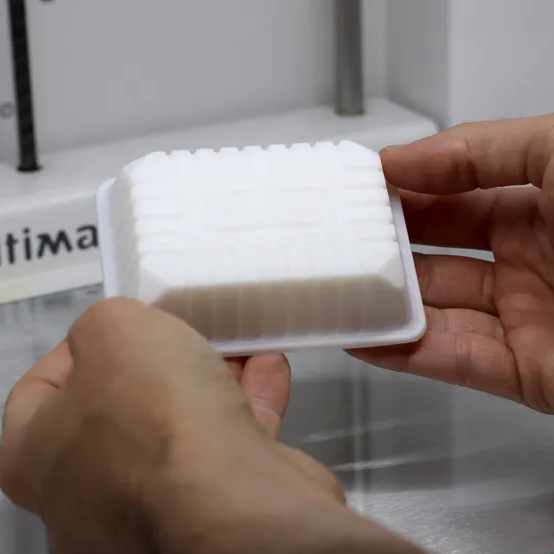
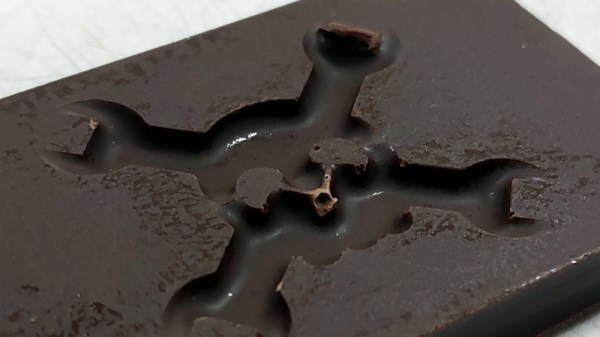
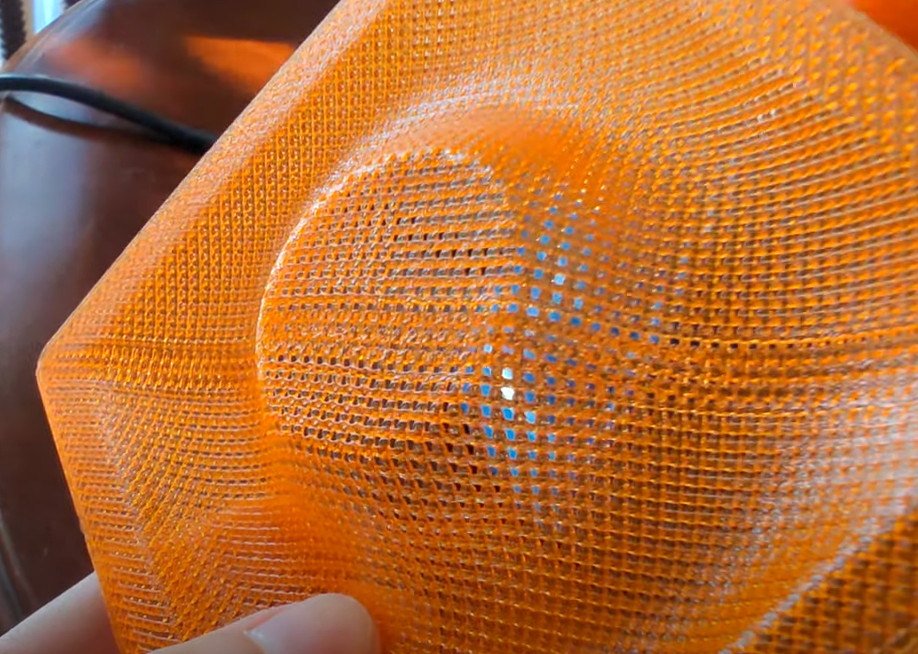
The full video is below the break, and in it he details making a mould from PETG, and in particular designing it for easy release. The part he’s making is a belt guard for a table top lathe, and the PETG sheet he’s forming it from is also 3D printed. He makes the point that it’s by no means perfect, for example he shows us a bit of layer separation, but it seems promising enough for further experimentation. His vacuum forming setup seems particularly small, which looks as though it makes the job of making a sheet somewhat simpler.
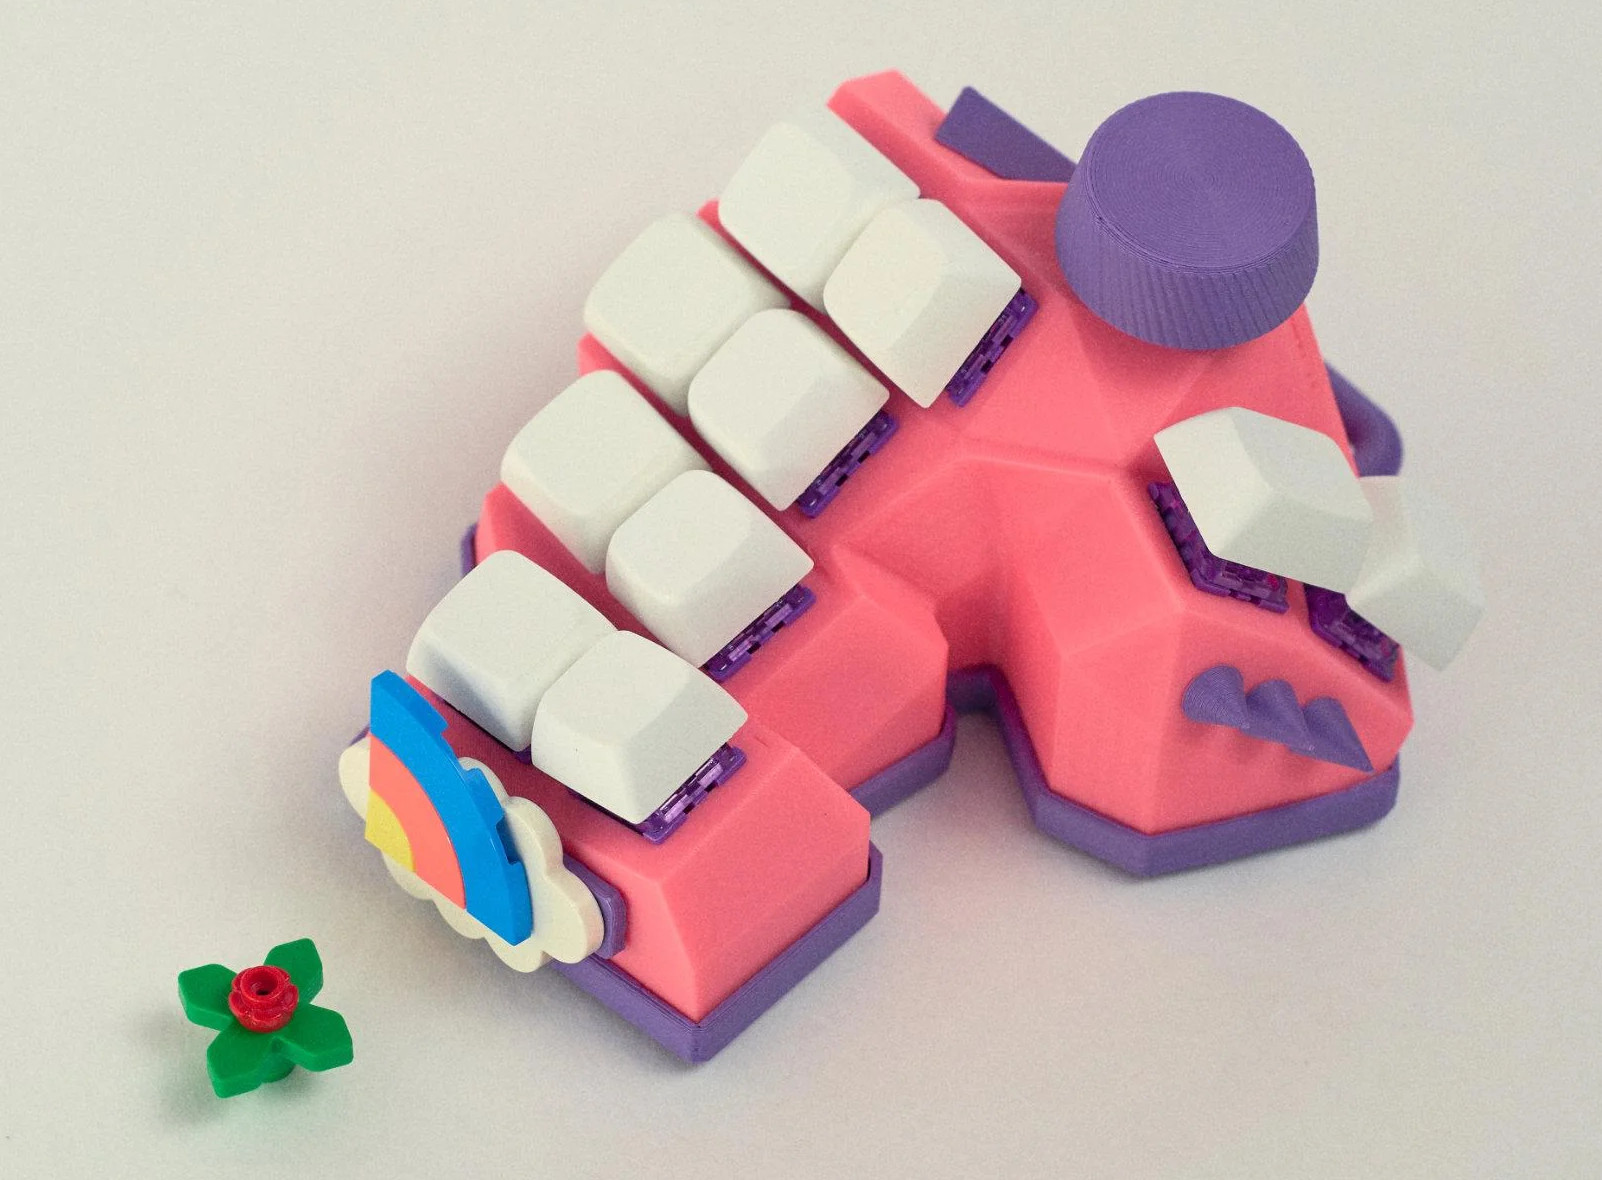
The cost of a vacuum forming sheet of whichever polymer is hardly high, so we can’t see this technique making sense for everyday use. But as we’ve seen in previous experiments, the printed sheets so make it easy to add color and texture to the final product, which obviously adds some value to the technique.
Continue reading “Vacuum Forming With 3D Printed Moulds And Sheets”