We’ve all seen 3D printed zoetropes, and drawn flip book animations in the corner of notebooks. The shifting, fluid shape of the layers forming on a 3D printer is satisfying. And we all know the joy of hidden, nested objects.
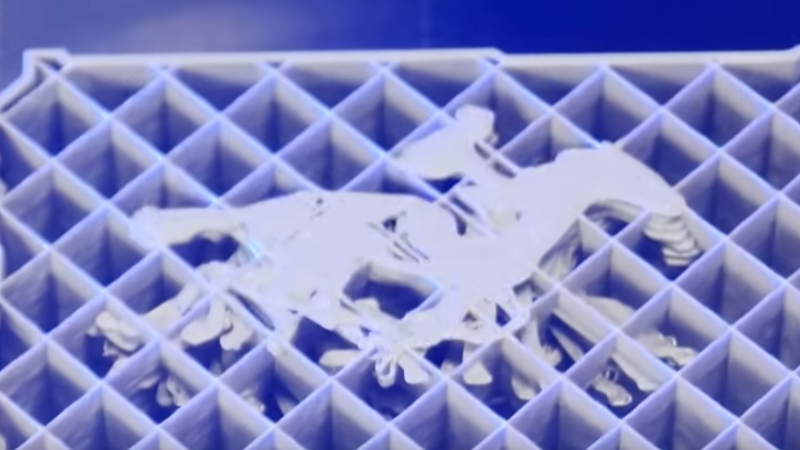
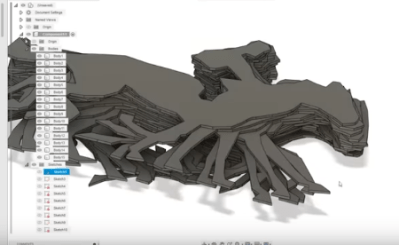
Hackaday alumnus [Caleb Kraft] has a few art pieces that all reflect all these. He’s been making animations by recording a 3D printer. The interesting bit is that his print is made of two objects. An outer one with normal infill that gives a solid form, and a layer cake like inner one with solid infill. It’s documented in this video on YouTube.
There are lots of things to get right. The outer object needs to print without supports. The thickness of the “layer cake” layers determines the frame rate. I had to wonder how he triggered the shutter when the head wasn’t in the way.
His first, experimental, piece is the classic ‘bouncing ball’ animation, inside a ball, and his mature piece is Eadward Muybridge’s “The Horse, In Motion” inside a movie camera.
We’ve covered [Caleb Kraft] before, of course. His Moon On A Budget piece is wonderful. And we’ve covered a number of 3D printer animations. and 3D zoetropes. We particularly were drawn to this one.
Thanks [jmc] for the tip!


If you need supports in your plug, you could first print the layer without the support, take one still photo, then print the supports in that same layer. This gets harder with multiple layers off course, requiring more and more g-code wizardry, but in this Muybridge Horse example I can see that happen when there is only one layer of leg (void) that needs to support the next layer of non-leg. With multiple layers it gets harder.
For better visibility, you could even print the outline of the horse and the outer object first, take a photo, thén print the infill.
“I had to wonder how he triggered the shutter when the head wasn’t in the way.”
Most 3D printer controllers that support per-layer image capture also support adding a command to reposition the head and bed prior to each capture for a consistent view
Hey y’all Caleb here.
1) I’m triggering the camera by using a single line of gcode that moves the head out ofthe way and the bed all the way forward. this pushes a button that triggers my DSLR. I know octolapse can do this, but this method lets me move it to any machine I own (cnc, laser, 3dp, etc) in a few seconds and get DSLR image quality frames.
2) the comment about no supports was simply because I wanted the video to be pretty. I wanted the EXTERNAL model to look complete and pretty at the end of the timelapse, not buried in supports.
3) the infill is where you can really have fun. varying the infill on external vs internal yields all kinds of interesting results.
This could be a new word in visual storytelling. It would be interesting to see what stories could be told using this approach. I think we will all see many more examples when this technology becomes more widespread.
I’ve used a similar technique to more aggressively imprint my designs with creator tags, and thus making it more annoying to “meshmix” out the origins of the design. It may annoy people wanting to truly just remix, but hey, I made it first.
The printed parts are virtually identical in function, but on the inside they are traceable.