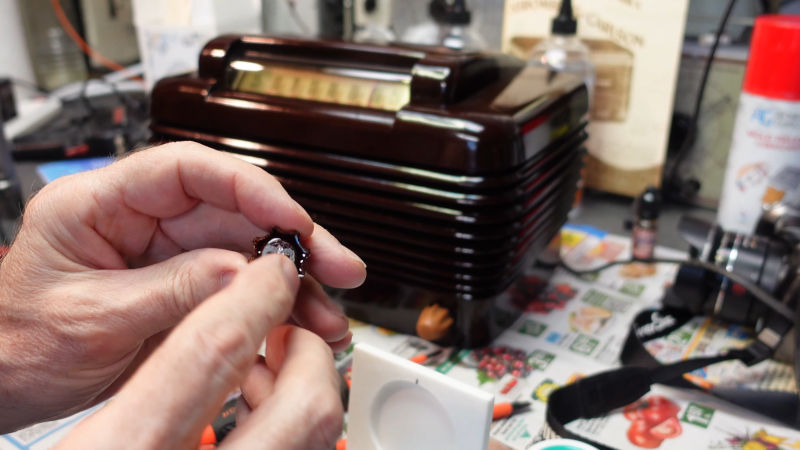
You have an old radio — in the case of [The Radio Mechanic], a Stromberg Carlson — and it needs new knobs. What do you do? You can’t very well pop down to the local store and find any knobs anymore. Even if you are lucky enough to be around an electronics store, they aren’t going to have knobs to do justice to an antique radio. You could 3D print them, of course, but there are a number of issues with transferring the old knob to a CAD file for printing. So [The Radio Mechanic] decided to cast them instead.
He printed some fixtures to help with the molding using two-part molding silicone. He mounted the knob on a shaft in a jig, filled the jig with silicone, and lowered the knob into the mix. The next day, he had a good-looking mold.
The next step, of course, is to cast with resin. Admittedly 3D printing would have been faster, but would not have as nice a surface finish. The epoxy resin is clear, but he was hopeful that some caramel pigment would match the original knob color. Spoiler alert: it didn’t. The resulting knob looked translucent, like a root beer barrel candy, rather than the brown sugar color of the original knob.
The knob needed a spring insert to hold the shaft, so he repurposed some from a different kind of radio. Overall, this is the kind of thing we always think we are going to do when we need something and then we rarely follow through. Then again, we rarely have the patience to wait as long as these two knobs took to make.
Of course, a casting guerrilla doesn’t have to make just knobs. You can even add metal powders to do cold metal casting.


Robert Tolone has fantastic guides to resin casting on YouTube.
I was advised to use printer toner by a supplier to enhance the depth of colour. I needed form not aesthetic so did not experiment.
There’s proper inks and pigments for resin – mica powders are the normal opaque pigments – but in a pinch acrylic paint works well.
Stromberg Carlson made some great stuff. I have a BC-348 receiver that they made for the US Army Air Corps
Nice, I was lucky to find a suitable 3D model that I printed then painted to smooth out the surface.
It did a good job on my 1930’s Philips radio.
Neat, though that knob looks remarkably similar to the one on my old toaster!
There are lots of bubbles visible in the cast knob sample. A vacuum pump will help a lot. If you solve the translucency issue (as other have offered advice on), the vacuum chamber doesn’t have to be that perfect, but even in an opaque part,sometimes bubbles cozy up to the surface and ruin its finish or wear-longevity.