IBM Selectric typewriters have a lot of unique parts that can be tricky to source, but one we didn’t think of was the clear acrylic(?) dust covers, that are apparently very hard to find in good shape. [Eric Strebel] has a few Selectrics that all have issues with these parts. While you could come close to recreating this piece with acrylic sheeting carefully bent to match the original shape, [Eric] has a different hammer to try in a new video: replicating it with a resin casting.
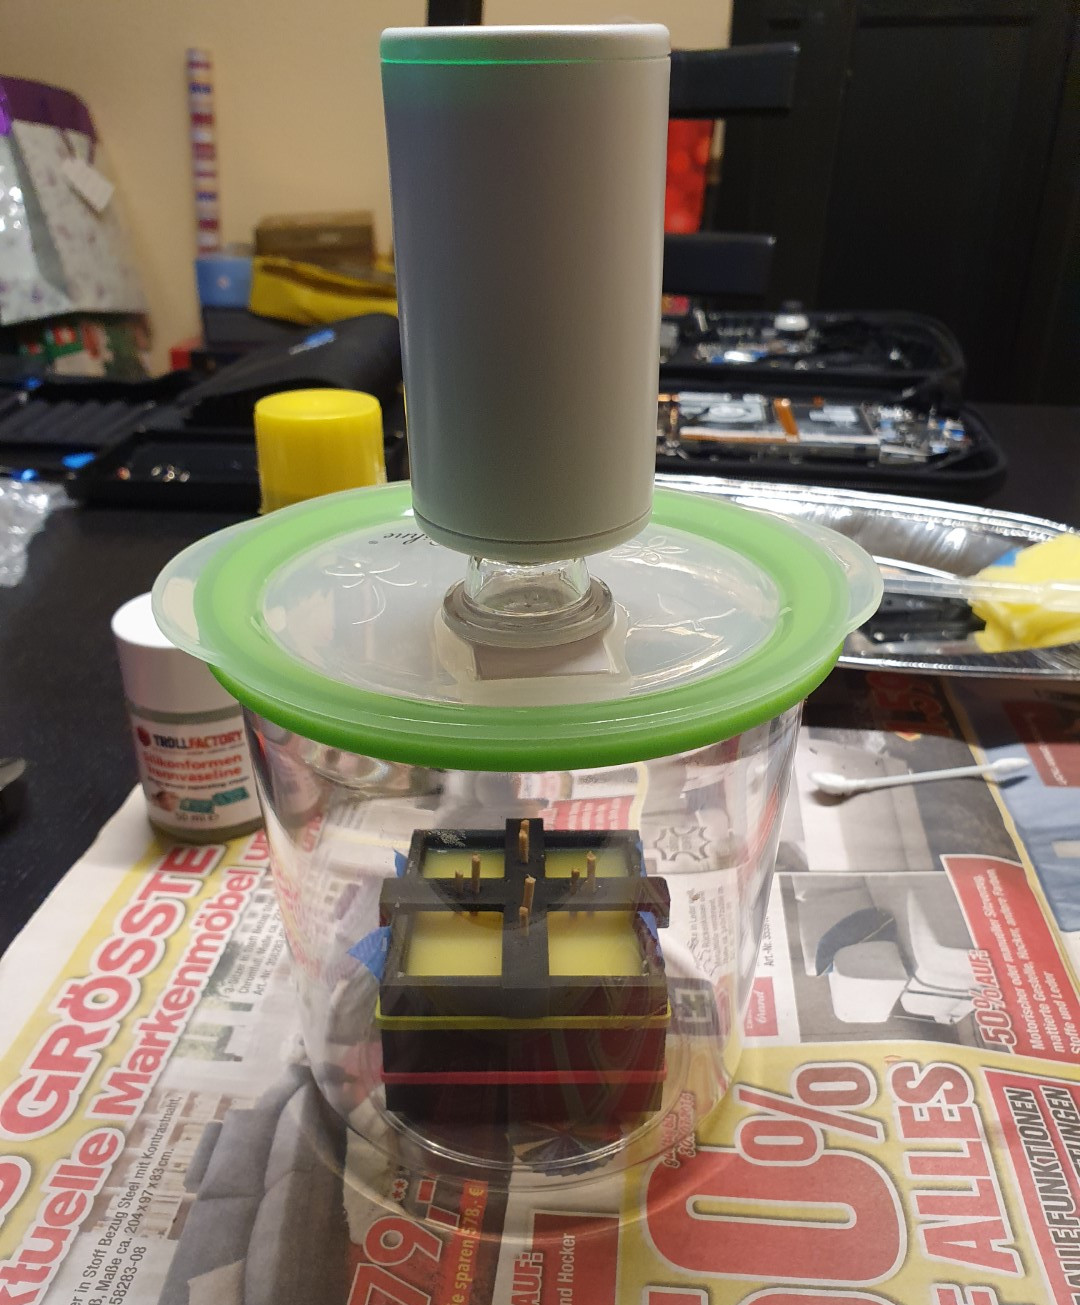
He uses de-gassed tin-cure silicone to create a mold for the original, with a bit of 3D printed PLA and foam board to hold the silicone to create the mold. That’s done in two steps to create a two-part mold, which is separated and cleaned before the resin goes in. The original part is actually a smoky plastic, rather than fully clear, but [Eric] is able to match it perfectly using a colourant in his clear ̶e̶p̶o̶x̶y̶ polyurethane resin. The resin is put into the mold with a simple gravity pour, though he does have a vibrator on it to help it flow. Curing is done under heat and pressure– 60 PSI. The results are amazing; once he adds a touch of paint to match the black finish on one face of the original, it’s very difficult to tell [Eric]’s casting from his master piece, except that the cast replicas are in better shape.
This particular part works very well for casting and not much else. While you could match the large curve by heat-bending a piece of smoky acrylic, there are lips along the edges of the part that would be tricky to reproduce. [Eric] also needed several, for his multiple typewriters, and this method is very efficient at producing multiple units since the mold is reusable.
While you might not have an IBM Selectric that needs a dust cover, this technique is equally applicable to all sorts of clear shapes. If you’re new to resin casting, we have a handy guide to replicating plastic parts to get you started in this kind of work. It’s not just large parts that can be replicated: you can even copy phonograph records, such is the fidelity of resin casting.
Continue reading “Clear Resin Casting Replicates Old Acrylic For Selectric Repair”