Finding the right enclosure to house your latest project can be tricky, so Sparkfun wrote up some handy tips on the how to pick the right one.
The most important tip is to have your components measured before acquiring a case; even being a few milimeters too small can put you back at square one. To do this right, it’s useful to look at the dimensional drawings of prospective cases to get a sense for the size. These typically include recommended shapes for PCBs too.
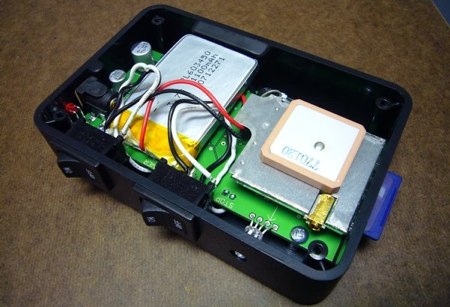
You may find a case that meets your dimensional needs but doesn’t have the appropriate mounting bosses. To get the placement right, screw some plastic standoffs to the PCB, then use super glue to attach them firmly to the case.
Tips on button choices, hole drilling, and other typical issues with case modification can also be found in this guide. If this is something that’s been stumping you, give it a look.