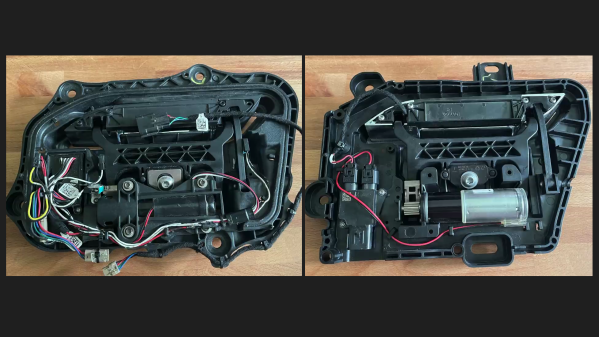
Automotive engineer and former Tesla employee [SuperfastMatt] takes at look at the notorious Tesla door handle design and how it’s changed over the years (see the video below the break). The original handle design consisted of many moving parts, switches and wires which were prone to failure. Strictly speaking, the door handle is located on the outside of the car’s interior. While it’s sheltered from direct exposure to the elements, it still experiences the extremes of temperature, humidity, and condensation. The handles were so prone to failure that a cottage industry sprang up to provide improved parts and replacements.
Tesla made various improvements over the years, culminating in the latest version which [Matt] reviews in this video. Nearly all the failure points have been eliminated, and the only moving parts, other than the handle itself, is a magnetic sensor to detect handle motion (previously this was sensed by microswitches). [Matt] indelicately opens up the control module, and discovers an NXP programmable angle sensor ( KMA215 ). This all-in-one sensor detects the angle of a magnetic field, and reports it over an automotive communications bus that’s become more and more common over the last ten years: Single Edge Nibble Transmission (SENT) aka SAE J2716. SENT is a low-cost, transmit-only protocol designed for sensors to send data to the ECU. Check out [Matt] decoding it on the oscilloscope and Raspberry Pi in the video — it looks pretty simple at first glance.
We agree with [Matt]’s conclusion that the door handle design has been significantly improved with this latest iteration, questions of whether one needs a retracting door handle aside. If you’d like to learn more about SENT, here is a tutorial written by IDT (now Renasas) applications engineer Tim White. This isn’t [Matt]’s first encounter with a Tesla door handle — back in 2012 we covered his project which used one to dispense beer. Thanks to [JohnU] for sending in this tip.


