Turning A DS Into A Game Boy Advance

The venerable Game Boy is dead – and has been for a long time – after being replaced by the DS, DSi, DSi XL, and the 3DS. That doesn’t mean there’s nothing of value to the old Game Boy catalog; Pokemon Red/Blue is still as much fun as it was 15 years ago, and the game play of Advance Wars is still superb.

[Maarten] over at Bureau voor Gamers decided to put a modern twist on our old friend by taking a first-gen DS and converting it to a proper single screen Game Boy (Dutch, Google translation).

The donor machine was a broken first gen DS with a broken top screen. [Maarten] removed the top screen, did a tiny bit of Bondoing, moved the speaker, and gave his new toy a bright orange paint job.

Now [Maarten] has a modern version of the best portable system ever created, packed full of more powerful hardware and a much more capacious battery. Sure, it’s not a build that requires rewiring everything, but it’s still an awesome build for GBA aficionados.

Adding A MIDI Input To A Game Boy

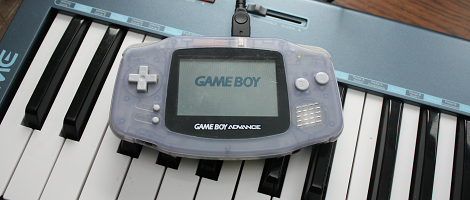
[Sprite_tm] is back again, and his work never fails to impress. His latest project is a Game Boy Advance MIDI synth that takes MIDI data from a keyboard or sequencer and maps that to Game Boy sound channels.

Because he seems to never do anything the normal way, [Sprite_tm] decided to run the Game Boy without a cartridge. We’ve seen this before; the GBA boots into the synth software over the link cable with multibooting.

Continue reading “Adding A MIDI Input To A Game Boy”

Arduino Based Multiboot Cable For Game Boy Advance

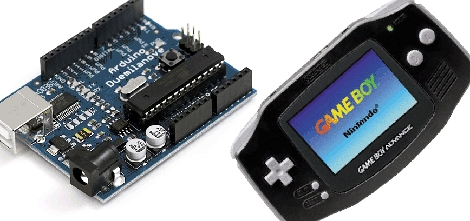
[Steve] wanted to do some ARM development and set his sights on the Game Boy Advance as a development package. In order to get his code onto the device he build an Arduino-based communications cable. It is necessary to have a microcontroller involved because the GBA uses a peculiar 16-bit serial communications protocol. This cable is an adaptation from the 8051-based cable developed by [Matt Evans] several years ago. [Steve’s] got it working by porting the 8051 assembler over for the Arduino, but we’d recommend adding a level converter to his hardware setup to step down from the Arduino’s 5v logic to the 3.3v logic the GBA expects.

He didn’t make up a wiring diagram, but in the code comments [Steve’s] laid out the connections as follows:

Arduino 8 to GBA SO
Arduino 9 to GBA SI
Arduino 10 to GBA SD
Arduino 11 to GBA SC

That’s it, follow the README in his source code package and you’re on your way to some ARM development.