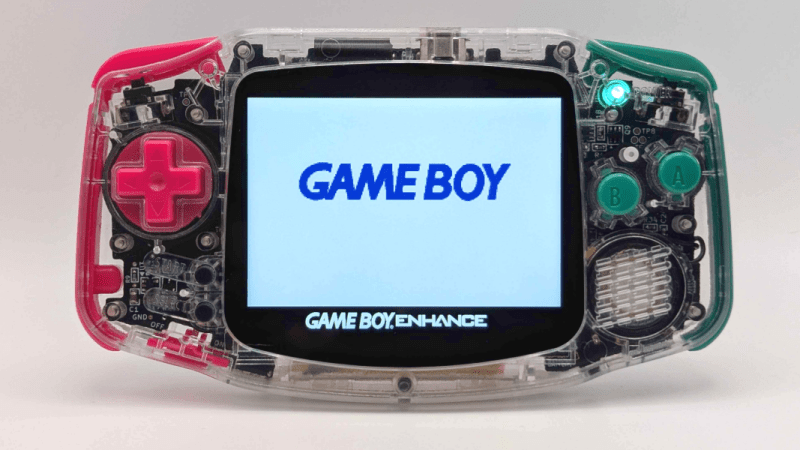
At Last, A Gameboy Advance With Decent Audio

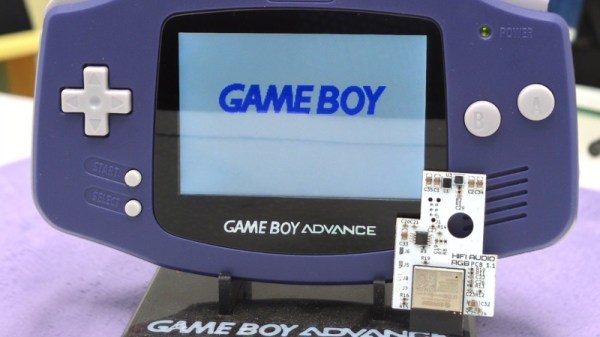
Many pieces of consumer electronics are build down to a price, and the corners cut show up in their performance. The Gameboy Advance from Nintendo is no exception: its audio is a PWM stream that sounds awful through the included amplifier. [Cajun Panda] has a fix though, in the form of a replacement audio chain.

It takes the form of a PCB that hooks into the pads of the removed GBA audio chip, and provides a much cleaner audio path with filtering and EQ and a class D audio amplifier. In addition there’s an audio codec and an ESP32 for Bluetooth connectivity, enabled by a long press of a GBA button and configured via a web interface on the ESP. Best of all there is no case modification, this is designed to remain as stock as possible.

Everything can be found in a GitHub repository should you wish to make your own, so if you want to bring your GBA audio up to scratch you know where to go. If you want to make it even better don’t forget, you can always upgrade the screen.

A New Screen Upgrade For The GBA

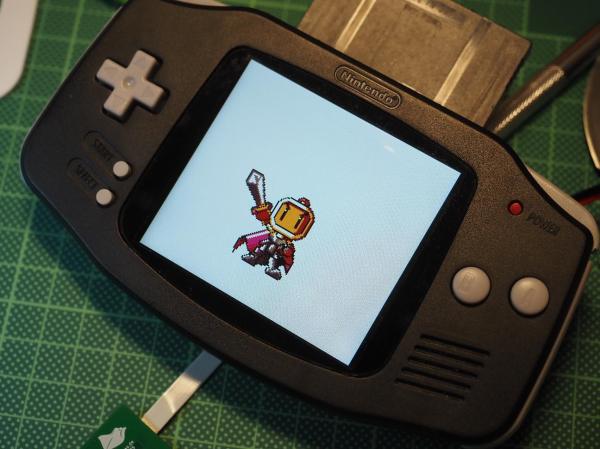
The Game Boy Advance (GBA) was released in 2001 to breathe some new life into the handheld market, and it did it with remarkable success. Unfortunately, the original models had a glaring problem: their unlit LCD screens could be very difficult to see. For that reason, console modders who work on these systems tend to improve the screen first like this project which brings a few other upgrades as well.

The fully open-source modification is called the Open AGB Display and brings an IPS display to the classic console. The new screen has 480×480 resolution which is slightly larger than the original resolution but handles upscaling with no noticeable artifacts and even supports adding some back in like scanlines and pixelation to keep the early 00s aesthetic. The build does require permanently modifying the case though, but for the original GBA we don’t see much downside. [Tobi] also goes through a ton of detail on how the mod works as well, for those who want to take a deep dive into the background theory.

There has been a lot of activity in the Game Boy Advance communities lately though as the hardware and software become more understood. If you don’t want to modify original hardware, want an upgraded experience, but still want to use the original game cartridges we might recommend something like the Game Bub instead.

Running FreeDOS And 8086tiny On The Game Boy Advance Because You Can

How many people haven’t looked at their Game Boy Advance (GBA) handheld gaming device and wondered how much better it might be if it could run FreeDOS. Inside an 8086 emulator. If you’re like [ZZAZZ] and similarly suffer intrusive project-related thoughts, then this might be a moment of clear recognition, somewhat like sharing one’s story at a Programmers Anonymous meeting, but we digress.

In the video, the basic premise of making even the 8086tiny emulator work on the GBA seemed improbable on the outset – courtesy of the rather limited memory environment provided by the GBA – before even daring to look at things like disk access.

However, letting silly things like segmented memory and mismatched memory addresses deter us from pleasing said intrusive thoughts would be beyond the pale. Ergo we get a shining example of how days of rewriting code, stripping code, debugging code, fixing alignment issues in code and writing work-arounds for newly discovered issues in code can ultimately lead to the proud moment where FreeDOS boots on the GBA.

Granted it takes over an hour to do so, and has to be started from a butchered Pokémon Emerald save file, courtesy of a well-known exploit in that game, thankfully preserved in counterfeit cartridges.

Admittedly we’re not sure what practical applications there are for FreeDOS on the GBA, but that’s never stopped hackers from taking on impossible projects before, so there’s no sense letting it get in the way now.

Continue reading “Running FreeDOS And 8086tiny On The Game Boy Advance Because You Can”

Game Bub Plays ROMs And Cartridges

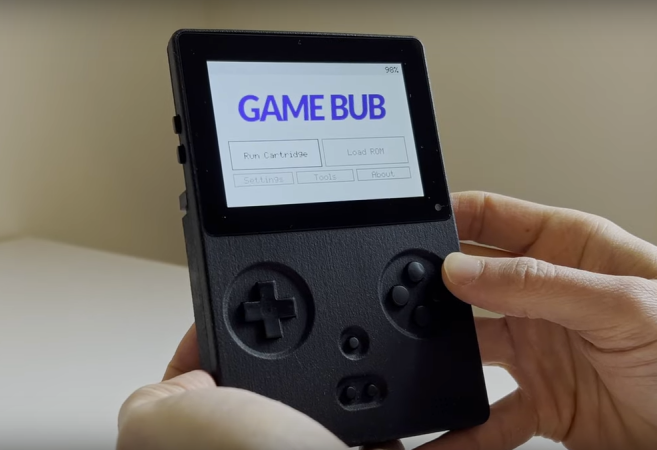
With today’s technology, emulating video game consoles from the 90s or before is trivial. A Raspberry Pi and a controller of some sort is perhaps the easiest and simplest way to go to get this job done, but to really impress the masses some extra effort is required. This handheld from [Eli] called the Game Bub not only nails the appearance and feel of the first three generations of Nintendo handhelds but, thanks to its FPGA, can play not only ROMs but the original game cartridges as well.

As [Eli] notes, the FPGA is not strictly necessary for emulation, but does seem to be better at interfacing with physical hardware like controllers and game cartridges. For this task an Xilinx XC7A100T with integrated memory was chosen, with a custom PCB supporting the built-in controller, speaker, a rechargeable lithium battery, and a 480×320 display (that had to be rotated out of portrait mode). An SD Card reader is included for any ROM files, and there’s also a ESP32-S3 included to give the handheld WiFi and Bluetooth capabilities, with future plans to support the communications protocol used by the Game Boy Advance Wireless Adapter.

There are a few other features with the Game Bub as well, including the ability to use an authentic link cable to communicate with the original Game Boy and Game Boy Color, and a Switch-like dock that allows the Game Bub to be connected to an external monitor. It’s also open source, which makes it an even more impressive build. Presumably it doesn’t include the native ability to dump cartridges to ROM files but you don’t need much more than a link cable to do that if you need to build your ROM library.

Continue reading “Game Bub Plays ROMs And Cartridges”

Pump It Up Gets Homebrew GBA Port That Rocks

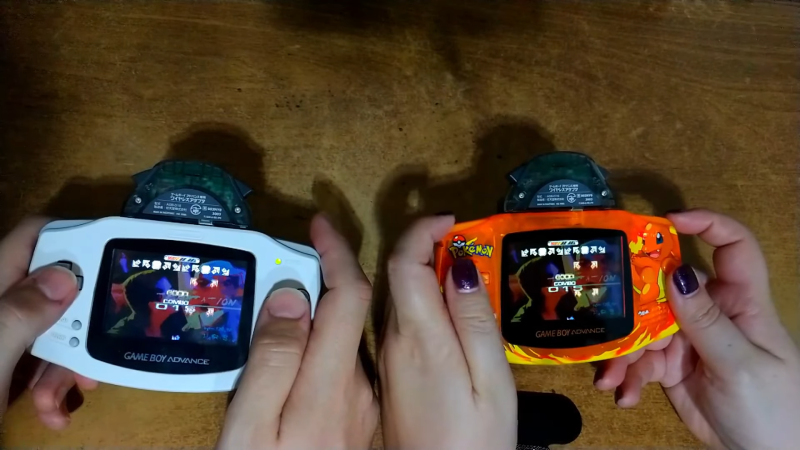
Pump It Up is a popular music video game that hails from South Korea. It’s similar in vibe to Dance Dance Revolution and In The Groove, but it has an extra arrow panel to make life harder. [Rodrigo Alfonso] loved it so much, he ported it to the Game Boy Advance.

The port looks fantastic, with all the fast-moving arrows and lovely sprite-based graphics you could dream of. But more than that, [Rodrigo’s] port is very fully featured. It doesn’t rely on tracked or sampled music, instead using actual GSM audio files for the songs.
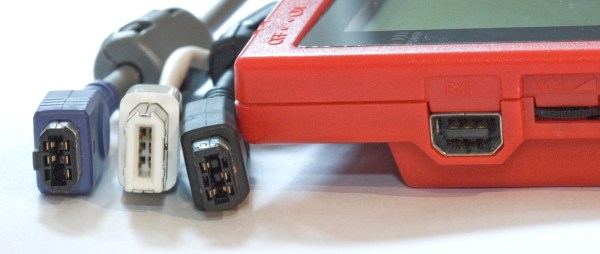


It can also accept input from a PS/2 keyboard, and you can even do multiplayer over the GBA’s Wireless Adapter. What’s even cooler is that some of the game’s neat features have been broken out into separate libraries so other developers can use them. If you need a Serial Port library for the GBA, or a way to read the SD card on flash carts, [Rodrigo] has put the code on GitHub.

As you might have guessed, this isn’t the first time [Rodrigo] has pushed the limits on what Nintendo’s 32-bit handheld can do.

Continue reading Pump It Up Gets Homebrew GBA Port That Rocks”

Easily Add Link Cable Support To Your Homebrew GBA Game

The Game Boy Advance (GBA) link cable is the third generation of this feature which originated with the Gameboy. It not only allows for peripherals to be connected, but also for multiplayer between GBAs – even with just one game copy – and item sharing and unlocking of features in specific games. This makes it an interesting feature to support in today’s homebrew GBA games and applications, made easy by libraries such as [Rodrigo Alfonso]’s gba-link-connection.

This C++  library can be used in a number of ways: either limited to just the physical link cable, just the wireless link option or both (universal link). These support either 4 (cable) or 5 (wireless) players to be connected simultaneously. As additional options there are the LinkGPIO.hpp and LinkSPI.hpp headers which allow the link port to be used either as a generic GPIO, or as an SPI link (up to 2 Mb/s). The multiboot feature where a single ROM image is shared among connected GBAs is supported with both wired and wireless links.

It’s heartening to see that a device which this year celebrates its 23rd birthday is still supported so well.

Thanks to [gudenau] for the tip.

Illustrated Kristina with an IBM Model M keyboard floating between her hands.

Keebin’ With Kristina: The One With The Busy Box Macro Pad

Well, I must admit that Google Translate completely failed me here, and thus I have no real idea what the trick is to this beautiful, stunning transparent split keyboard by [illness072]. Allegedly, the older tweets (exes?) hold the key to this magic, but again, Google Translate.

Based on top picture, I assume that the answer lies in something like thin white PCB fingers bent to accommodate the row stagger and hiding cleverly behind the keys.

Anyone who can read what I assume is Japanese, please advise what is going on in the comments below.

Continue reading “Keebin’ With Kristina: The One With The Busy Box Macro Pad”