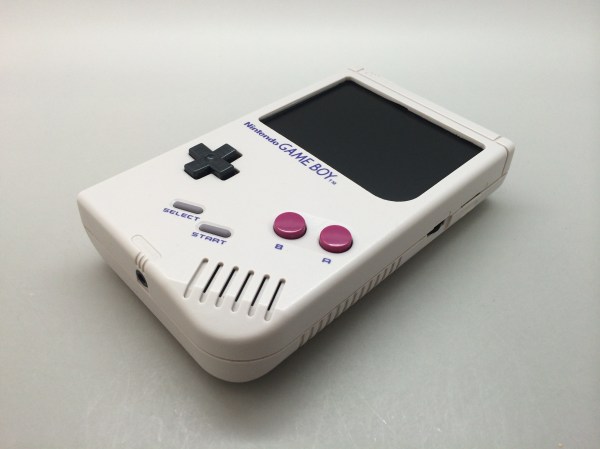
After scoring a non-functioning Gameboy in mint condition for $10, [Chad] decided it was time for a fun electronics project, so he ordered an LCD and bought a Pi Zero.
He started with a 3.5″ LCD off eBay for about $25, and got it running with the Pi Zero. It’s only 320×240 resolution, but hey, we’re recreating a Gameboy — not a smartphone. The next step was rather finicky: cutting up the case to fit the new components in.
Using a collection of files he whittled down the screen opening in the case to make room for the LCD, a few hours later and it looked surprisingly good.
From there he started laying out the components inside of the case, trying to figure out the best layout for everything to fit nicely. To power the unit he’s using a lithium ion battery from a Samsung Note which should give him some serious play-time. It fits right in where the game card is suppose to go.
To add some extra control functionality he’s added the game-pad buttons from a SNES onto the back where the battery door is, he’s also got a USB port on the side, a MicroSD card slot, and even a new audio pre-amp with potentiometer for controlling the speaker volume.
In case you can’t find a mint condition Gameboy case like [Chad] did, you could just print one from scratch


