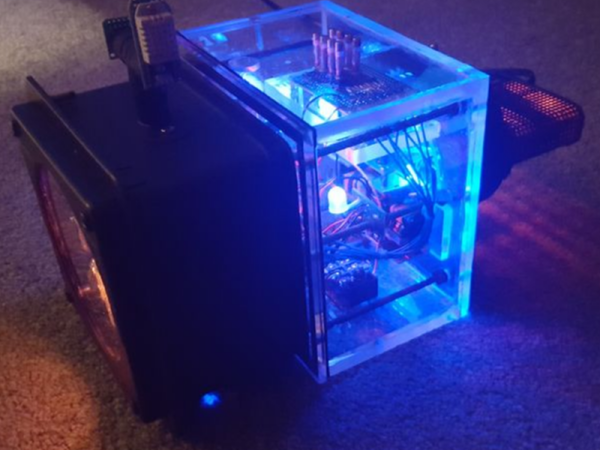
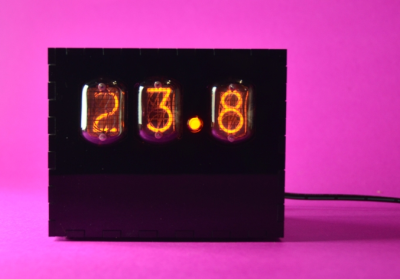
The Synchroscope is an interesting power plant instrument which doubles up as two devices in one. If the generator frequency is not matched with the grid frequency, the rotation direction of the synchroscope pointer indicates if the frequency (generator speed) needs to be increased or decreased. When it stops rotating, the pointer angle indicates the phase difference between the generator and the grid. When [badjer1] [Chris Muncy] got his hands on an old synchroscope which had seen better days at a nuclear power plant control room, he decided to use it as the enclosure for a long-pending plan to build a Nixie Tube project. The result — an Arduino Nixie Clock and Weather Station — is a retro-modern looking instrument which indicates time, temperature, pressure and humidity and the synchroscope pointer now indicates atmospheric pressure.
Rather than replicating existing designs, he decided to build his project from scratch, learning new techniques and tricks while improving his design as he progressed. [badjer1] is a Fortran old-timer, so kudos to him for taking a plunge into the Arduino ecosystem. Other than the funky enclosure, most of the electronics are assembled from off-the-shelf modules. The synchroscope was not large enough to accommodate the electronics, so [badjer1] had to split it into two halves, and add a clear acrylic box in the middle to house it all. He stuck in a few LEDs inside the enclosure for added visual effect. Probably his biggest challenge, other than the mechanical assembly, was making sure he got the cutouts for the Nixie tubes on the display panel right. One wrong move and he would have ended up with a piece of aluminum junk and a missing face panel.
Being new to Arduino, he was careful with breaking up his code into manageable chunks, and peppering it with lots of comments, for his own, and everyone else’s, benefit. The electronics and hardware assembly are also equally well detailed, should anyone else want to attempt to replicate his build. There is still room for improvement, especially with the sensor mounting, but for now, [badjer1] seems pretty happy with the result. Check out the demo video after the break.
Thanks for the tip, [Chris Muncy].

