Extract Fumes In Midcentury Style With Nixie Tubes And Military Surplus

Nobody wants to breathe solder fumes; that’s a given. For most of us, an industrial-looking fan-and-filter made in China and picked up cheap feels like more than enough to keep our lungs clear. Other people, people like [George Conneely], have more refined tastes. Why have a fume extractor when you can have a work of art?
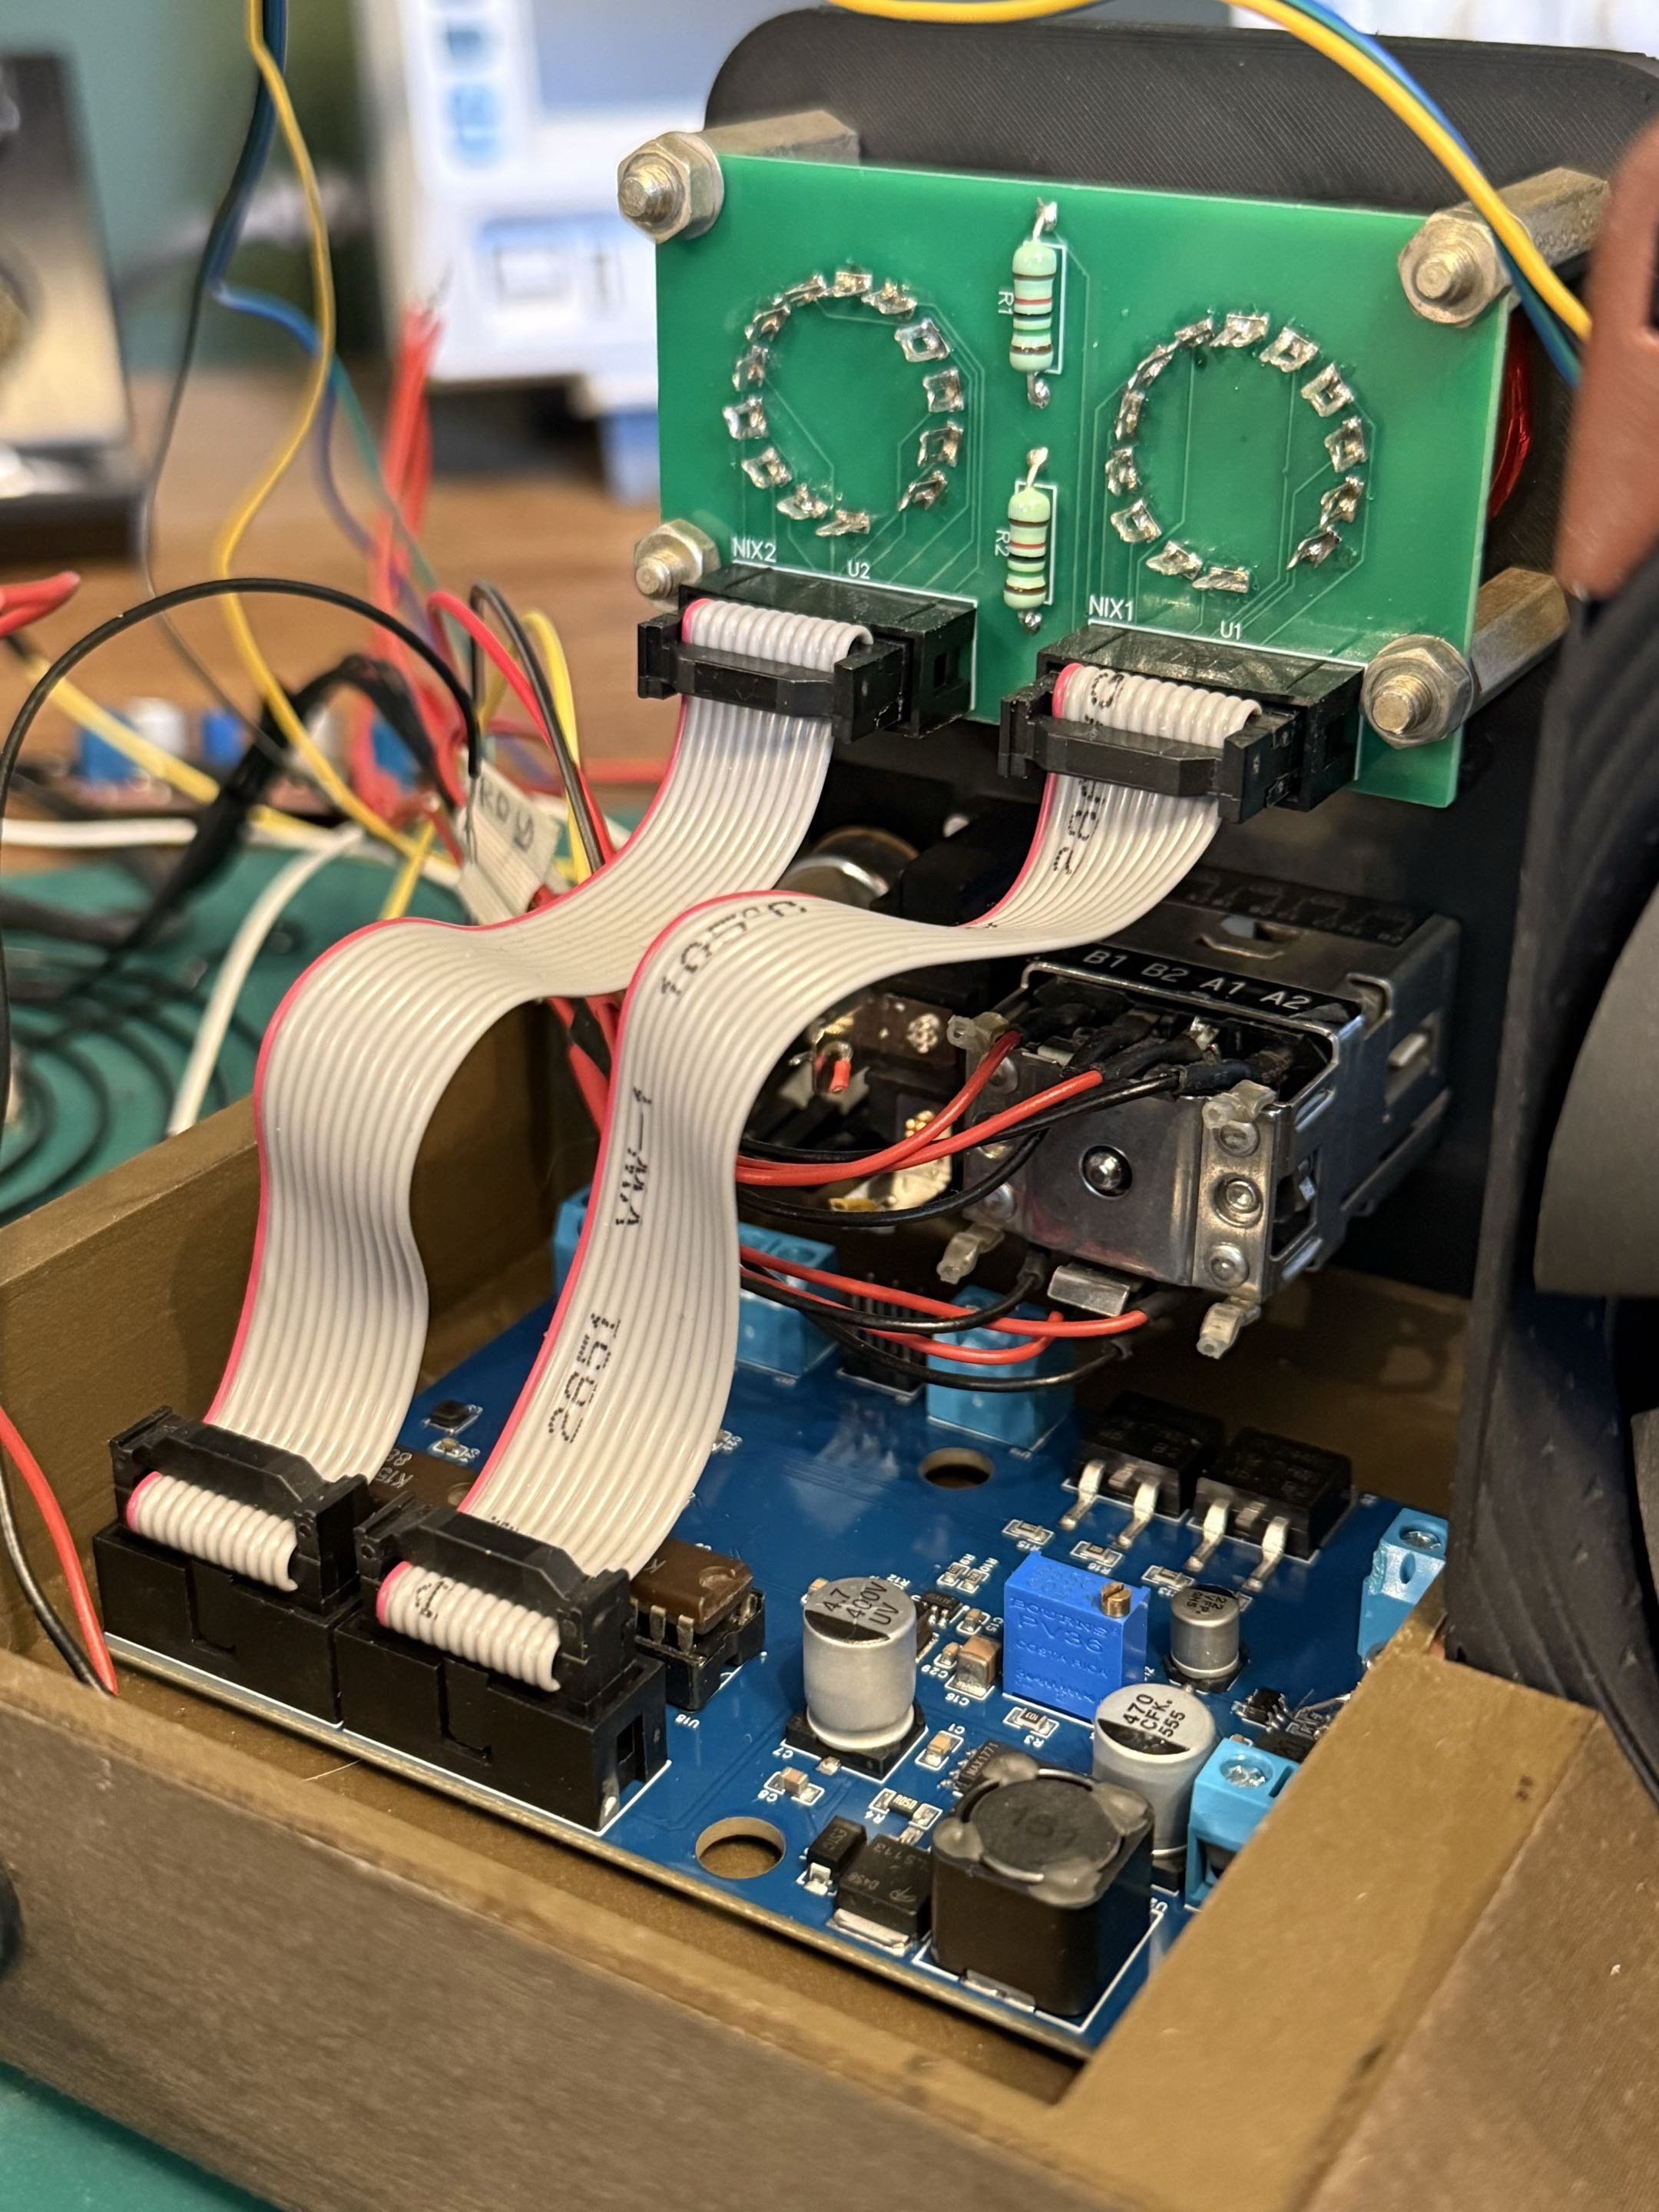
The insides aren’t quite as pretty as the outside, but it’s a clean build.

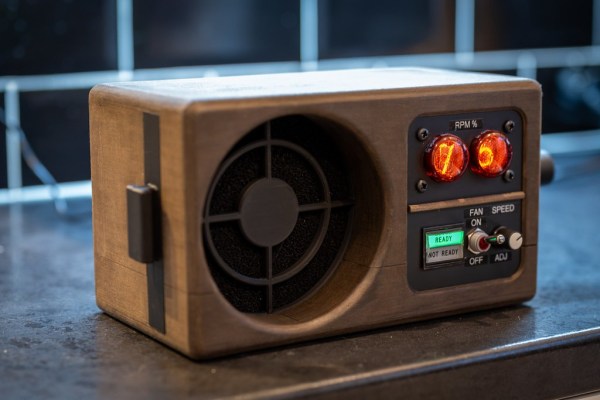
This is one of those projects where the images really speak for themselves, because the whole point is to be beautiful. Sure, the wooden case is lovingly sculpted by a—wait, it’s 3D-printed!? Yes, with the right stain and care applying it, it seems Wood PLA can fool the eye, or at least the camera. Inside that PLA case there’s a custom PCB with an ATMega microcontroller and some MOSFETS to drive the Nixie tubes. The two digits represent the fan’s set RPM as a percentage of maximum, as is clearly labeled. Using a READY/NOT READY indicator pulled from a Panvia Tornado to show whether the fan has actually spun up to its set speed is an amazing touch.

The only problem with this build is that it is too nice. We’d almost rather see it on Don Draper’s desk than risk dirtying it on a lab bench. Evidently, [George] ascribes to the philosophy that one should surround oneself with beauty whenever possible. Your tastes may differ, but to many, nixie tubes certainly qualify– whether on a desk clock or in a car’s dashboard, there’s just something about that incandescent glow.

Thanks to [George] for the tip.
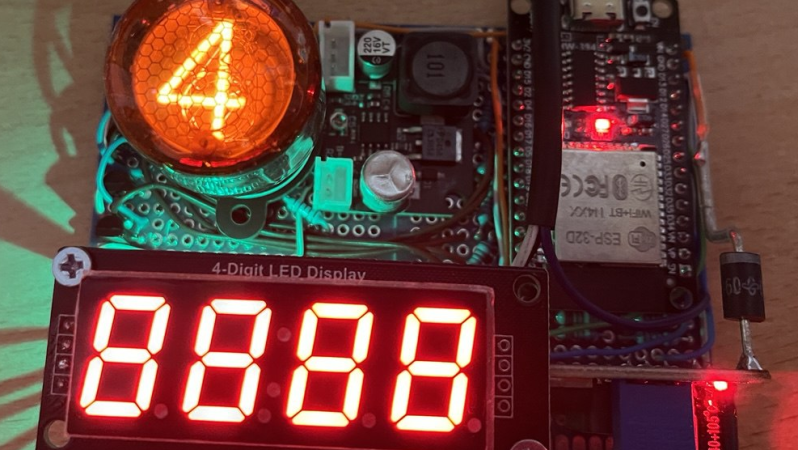
Nixie Gear Indicator Shines Bright

When you’re driving a car with a stickshift, it’s pretty easy to keep track of which gear you’re in. That can be a little bit more difficult on something like a motorcycle with a sequential shifter. [decogabry] built a neat gearshift indicator to solve this issue.

An ESP32 devboard is used as the brain of the build. It’s paired with an ELM327 dongle over Bluetooth, which is able to hook into the bike’s ODB diagnostic port to pick up data like engine RPM, wheel speed, and coolant temperature. The first two factors are combined in order to calculate the current gear, since the ratio between engine RPM and wheel speed is determined directly by the gear selection. The ESP32 then commands a Philips ZM1020 Nixie tube to display the gear, driving it via a small nest of MPSA42 transistors. A separate self-contained power supply module is used to take the bike’s 12 volt supply up to the 170 volts needed to run the tube. There is also a small four-digit display used to show status information, RPM, and engine temperature.

Notably,  [decogabry] made this build rather flexible, to suit any bike it might be installed upon. The gear ratios are not hard coded in software. Instead, there is a simple learning routine that runs the first time the system is powered up, which compares RPM and wheel speed during a steady-state ride and saves the ratios to flash.

We’ve featured projects before that used different techniques to achieve similar ends. It’s also interesting to speculate as to whether there’s a motorcycle vintage enough to suit a Nixie display while still having an ODB interface on board as standard. Meanwhile, if you’re cooking up your own neat automotive builds, don’t hesitate to drop us a line.

2025 One Hertz Challenge: The Easy Way To Make A Nixie Tube Clock

Let’s say you want to build a Nixie clock. You could go out and find some tubes, source a good power supply design, start whipping up a PCB, and working on a custom enclosure. Or, you could skip all that, and just follow [Simon]’s example instead.

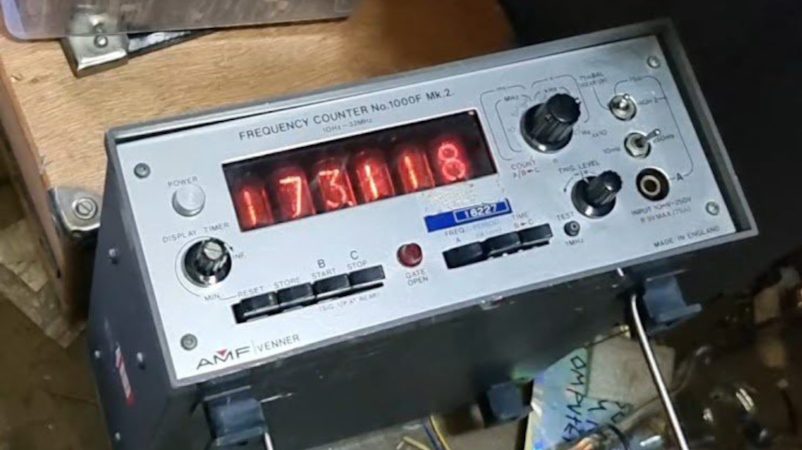
The trick to building a Nixie clock fast is quite simple — just get yourself a frequency counter that uses Nixie tubes for the display. [Simon] sourced a great example from American Machine and Foundry, also known as AMF, the company most commonly associated with America’s love of bowling.

The frequency counter does one thing, it counts the number of pulses in a second. Thus, if you squirt the right number of pulses to represent the time — say, 173118 pulses to represent 5:31 PM and 18 seconds — the frequency counter effectively becomes a clock. To achieve this, [Simon] just hooked an ESP32 up to the frequency counter and programmed it to get the current time from an NTP time server. It then spits out a certain number of pulses every second corresponding to the current time. The frequency counter displays the count… and there you have your Nixie clock!

It’s quick, dirty, and effective, and a sweet entry to our 2025 One Hertz Challenge. We’ve had some other great entries, too, like this nifty hexadecimal Unix clock, and even some non-horological projects, too!

Continue reading “2025 One Hertz Challenge: The Easy Way To Make A Nixie Tube Clock”

Hands On With A Giant Nixie Tube

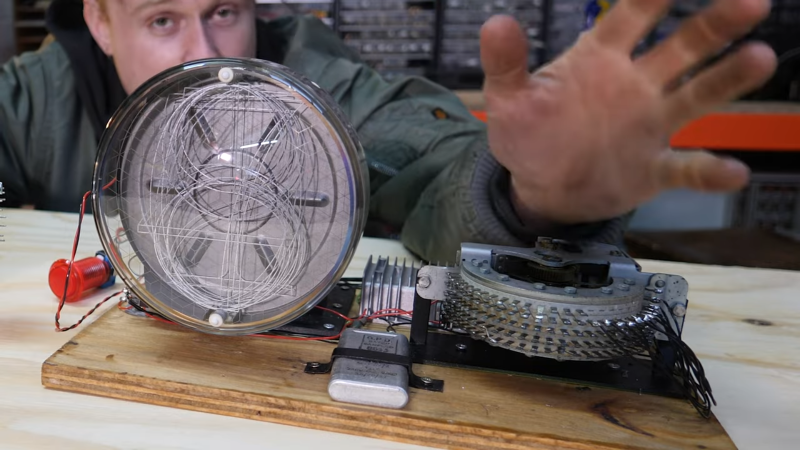
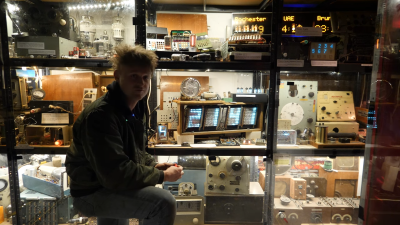
[Sam Battle] is no stranger to these pages, nor is his Museum is not Obsolete. The museum was recently gifted an enormous Nixie tube created by Dalibor Farný, a B-grade (well, faulty) unit that could not be used in any of their commissioned works but was perfectly fine for displaying in the museum’s retro display display. This thing is likely the largest Nixie tube still being manufactured; although we read that it’s probably not the largest ever made, it’s still awesome.

Every hacker should have their own museum.

It is fairly simple to use, like all Nixie tubes, provided you’re comfortable with relatively high DC voltages, albeit at a low current. They need a DC voltage because if you drive the thing with AC, both the selected cathode digit plate and the anode grid will glow, which is not what you need.

Anyway, [Sam] did what he does best, clamped the delicate tube in some 3D printed mounts and hooked up a driver made from stuff he scraped out of a bin in the workshop. Obviously, for someone deeply invested in ancient electromagnetic telephone equipment, a GPO (British General Post Office, now BT) uniselector was selected, manually advanced with an arcade-style push button via a relay. This relay also supplies the ~140 V for the common anode connection on the Nixie tube. The individual digit cathodes are grounded via the uniselector contacts. A typically ancient GPO-branded snubber capacitor prevents the relay contacts from arcing over and ruining the display unit. There isn’t much more to it, so if you’re in the Ramsgate, UK, area anytime soon, you can pop in and play with it for yourself.

Nixies are cool, we’ve covered Nixie projects for years, like this DIY project from ages ago. Bringing such things into the modern area is the current specialty of Dalibor Farný, with this nice video showing some of the workmanship involved. By the way — the eagle-eyed will have noticed that we covered this particular Nixie tube before, shown in the format of a large art installation. But it doesn’t hurt to get close up and play with it on the bench.\

Continue reading “Hands On With A Giant Nixie Tube”

Symbolic Nixie Tubes Become Useful For Artistic Purposes

When it comes to Nixie tubes, the most common usage these days seems to be in clocks. That has people hunting for the numerical version of the tubes, which are usually paired with a couple of LEDs to make the colon in the middle of the clock. However, other Nixie tubes exist, like the IN-7, which has a whole bunch of neat symbols on it instead. [Joshua] decided to take these plentiful yet less-popular tubes and whip them up into a little art piece. 

The IN-7 is a tube normally paired with the numerical IN-4 tube in instrumentation, where it displays unit symbols relevant to the number being displayed. It can display omega, +, M, pi, m, A, -, V, K, and ~.

[Joshua]’s build is simple enough. It spells the word “MAKE” in Nixie tubes as a neat sign for a makerspace. It uses “M” for Mega, “A” for Amps, “K” for Kilo for the first three letters. The fourth letter, “e”, is achieved by turning the tube 90 degrees, so the “m” for milli approximates that character. Two rows spelling “MAKE” (or “MAKe”) are assembled, powered via a small circuit which [Joshua] assembled on a custom-etched board using the toner transfer process. The electronics are all wrapped up in a neat laser-cut acrylic enclosure which was designed in Inkscape.

It’s a neat little project which makes good use of a Nixie tube that is, by and large, unloved. It also recalls us of a misspent youth, writing silly words on scientific calculators using only the available Greek characters. Meanwhile, if you’re working on your own Nixie builds, we’ve featured some neat drivers that you might just find valuable.

Continue reading “Symbolic Nixie Tubes Become Useful For Artistic Purposes”

Recreating A Popular Faux-Nixie Clock

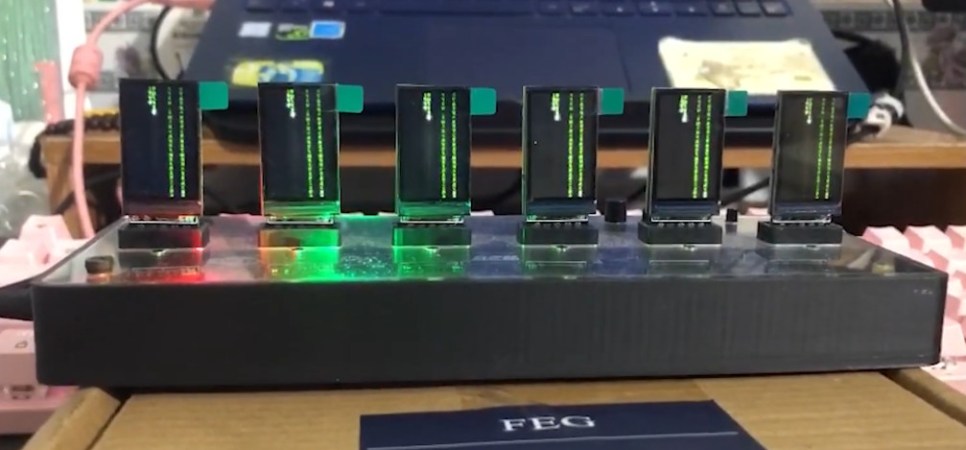
There’s a good chance you’ve seen “Nixie clocks” on the Internet that replace the classic cold cathode tubes with similarly sized LCD panels. The hook is that the LCDs can show pictures and animations of Nixie tubes — or pretty much anything else for that matter — to recreate the look of the real thing, while being far cheaper and easier to produce. It’s a hack for sure, and that’s the way we like it.

[Trung Tran] liked the idea, but didn’t just want to buy a turn-key clock. So he’s decided to build his own version based on the ESP32-S3. The WiFi-enabled microcontroller syncs up to the latest time via NTP, then uses a PCF8563 real-time clock (RTC) module to keep from drifting too far off the mark. The six displays, which plug into the custom PCB backplane, can then show the appropriate digits for the time. Since they’re showing image files, you can use any sort of font or style you wish. Or you could show something else entirely — the demo video below shows off each panel running the Matrix “digital rain” effect.

Continue reading “Recreating A Popular Faux-Nixie Clock”

There’s Already A Nixie Addon For The 2024 Supercon Badge

Nixie tubes are cool, and hackers like them. Perhaps for those reasons more than any other, [Kevin Santo Cappuccio] has developed a very particular Simple Add-On for the 2024 Hackaday Supercon badge.

Rad, no?

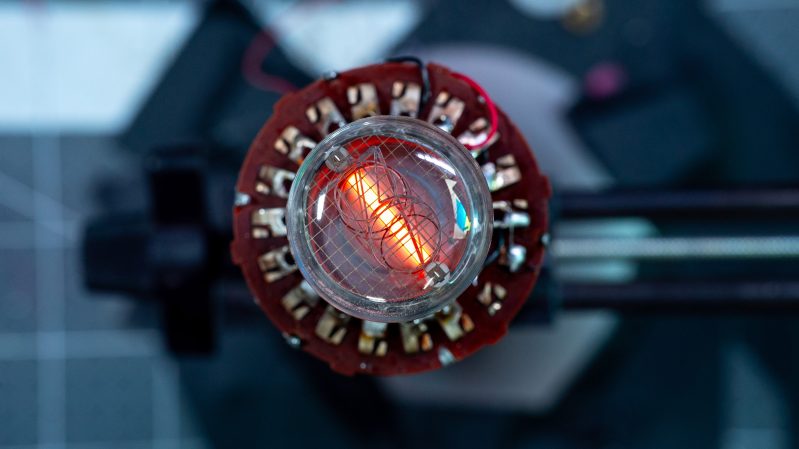
The build began with a Burroughs 122P224 Nixie tube, and a HV8200 power supply. The latter component is key—it’s capable of turning voltages as low as 3 V into the 180V needed to power a Nixie. Then, an 18-position selector switch was pulled out of a resistance substitution box, and [Kevin] whipped up a basic DIY slip ring using some raw copper clad board.

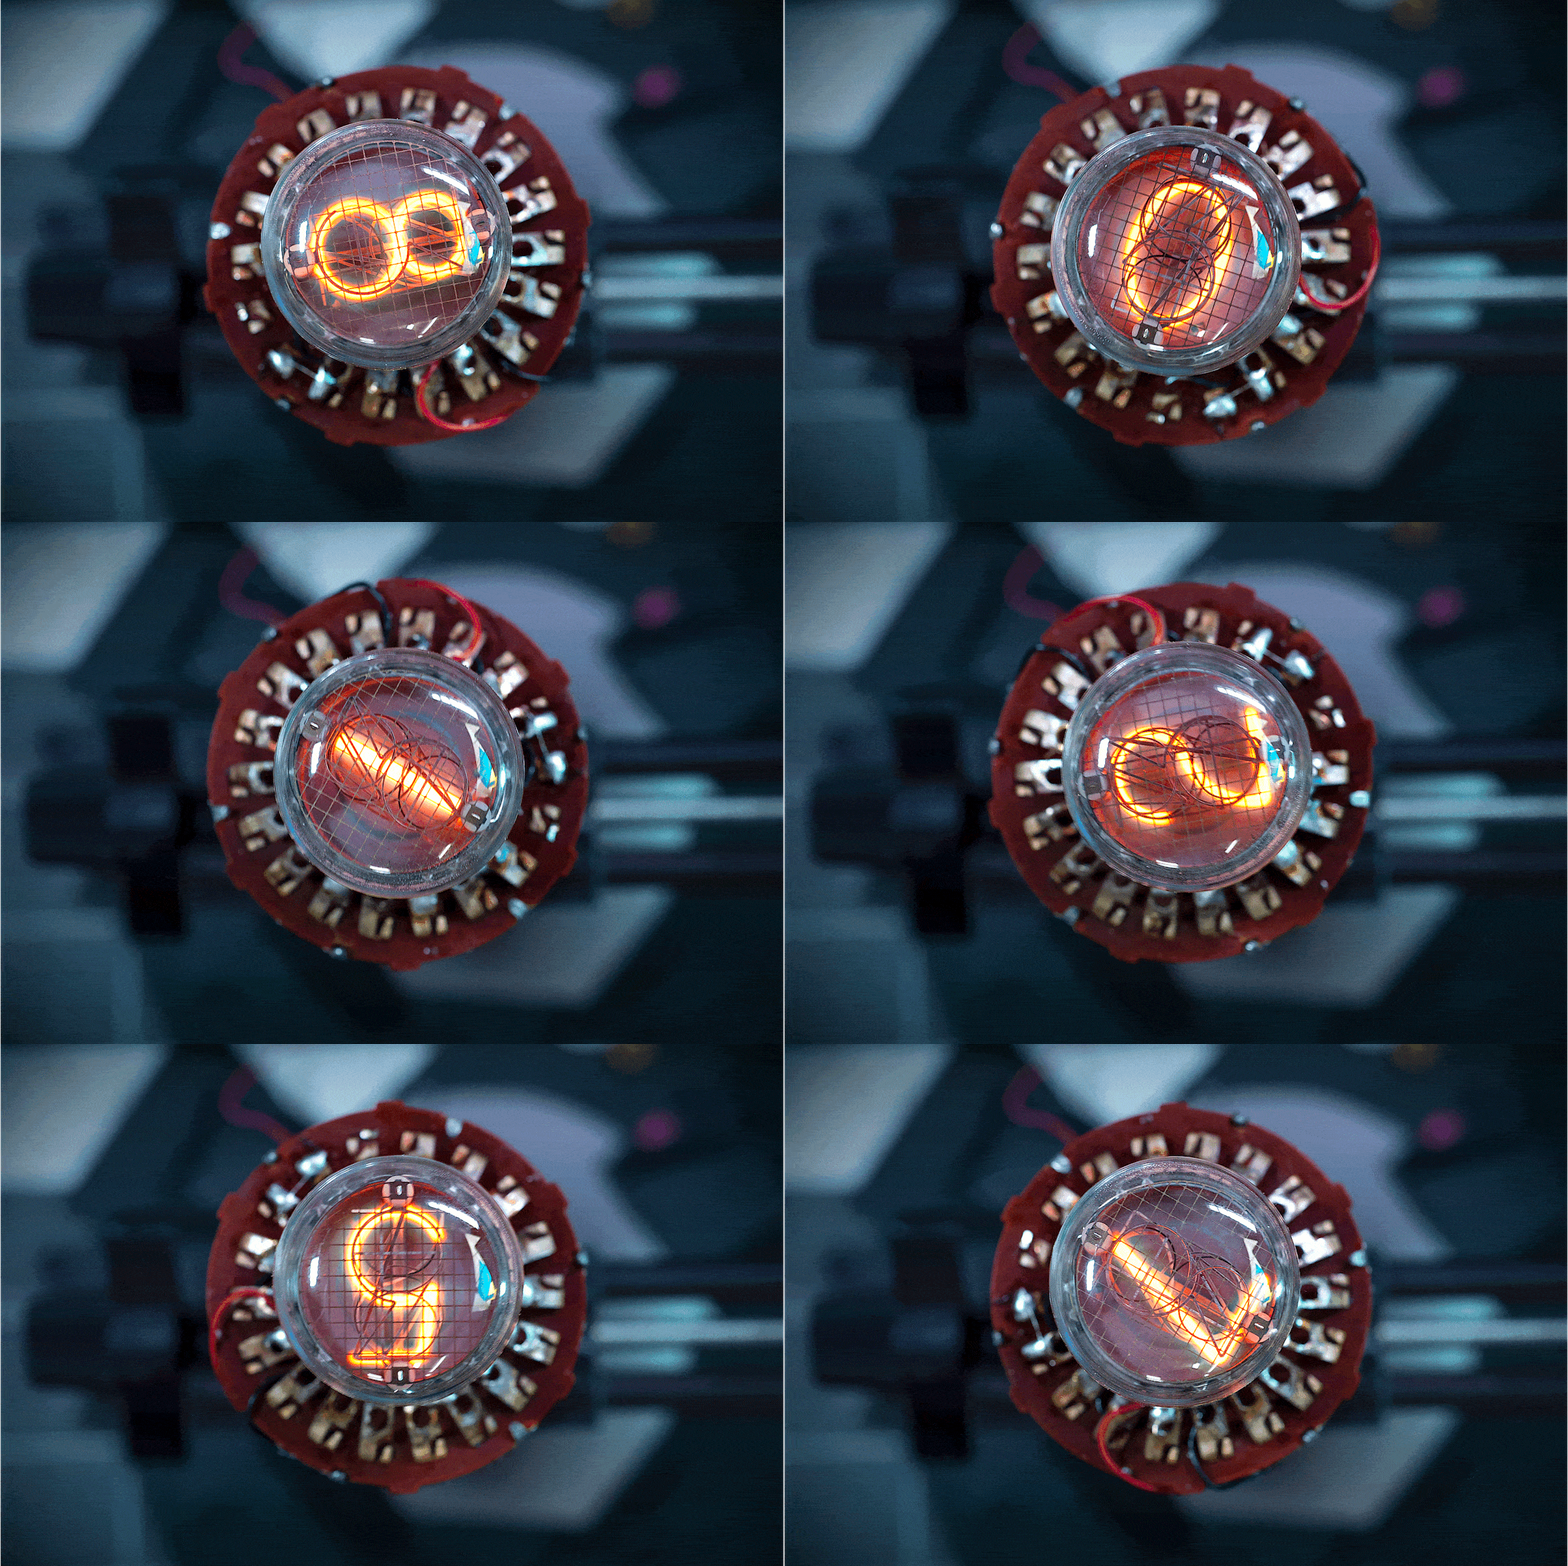
Smoosh it all together, and what do you get? It’s a Nixie tube you can spin to change the number it displays. Useful? Hardly, unless you want to display varying glowing numbers to people at unreadable angles. Neat? Very. Just don’t touch any of the pins carrying 180 V, that’ll sting. Still, [Kevin] told us it’s pretty tucked away. “I’m totally comfortable touching it, but also would get sued into oblivion selling these on Amazon,” he says.

As [Kevin] notes in his post, the 2024 badge is all about the add-ons— and there’s actually a contest! We suspect [Kevin] will have a strong chance of taking out the Least Manufacturable title.

If you need more information about the Simple Add-On (SAO) interface, [Brian Benchoff] posted the V1.69bis standard on these very pages back in 2019. Apparently the S used to stand for something else. Video after the break.

Continue reading “There’s Already A Nixie Addon For The 2024 Supercon Badge”