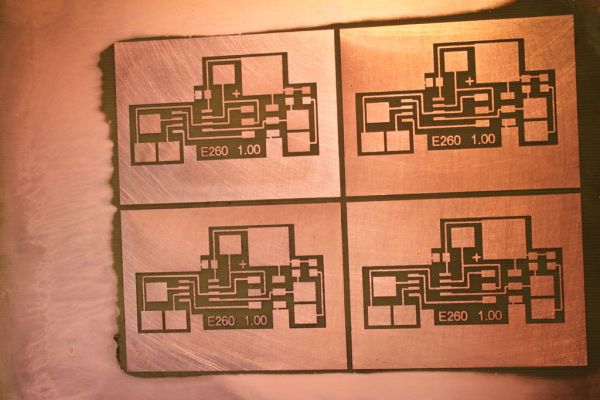
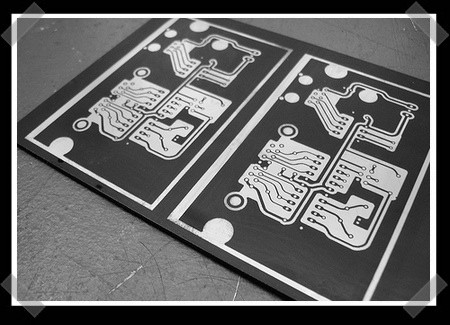
A common way to create a custom PCB at home is to do what is called the Toner Transfer Method. In this process, the trace layout of the board is printed out on a piece of special toner transfer paper that allows the ink to come off in the following step. The toner transfer paper is then put print-side-down on a copper clad PCB blank, heated and pressed with an iron. The heat and pressure from the iron transfers the toner from the paper to the copper. The exposed copper then is chemically removed, the previously applied toner protects the copper in the pad and trace areas. The toner is then removed using paint thinner.
That is a long process with many critical steps. [mlerman] wondered why no one was printing the toner directly to the PCB. He has been tinkering with printing directly on PCB blanks for 4 years now. He’s made hundreds of boards over that time and can now make a PCB in under 15 minutes.
The obvious route to take would be to modify a current laser printer to accept the much-thicker-than-paper PCB boards. A few printer models were tried but [mlerman] feels the Lexmark E260 works the best due to the cost, internal mechanical components and an easily modifiable manual feed system. There is also a Local Printer Utility that allows the majority of the printer parameters to be adjusted.
Continue reading “PCB Toner Transfer Method, Now Without The Transfer”


