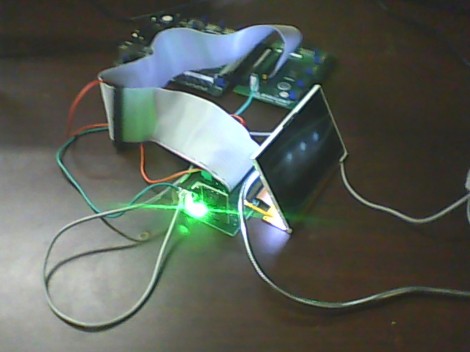
[Cesar] recently got a PSP display up and running with his FPGA development board. That’s a nice project, but what we really like is that he set aside a lot of time to show how it’s done every step of the way. This isn’t just a tutorial on that particular screen, but an overview of the skill set needed to get any piece of hardware working.
The screen itself is a Sharp LQ043T3DX02; a 480×272 TFT display with 16 million colors. Not bad for your project but when you start looking into the control scheme this isn’t going to be like using a Nokia screen with an Arduino. It takes twenty pins to control it; Red, green, and blue take sixteen pins, four pins are used for control, the rest are CK, DISP, Hsync, Vsync.
Wisely, [Cesar] designs his own interface board which includes the connector for the ribbon cable. It also has drivers for the screen’s backlight and supplies power to the device. With hardware setup complete he digs into the datasheets. We just love it that he details how to get the information you’re looking for out of this document, and shows his method of turning that first into a flow chart and then into code for the FPGA.


