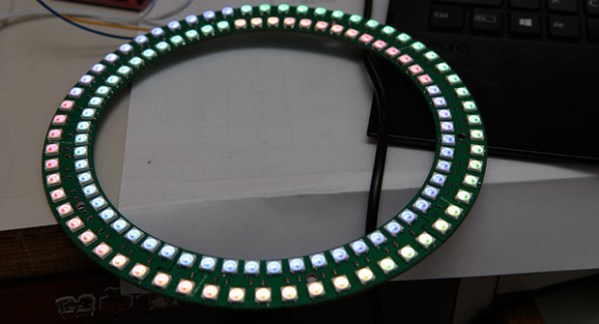
After several months of work, [Greg] has completed one of the most polished LED clocks we’ve ever seen. It’s based on the WS2812 RGB LEDs, with an interesting PCB that allowed [Greg] to make a huge board without spending a lot of money.
The board is made of five interlocking segments, held together with the connections for power and data. Four of these boards contain only LEDs, but the fifth controller board is loaded up with an MSP430 microcontroller, a few capsense pads for a 1-D touch controller, and programming headers.
Finishing up the soldering, [Greg] had a beautiful LED ring light capable of being programmed as a clock, but no enclosure. A normal plastic case simply wouldn’t do, so [Greg] decided to try something he’d never done before: casting the PCB inside a block of resin.
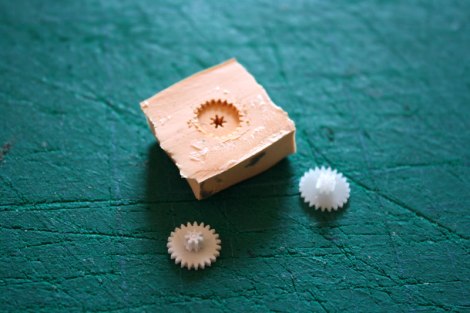
A circular mold was made out of a piece of MDF and a router, and after some problems with clear resin that just wouldn’t cure, his ring light was embedded in a hard, transparent enclosure. Conveniently stuck in the mold, of course. The MDF had absorbed a little bit of the resin, forcing [Greg] to mill the resin ring free from the wood, with a lot of finish sanding to make the clock pretty.
It’s a clock that demonstrates [Greg]’s copious manufacturing skills, and also his ability to troubleshoot the problems that arose. While he probably won’t be casting things inside an MDF mold anymore, with the right tools [Greg] could easily scale this up for some small-scale manufacturing.


