
When you want to write software for a system like the Commodore 64, the obvious and safe choice is to create an image that can be used with a tape or floppy drive emulator. Yet these come with the obvious disadvantage of loading time and manual steps, much like with the original hardware. Unfortunately, if you crave that instant-on experience that cartridges offer – courtesy of them being plugged directly into the system’s CPU bus – you better get an EE diploma to figure it all out. Or maybe not, as [Linus Åkesson] found out when he created a custom cartridge to boot his Commodordian project from.
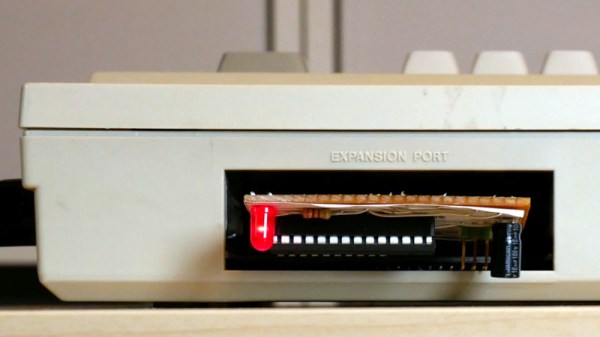
For the core of the cartridge a bit of stripboard was sufficient to interface with the C64’s cartridge slot. Despite being single-sided, all the required signals were on one side of the slot. These include the EXROM line that informs the system that a cartridge is present, the ROML line that informs the cartridge when the system is trying to read from it, and of course the data bus. After this the interaction gets somewhat interesting, due to the use of the single-sided stripboard, as the address bus and other signals are on the non-connected side.
Working around this was the biggest challenge, but by creatively using the ROML and DotClk lines and by disabling the display output, the ATmega88 and 74HC541-based cartridge a working solution was created. There is still room for improvement here, naturally, but it would appear that if the goal is simply to autoload software on boot, this is definitely a workable solution. One could also splurge on double-sided stripboard, but that would strip away most of the fun of this solution.


