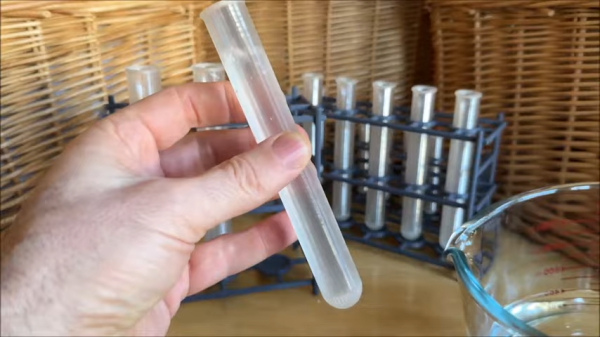
[DaveMakesStuff] uses 3D printed test tubes for plants and similar purposes, and he’s shared how to make them on a 3D printer, complete with different models each optimized for different nozzle sizes.

It’s not too hard to get clear-looking prints in spiral vase mode by using a transparent filament, but the real value in his design is that it comes out reliably watertight, with an extra-strong base and rim.
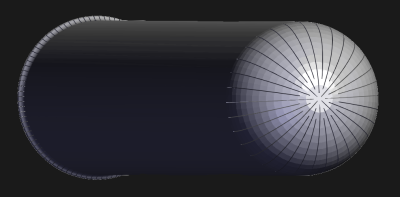
How is this accomplished when using spiral vase mode, which extrudes only a single wall perimeter? By using fancy geometry on the part, which makes the nozzle follow a high-density path that turns back onto itself multiple times, in concept a little like a switchback trail. The result is extra-dense areas on both the rim and the bottom of the tubes. This helps make them not only watertight, but far stronger than a single wall.
This technique is reminiscent of an earlier method we saw of enhancing the strength of vase mode prints by modeling thin slots into an object. After slicing, the model still consists of a single unbroken spiral extrusion. But in practice, the extruded plastic forms what resemble structural ribs. Why? Because those technically-adjacent extruded lines are so close to one another that they end up sticking together. Something similar is being done here by [DaveMakesStuff] to ensure that the bottom and top of the tubes are extra strong.
You can see a short video (embedded below) that showcases the tubes, as well as some modular 3D-printable racks that [DaveMakesStuff] also makes. And should you want some tips on getting better transparency from your 3D prints, the essentials boil down to printing with transparent filament, slightly hotter, and with a slightly higher extrusion rate.
Continue reading “Tips For 3D Printing Watertight Test Tubes”


