[jelengar] liked the ease of use of the Arduino, but wanted a much higher pin count. He set about converting the ATmega Controller for use with Wiring, the code that the Arduino IDE is based on. The ATmega128 in the controller features 53 pins as opposed to the 11 on the Arduino’s ATmega168. You also get 128kb of memory. The process is fairly simple; you just need to add the appropriate crystal. You can also add a switch to trigger the bootloader and a status LED.
wiring31 Articles
VU Meter Made With An LM3915
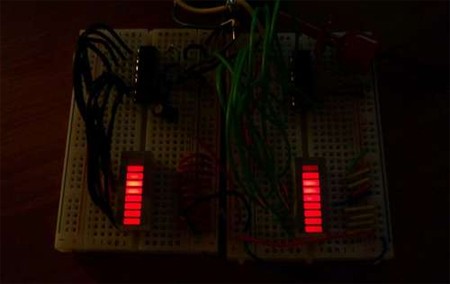
So here’s the situation: you have an audio device, maybe a boombox, perhaps one you built yourself, but it has no VU meter. No problem; building a VU meter is easy with these instructions from [Joe].
You’ll need either an LM3915 or LM3916 chip, a couple of bread boards, two audio jacks, ten LEDs, and a few other components. Wire them all together per the schematic, then plug an audio source into the input jack. You can plug your speakers or output device into the output jack, and you’re done. Keep in mind that LM3916s switch negative, so positive to positive wiring from LEDs to the bread board will be necessary. The wiring on [Joe]’s version is a bit convoluted, but it can be cleaned up on yours if you take the time. Video embedded below.
3 Wire LCD Display
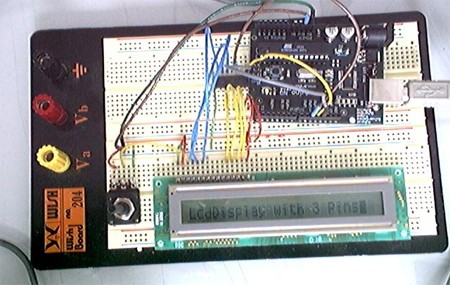
Normally driving an LCD requires seven connections to pins on the display, but by using a shift register, [Phillip Warner] at Arduino Playground was able to drive an LCD using only 3 wires. The method is cheaper than a serial LCD, but you’ll mainly save yourself a lot of effort and time by using it.
[Warner] used a HEF4094 chip to group the lines together and a variable resistor to control the contrast. A zip file with the requisite code to make this work can be found in the post.
[via YourITronics]