Adding WiFi To Black Magic For Wireless GDB Action

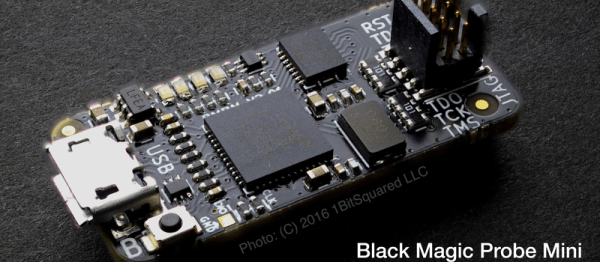
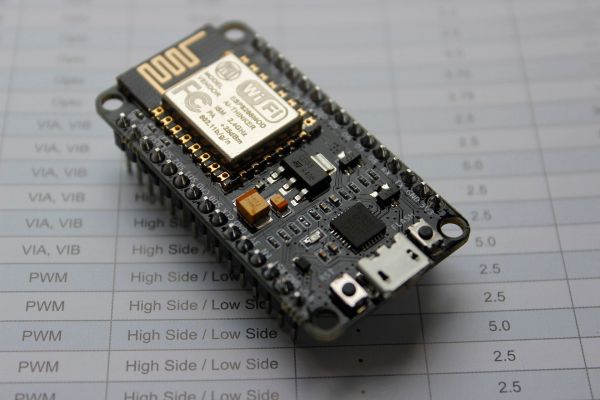
[Thoquz] wrote to us about an interesting GitHub project by [Valmantas Palikša] involving the porting of the Black Magic firmware to ESP8266. For those who are unaware, Black Magic Probe is firmware along with a range of official and third-party boards that targets the debugging of Cortex-M and Cortex-A MCUs and SoCs.

With this blackmagic-espidf project, one can use any ESP8266 board that has at least 2 MB of Flash program storage, though 1 MB should be possible if OTA updated are disabled. After flashing the firmware to the ESP8266 board, the GDB server can be reached on TCP port 2022 and UDP 2023, with a serial port available via TCP/23, UDP2323, or via the physical TX0/RX0 pins on the ESP8266.

The target board to be debugged  is hooked up by default to GPIO0 (SWDIO) and GPIO2 (SWCLK) for Serial Wire Debugging, though JTAG is also said to be supported. If set up properly, next one should be able to pop into a fresh remote GDB session:

gdb connection

If you don’t want the WiFi, you can buy a wired one, or just roll your own from any STM32 board that you’ve got kicking around.

Black Magic Probe: The Best ARM JTAG Debugger?

We don’t always JTAG, but when we do, we use a Black Magic Probe. It’s a completely open ARM-chip debugging powerhouse. If you program the small ARM chips and you don’t have a BMP, you need a BMP. Right now, one of the main producers of these little gems is running a Kickstarter where you can get your hands on a nicely made one and/or a 1Bitsy STM32F415-based development board.

Why is the BMP so great? First off, it’s got a JTAG and a UART serial port in one device. You can flash the target, run your code, use the serial port for printf debugging like you know you want to, and then fall back on full-fledged JTAG-plus-GDB when you need to, all in one dongle. It’s just very convenient.

But the BMP’s killer feature is that it runs a GDB server on the probe. It opens up a virtual serial port that you can connect to directly through GDB on your host computer. No need to hassle around with OpenOCD configurations, or to open up a second window to run [texane]’s marvelous st-util. Just run GDB, target extended-remote /dev/ttyACM0 and you’re debugging. As the links above demonstrate, there are many hardware/software pairs that’ll get you up and debugging. But by combining the debug server with the JTAG hardware, the BMP is by far the slickest.

Full disclosure: we use a BMP that we built ourselves, which is to say that we compiled and flashed the firmware into a $4 STLink clone programmer that we had on hand. Breaking the required signals out required a bit of ugly, fiddly soldering, but we enjoy that sort of thing. If you don’t, the early-bird Kickstarter (with cables) looks like a good deal to us.