A keyboard and mouse simply can’t stand in for games originally meant to be played with a joystick and buttons. We are of course thinking of coin-op here and building your own set of arcade controls is a great project to give back some of the thrill of those classics. But these are not trivial builds and may push your comfort zone when it comes to fabrication. Here’s one alternative to consider: 3D printing an arcade controller housing.
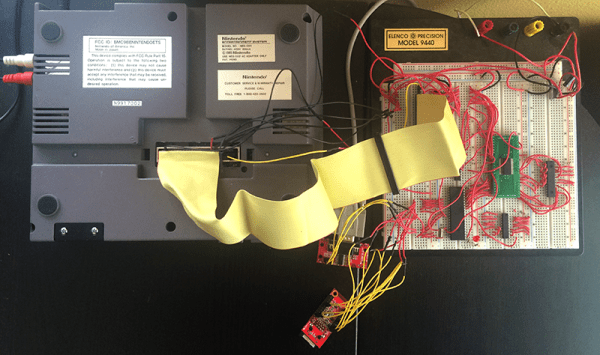
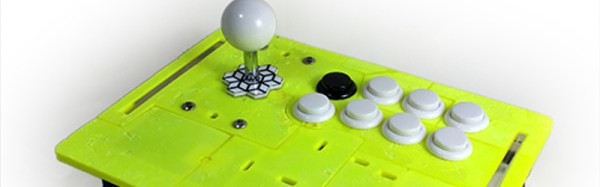
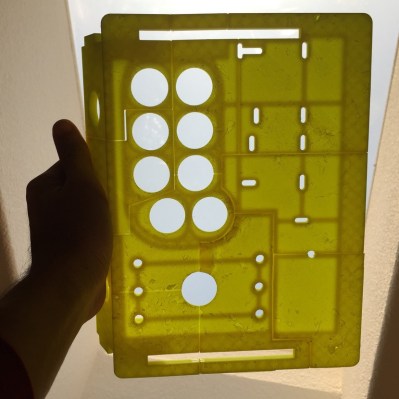 [Florian] already had experience building these using laser cut acrylic and MDF. This is his first foray into a 3D printing build method for the controller body. The top is too large to easily produce as a single piece on inexpensive printers. He broke it up into sections; eleven in total. When the printing is complete he chemically welds them together using a slurry of acetone and leftover ABS.
We think one possible extension of this technique would be to build a mounting system that would allow you to swap out segments (instead of welding them all) while you dial in the exact placement that you want for each component. You know, like when you decide that rectangular button pattern doesn’t fit your hand. That said, this looks like a beautiful and functional build. At the least it’s a great way to practice your 3D printing skills and you end up with a wicked controller at the end of it.